913D SYSTEMS, INC. PN:80-D27 Rev.B
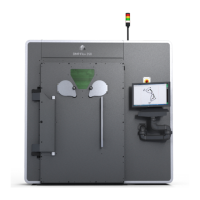
11. Separate the 4 parts of the scraper subassembly.
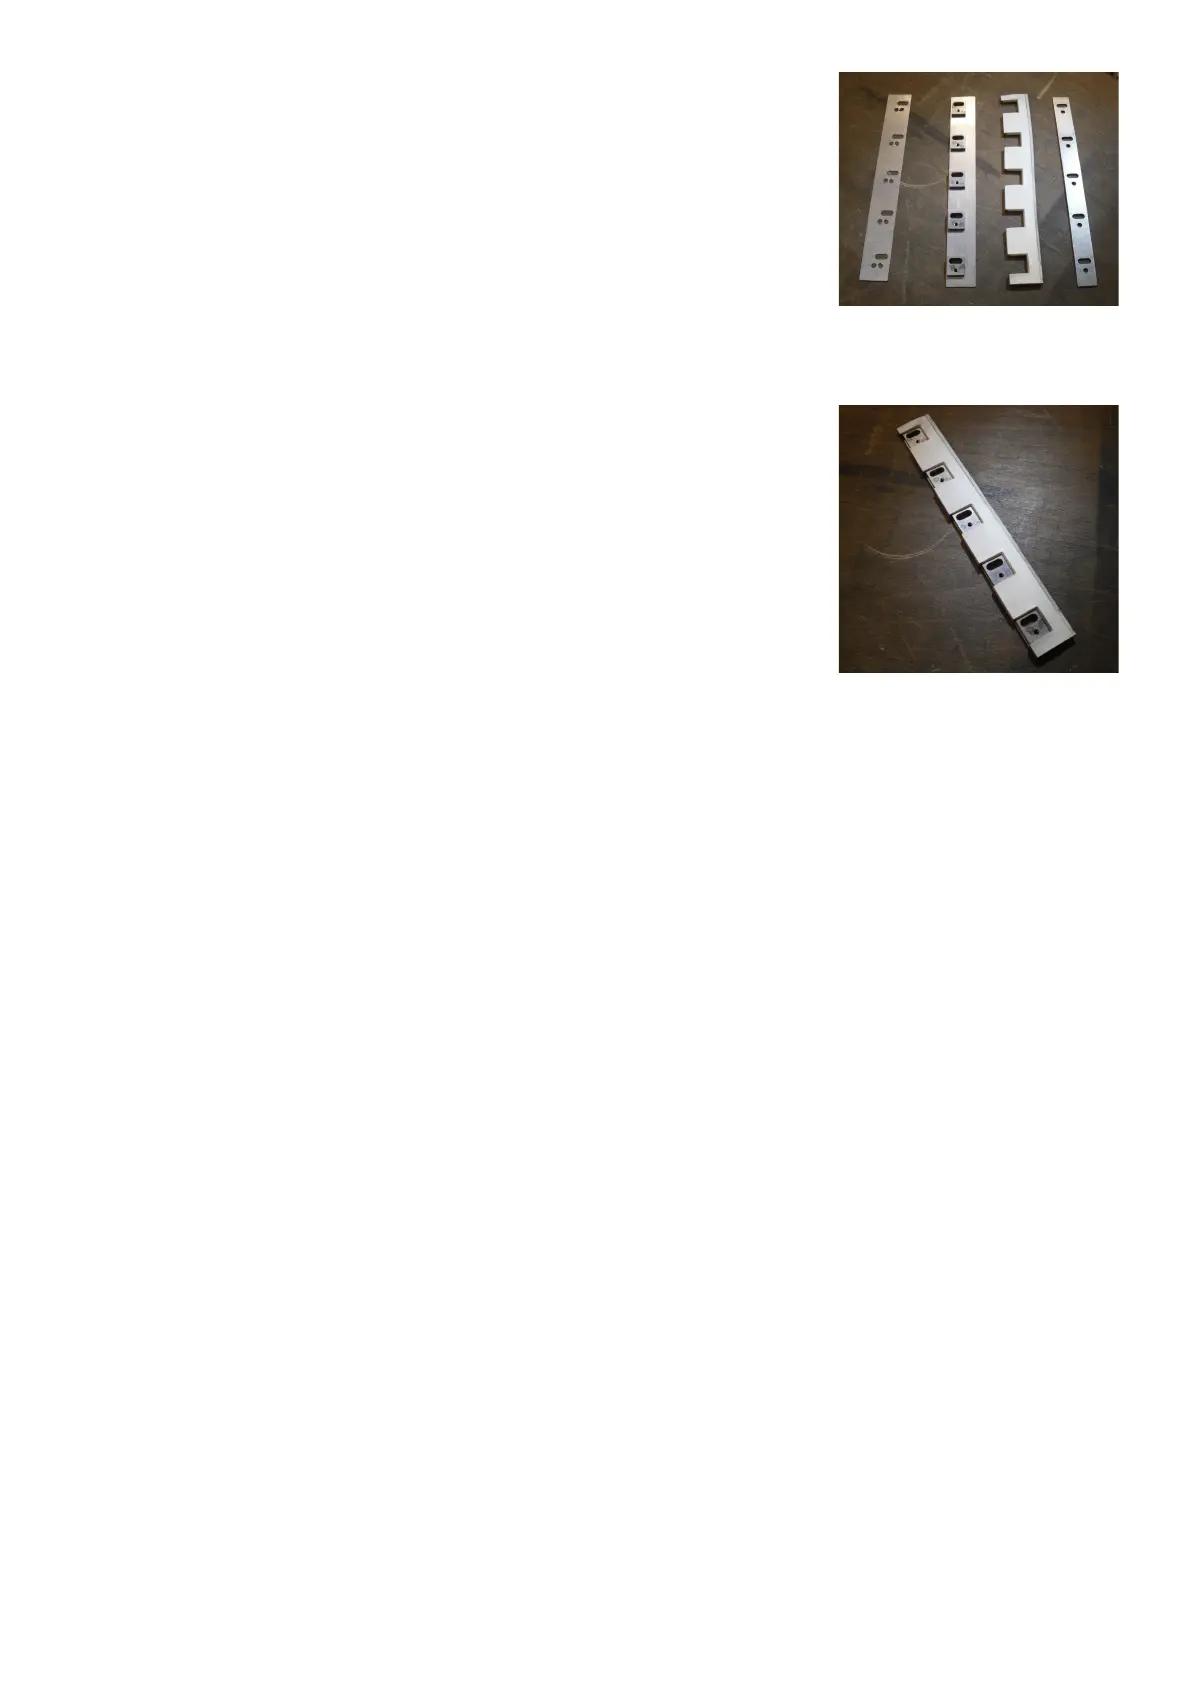
12. Place the new silicone blade on its support
13. Gather the 4 parts and screw the 5 xing screws.
14. Set the subassembly on the machine : get the silicone blade touching the protection strip, then screw tightly the 5 CHC
M5x12 screws removed at the step 9.
15. Proceed steps from 8 to 12 to replace the left silicon scraper.
16. Turn back the crank handle until the manufacturing chamber is fully closed.
17. Ret and tighten the 8 screws of the front door of the main cabinet.
18. Proceed to next procedure. Make sure to put the locking key when all maintenance complete.