Installation
33
2. Open the housing cover of the OpenCom 130. In this case, carefully follow the
Safety Precautions starting on page 30.
The existing basic module is mounted in the left half of the housing. No compo-
nents may be mounted in the right half of the housing.
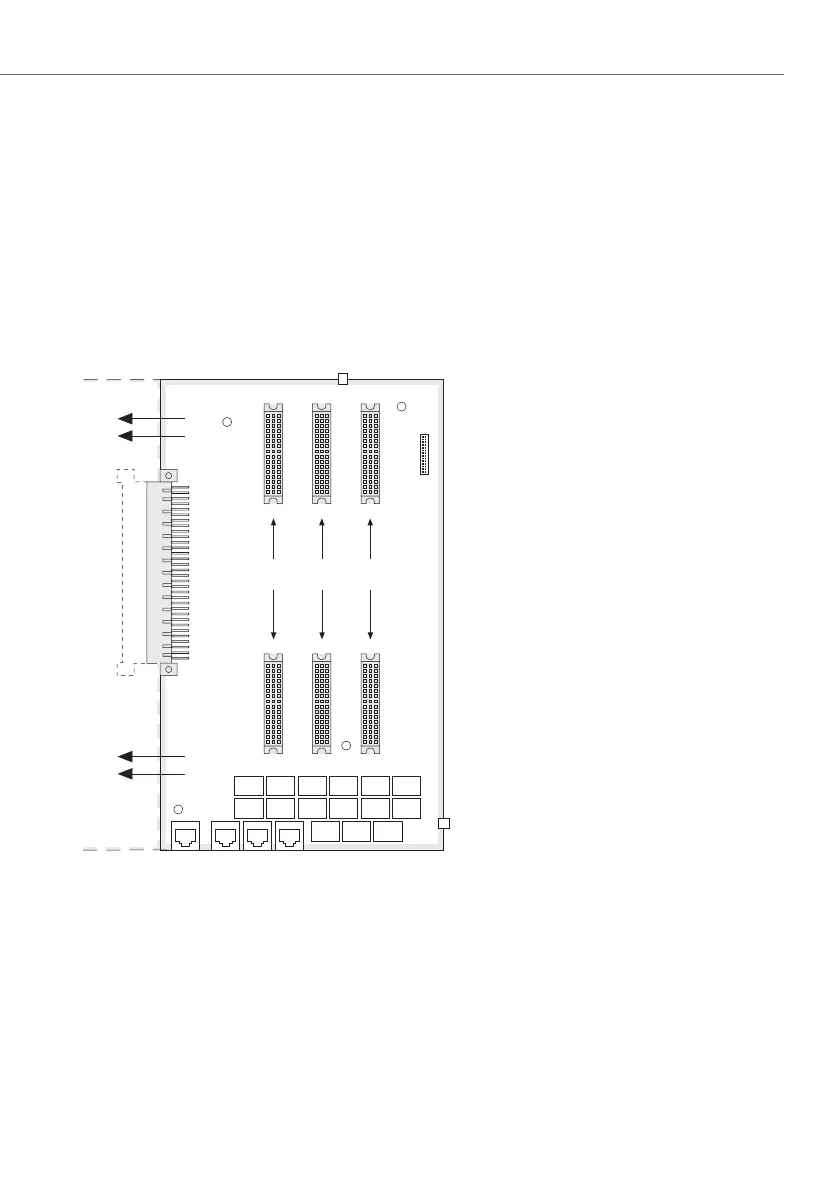
3. Place the expansion module in the intended mounting location in the right half of
the housing. Be sure to align the 96-pin connector properly to the jack on the basic
module. Push the expansion module towards the basic module so that both
modules are securely connected to one another via the 96-pin connector.
Installing the expansion module
4. Carefully press the expansion module at the top and bottom right, pushing it into
the locking hooks provided (see “A” and “B” in the diagram). Secure the expansion
module using the Phillips screws provided in the expansion set (see “1” to “4” in
the diagram).
Slot 1 Slot 2 Slot 3
4
1
2
3
A
B
 Loading...