AEQ FORUM
Digital audio mixer for broadcast applications
32
3. DESCRIPTION OF THE INTERNAL MENU.
The AEQ FORUM internal menu is displayed on the main screen of the Control and Monitoring
section of the control surface.
Most of them allow you to modify the values shown (although some screens of the internal
menu are merely informative), changing routing, gains or applying processes to the audio
signals. For this purpose, the three rotary encoders and the four contextual keys associated to
this screen will be used.
Depending on the information shown on the last line of the menu display, the four contextual
keys immediately beneath the display will have different functions. This last line of the menu will
have a maximum of four visibles options.
The three rotary encoders are associated with the options shown in the menu (each specific
screen will be explained in detail later in this manual). The specific association of the encoders
is following the next thumb rule: the menu option that is shown farthest to the left or in the
highest position is controlled from the encoder located farthest to the left.
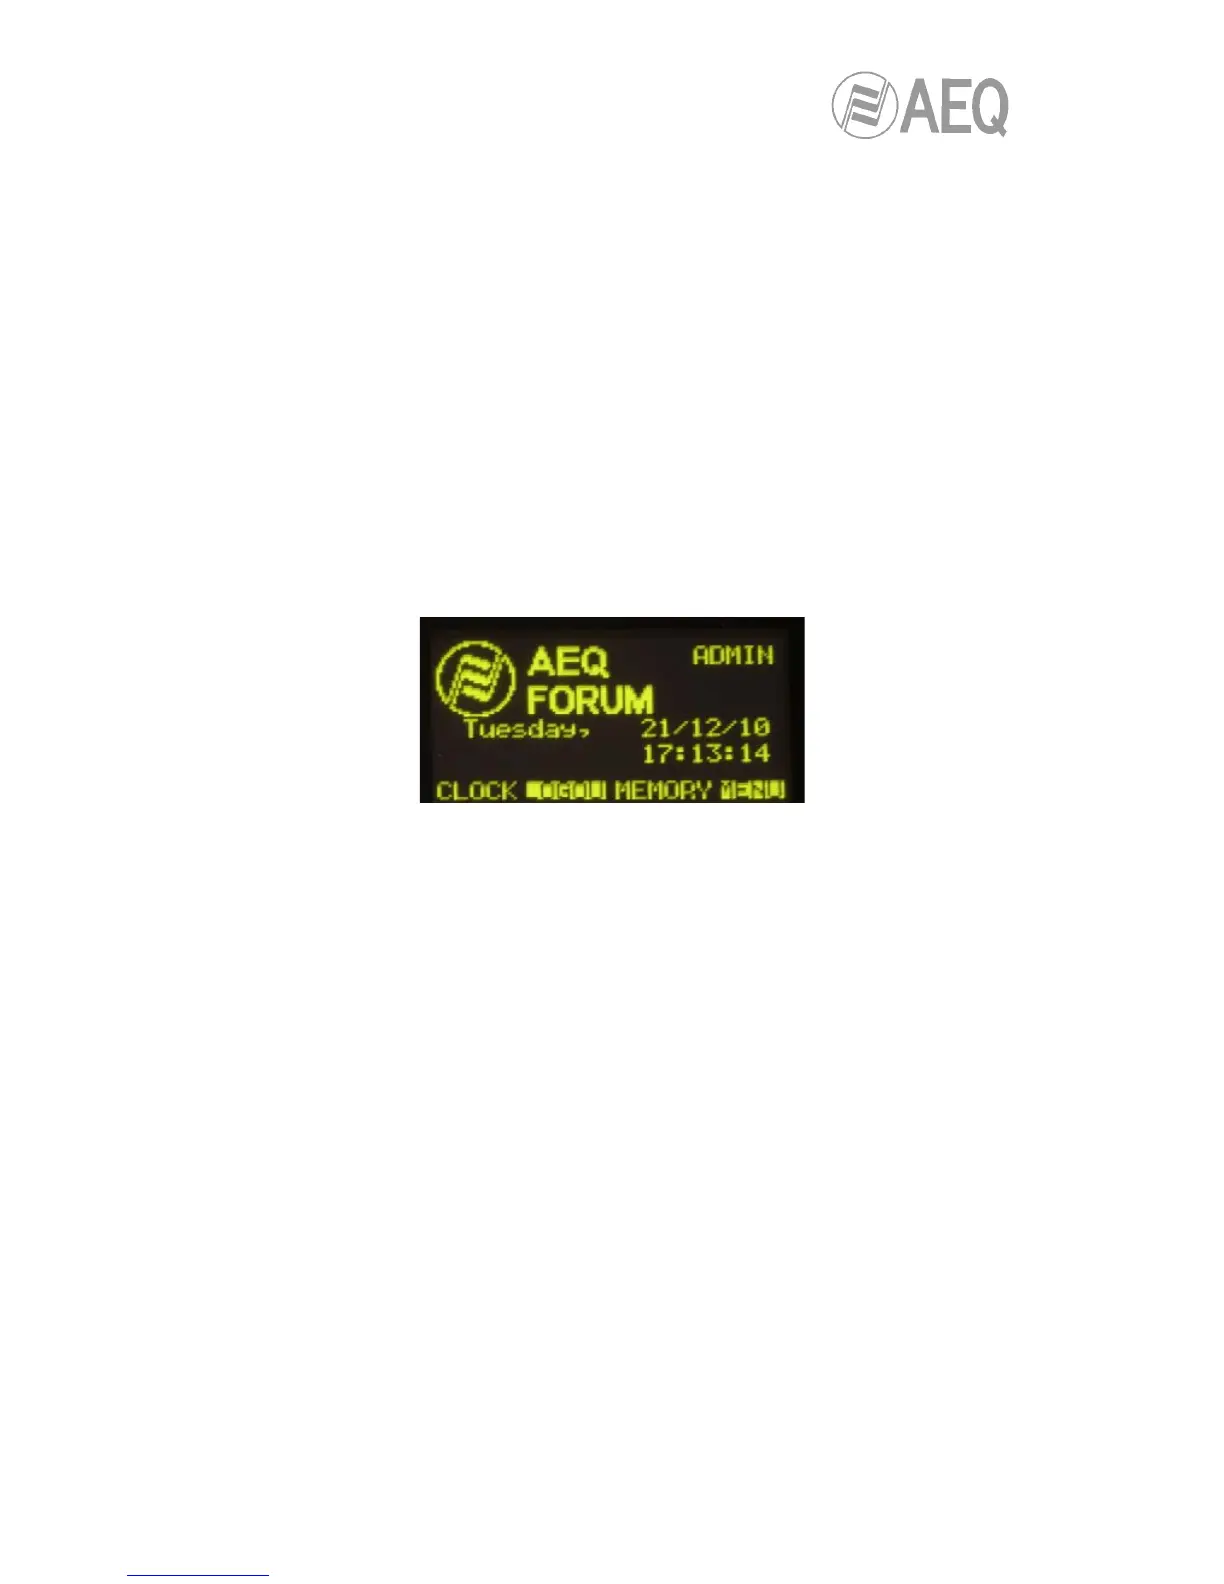
The default screen in AEQ FORUM shown in the main Control and Monitoring section display
includes the AEQ logo, the product name, the active user level and current date and time.
The four options visible on the last line of the display are associated with the four contextual
keys below, from left to right:
• “CLOCK”: allows you to access to the system date and time configuration menu, as
well as to the chronometer and countdown availalble functions.
• “LOGOU”/“LOGIN”: allows you to access to the users registration menu (“LOGIN”) or
leave the current active user (“LOGOU”).
• “MEMORY”: allows you to access to the system snapshot memory bank. There are 7
memory positions available in order to store different configurations.
• “MENU”: allows you to access to the advanced menu for audio inputs/outputs, routing
and processing configuration.
In the upper right part of the display the level of the active user is shown (it changes between
“BASIC”, “ADVAN” and “ADMIN”). For more information, please refer to section “3.2.
LOGIN/LOGOUT menu” of this manual.
3.1. “CLOCK“ menu.
This menu enables you to set the date and time displayed in the system (but not the option of
synchonization with a external master clock, which is only configurable from the configuration
software: see section 4.2.5 in this manual), as welll as activate and control the Chronometer
and Countdown functions.
The initial screen shows the current system time (HH/MM/SS) and, up on the right, the date
(DD/MM/YY).