Columns and Traps
Installing capillary columns
Released: March 2004 6850 Series II GC User Information page 41 of 256
7. Tighten the column nut an additional 1/4 to 1/2 turn so that the column
cannot be pulled from the fitting when gentle pressure is applied.
8. After the column is installed at both inlet and detector, establish a flow of
carrier gas through the inlet. Heat the oven, inlet, and detector to oper-
ating temperatures. Allow these to cool, and then retighten the fittings.
Installing columns in the cool on-column inlet
Before installing the column, be certain you have the correct hardware
installed for the column and type of injection you are doing. See “Maintaining a
cool on-column inlet” on page 166 for detailed information.
Materials required
Column nut and ferrule
Column cutter
1/4-inch wrench
1. Prepare the column. See page page 27 for instructions.
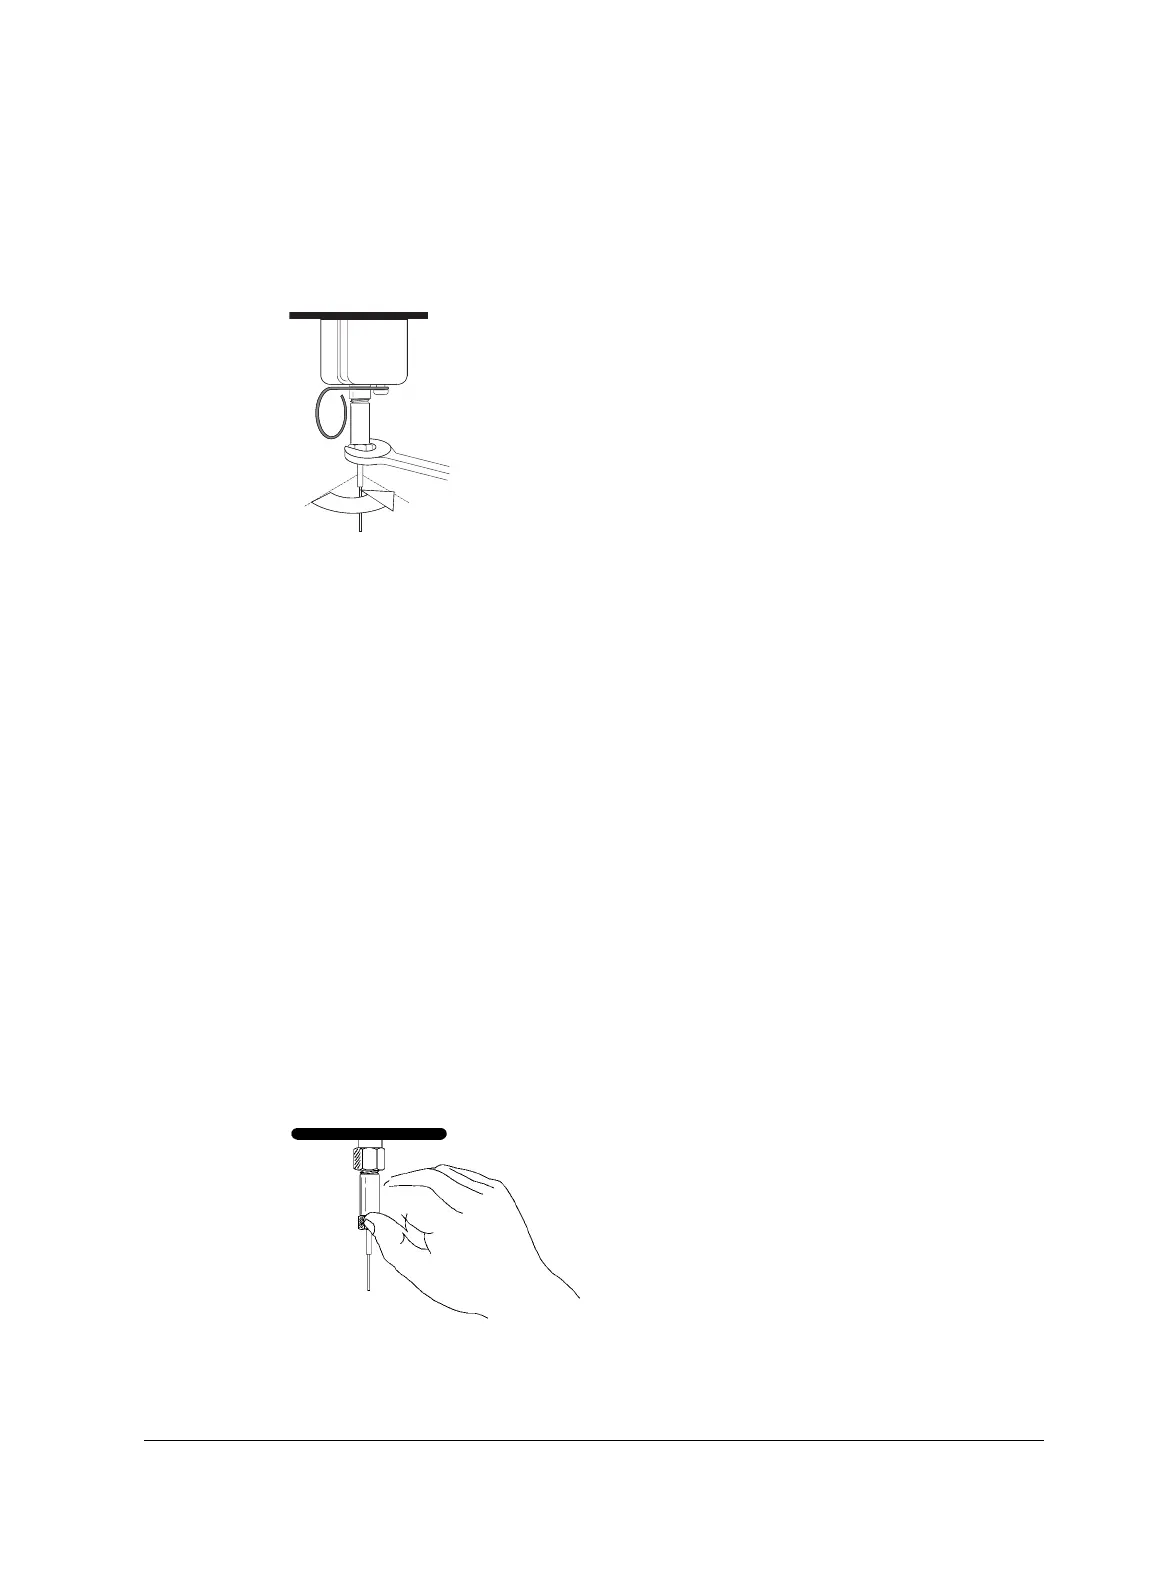
2. Gently insert the column into the inlet until it bottoms. Insert the column
nut into the inlet fitting and tighten the nut finger tight.
3. Tighten an additional 1/4-turn with a wrench or until the column does not
move.
1/4 turn

 Loading...


