14 Maintaining the ECD
To Install a Capillary Column in the ECD
Maintaining Your GC 237
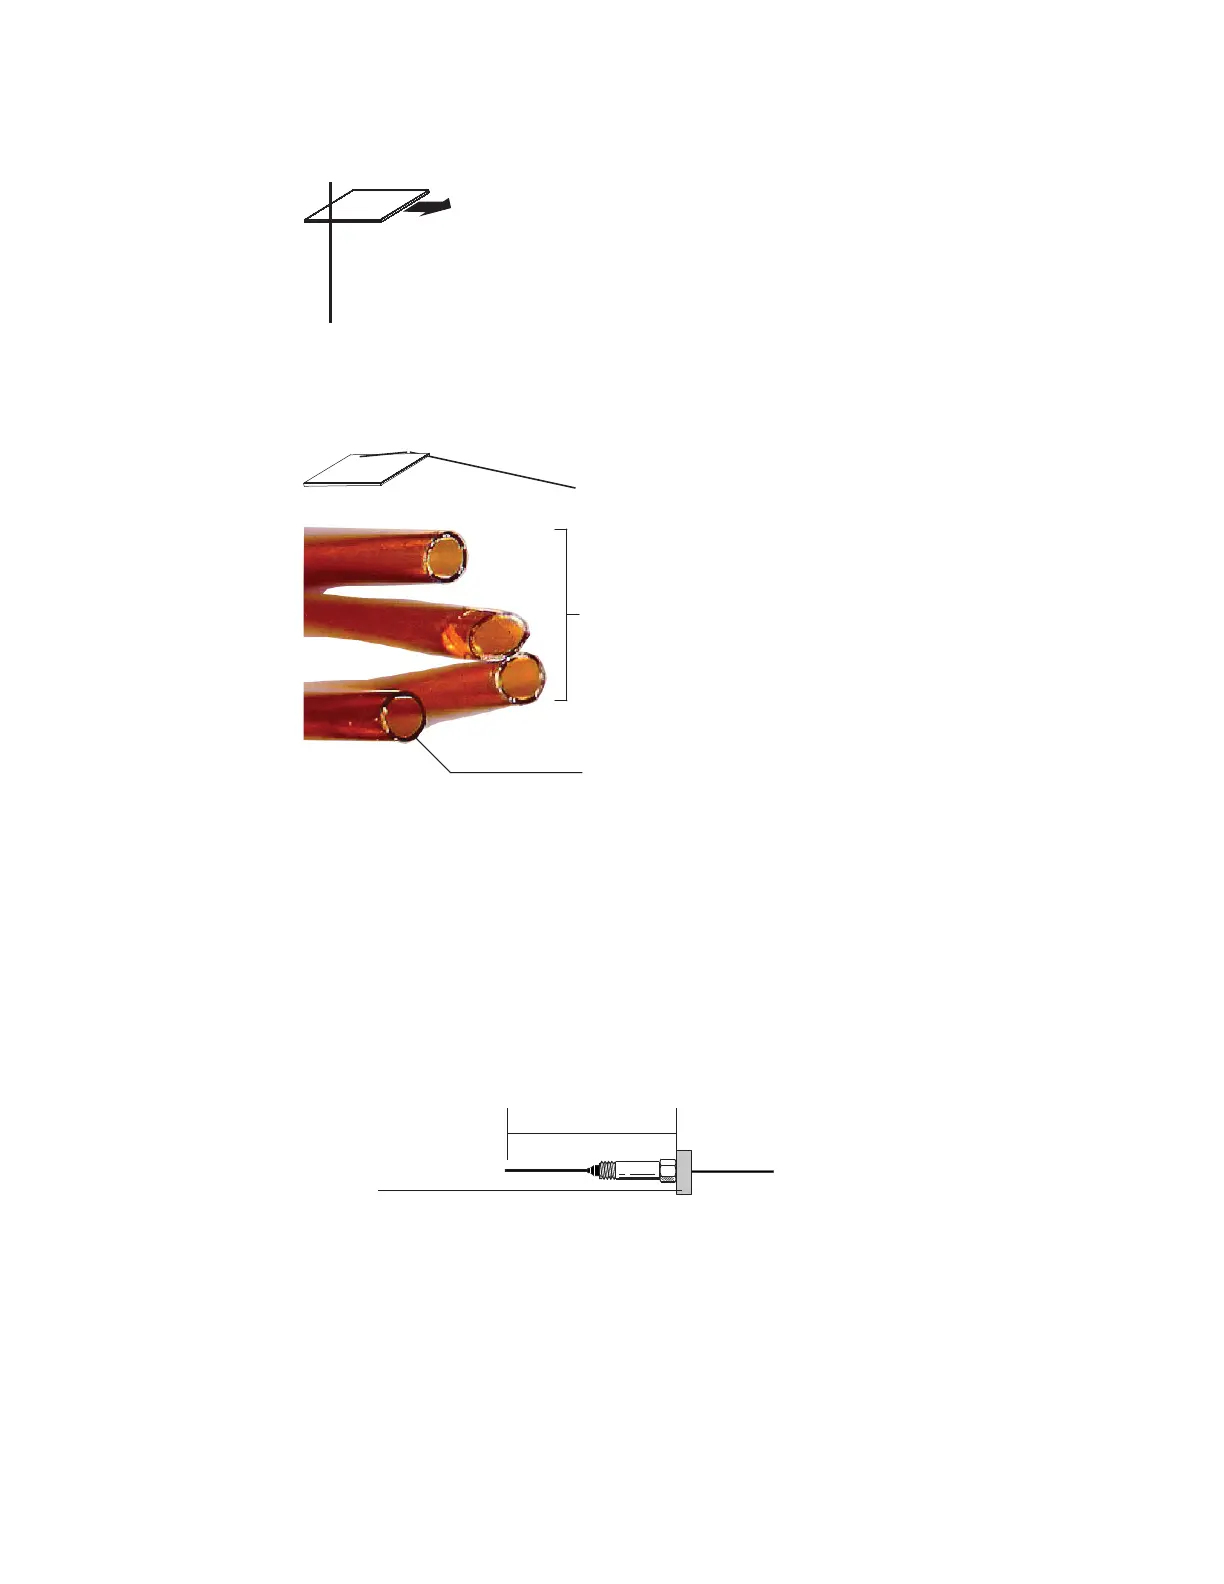
6 Break off the column end by supporting it against the column cutter opposite the scribe.
Inspect the end with a magnifying loupe to make certain there are no burrs or jagged
edges.
7 Wipe the column walls with a tissue dampened with isopropanol to remove fingerprints
and dust.
8 Install the column.
If the column id is 200 um or more, push the column into the adapter until it stops at the
indentation. Pull it back 1 to 2 mm and tighten the column nut with one 5/16-inch wrench
on the adapter and another 1/4-inch wrench on the column nut.
If the id is less the 200 um, mark the column with a septum 70 ± 1 mm from the end.
Insert column and nut into the adapter with the septum at the rear of the column nut, and
tighten the column nut with one 5/16-inch wrench on the adapter and another 1/4-inch
wrench on the column nut.
9 After heating the detector, retighten the 9/16-inch makeup adapter nut and 1/4-inch
column nut.
10 Exit maintenance mode. Select Maintenance > Instrument > Perform Maintenance >
Maintenance Mode > Finished.
70 ± 1 mm
Septum

 Loading...


