9 Maintaining the PTV Inlet
To Change the Liner on the PTV Inlet
156 Maintaining Your GC
To Change the Liner on the PTV Inlet
1 Gather the following:
• Installation tool for 3D ferrules, see “Consumables and Parts for the Programmable
Temperature Vaporization Inlet” on page 144.
• Assembly tool (part number G2617-80540)
• Replacement liner
• Graphpak 3D ferrule
• 5/16-inch wrench
• Lint-free gloves
2 Launch the GC maintenance wizard: Maintenance > Inlets, select the inlet, then select
Perform Maintenance > Replace Liner and O-Ring > Start Maintenance. The wizard will
walk through the steps needed to replace the liner (those same steps are repeated below).
Be careful! The oven and/or inlet may be hot enough to cause burns. If either is hot, wear
heat-resistant gloves to protect your hands.
Wear clean, lint-free gloves to prevent contamination of parts with dirt and skin oils.
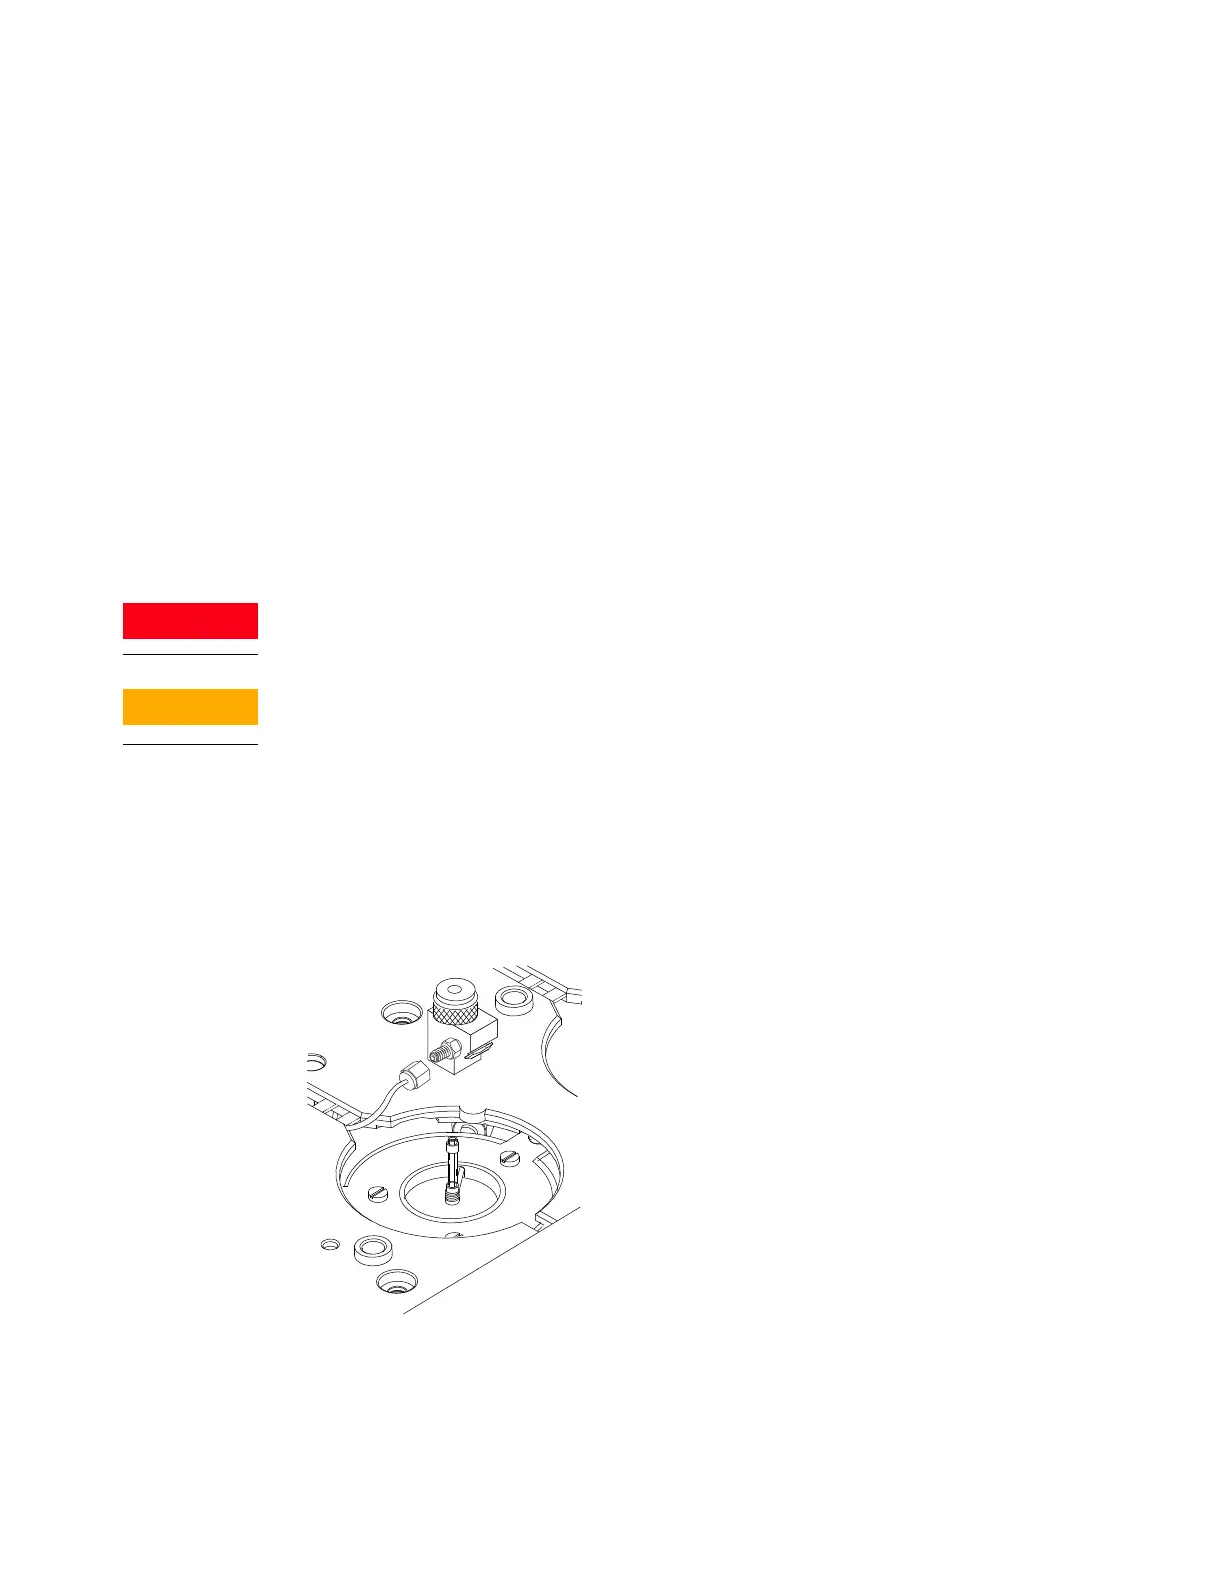
3 Remove the head from the inlet:
• For septumless head, disconnect the carrier gas line and unscrew and remove the
septumless head assembly from the inlet.
• For septum head, loosen the septum head assembly from the inlet. Lift the head to clear
the inlet and push to either side. Do not bend the 1/16-inch lines too much.
4 Grasp the liner by the Graphpak 3D ferrule. Remove the liner from the inlet.
5 Unscrew the assembly tool into two pieces: the ferrule guide and the compression fitting.

 Loading...


