6 Maintaining the Purged Packed Inlet
To Install a Capillary Column with the Purged Packed Inlet
78 Maintaining Your GC
To Install a Capillary Column with the Purged
Packed Inlet
1 Gather the following:
• Column
• Ferrule, see “Consumables and Parts for the Purged Packed Inlet” on page 74.
• Column nut
• Glass liner
• Viton O-ring
• 0.53-mm column adapter
• Septum
• Two 1/4-inch wrenches
• Metric ruler
• Lint-free gloves
2 Place GC in maintenance mode: Maintenance > Instrument > Perform Maintenance >
Maintenance Mode > Start Maintenance. Wait for the GC to become ready.
Be careful! The oven and/or inlet may be hot enough to cause burns. If the inlet is hot, wear
heat-resistant gloves to protect your hands.
Wear safety glasses to protect your eyes from flying particles while handling, cutting, or
installing glass or fused silica capillary columns. Use care in handling these columns to
prevent puncture wounds.
3 Install a 0.53-mm column adapter. See “To Install an Adapter on the Purged Packed
Inlet” on page 86.
Wear clean, lint-free gloves to prevent contamination of parts with dirt and skin oils.
4 Install a new Viton O-ring. See “To Change the O-Ring on the Purged Packed Inlet” on
page 87.
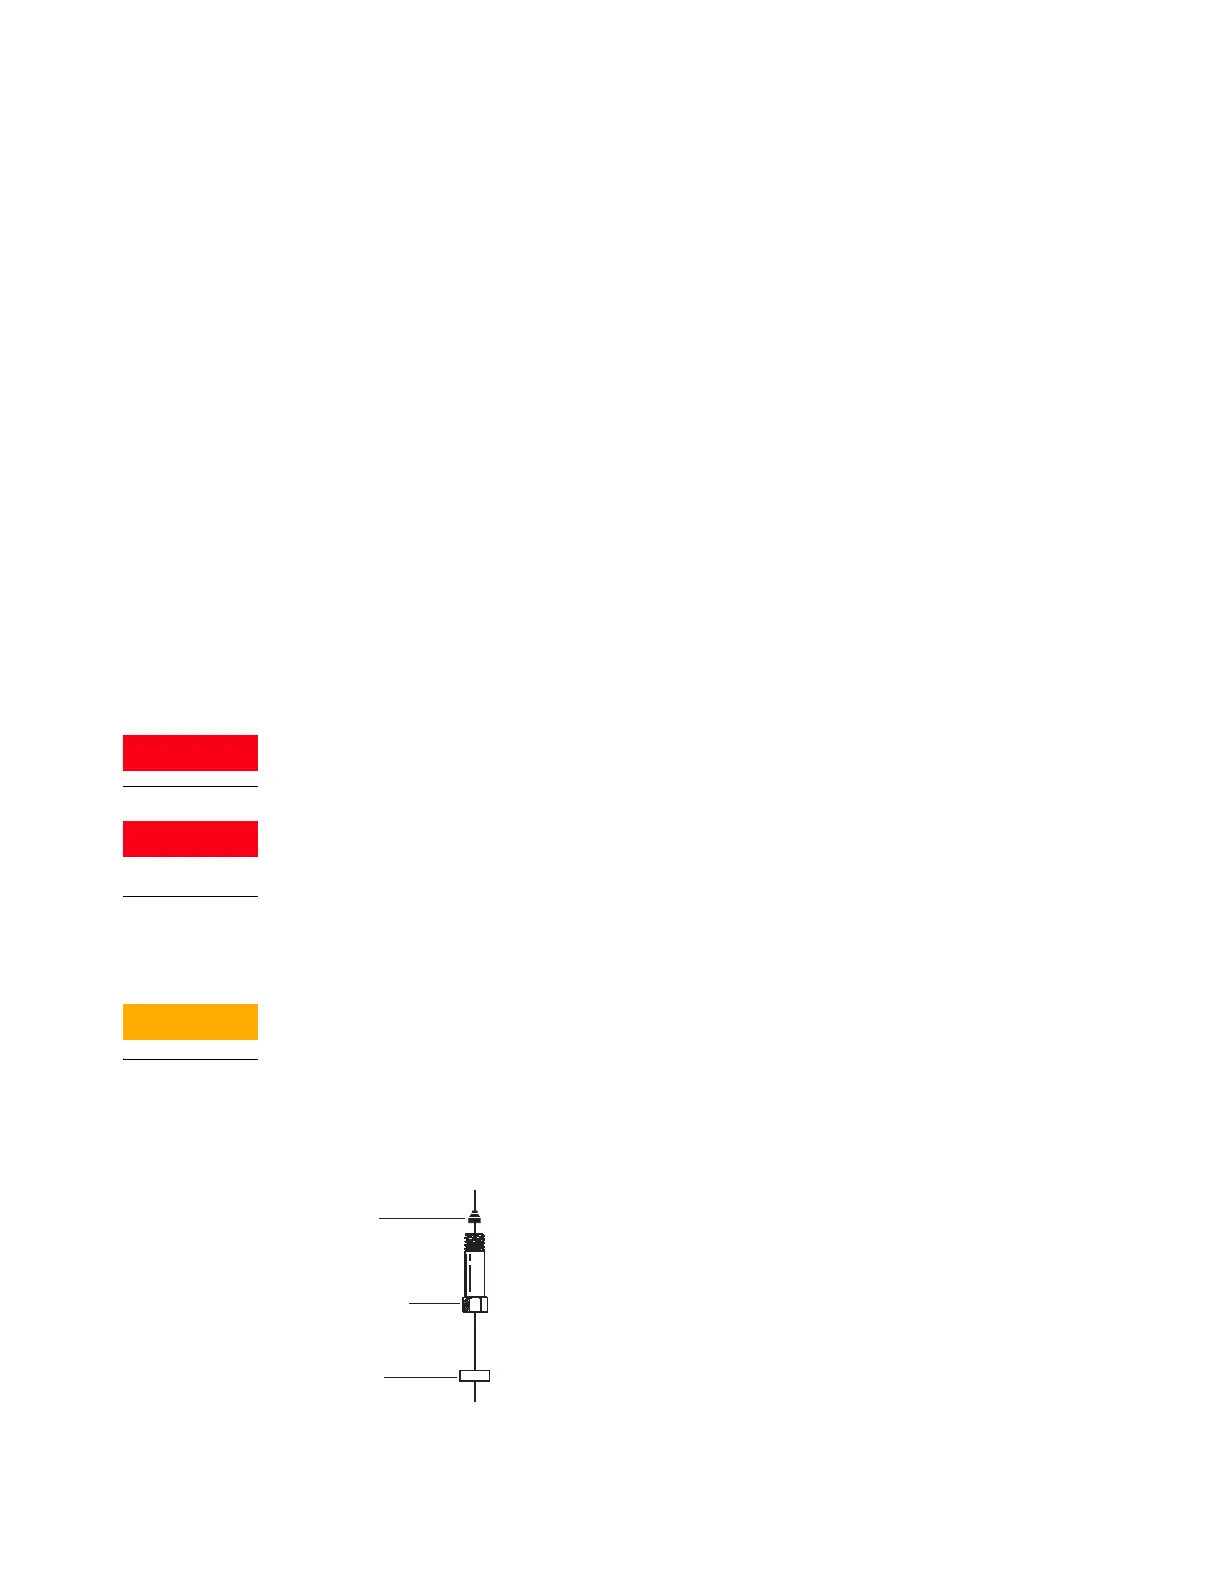
5 Place a septum, capillary column nut, and ferrule on the column.

 Loading...


