50 Agilent SPS 4 Autosampler User’s Guide
3 Installation
Confirming the Operation
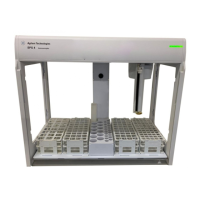
When the autosampler is turned on it will go through initialization tests
and set the probe position. If the initialization process is not successful,
refer to the troubleshooting information that is provided in “Initialization
Problems” on Page 68.
Ensure that the probe arm’s movement is not interfered with during
operation/initialization.
During the initialization sequence:
1 The probe moves upwards on the Z- axis and stops.
2 The probe arm moves in the opposite X- axis direction to which the
probe arm is facing and homes against an end frame.
3 The X- axis may move to clear the end frame. The probe arm rotates
counter- clockwise on the Theta- axis and stops.
4 The X- axis homes against the left end frame.
5 The probe arm moves to the four corners of the rack location mat.
6 The probe arm stops above the fixed wash reservoir.
Setting up the Instrument Controlling Software for SPS 4
You need to set up your instrument control software in order to set
parameters such as the rack configuration, the communication port, probe
depth, and so on. For instructions on how to install your instrument
software, see the associated documentation or the instrument Help.
Ensure that the autosampler can be controlled by the instrument software
when setup is complete.
NOTE
Auxiliary Communications Port
The Auxiliary communications port is not used in current Agilent software.