20
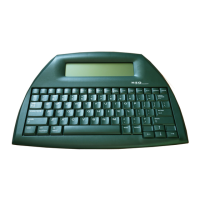
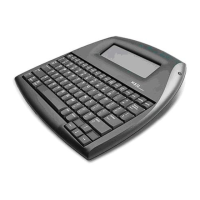
NEO 1 and NEO 2
User Manual
G ETTING STARTED
Setting Up Infrared Beaming and Installing AlphaBeam
. . . . .
11. If you are using Windows 2000, Windows XP, or Windows Vista and you
have other IR-capable devices that you want to use with your computer,
follow these steps:
a. Windows 2000: Click Start Settings Control Panel.
Windows XP and Vista: Click Start Control Panel.
b. Double-click Add/Remove Hardware (Windows 2000) or Add
Hardware (Windows XP and Vista). (If you don’t see the Add
Hardware option in Windows XP, double-click Printers and Other
Hardware first to see it.)
c. Follow the instructions in the Wizard that appears until you see a list of
devices in the Choose a Hardware Device window (Windows 2000) or
the Add Hardware Wizard window (Windows XP and Vista).
d. Windows 2000: Double-click Add a new device; then, click Select
hardware from a list and click Next >.
Windows XP and Vista: Double-click Add a new hardware device;
then, click Install the hardware that I manually select from a list
and click Next >.
e. Select Infrared Devices from the list of hardware types.
f. Select ACTiSYS from the list of manufacturers; then, select the
ACTiSYS IR-220L Serial Infrared Device.
g. Click Next > to accept the default settings and install the software.
h. Select the serial (COM) port that your IR pod is connected to; then,
click Finish.
i. Windows 2000 and XP: Go back to the Control Panel and double-click
Wireless Link. (In Windows XP, you may need to double-click
Printers and Other Hardware before you can double-click Wireless
Link.)
Windows Vista: Go back to the Control Panel and double-click
Infrared.
j. Click the Image Transfer tab and remove the check mark next to Use
Wireless Link to transfer images from a digital camera to your
computer.
You’re now ready to start using AlphaBeam to receive files from your NEO.
 Loading...