G ETTING STARTED
Setting Up a Renaissance Receiver for NEO 2
23
. . . . .
NEO 1 and NEO 2
User Manual
2. Type 1234 and click OK to log in. (This is the default Administrator PIN. If
you have changed the PIN, enter your new PIN.) If necessary, click Start.
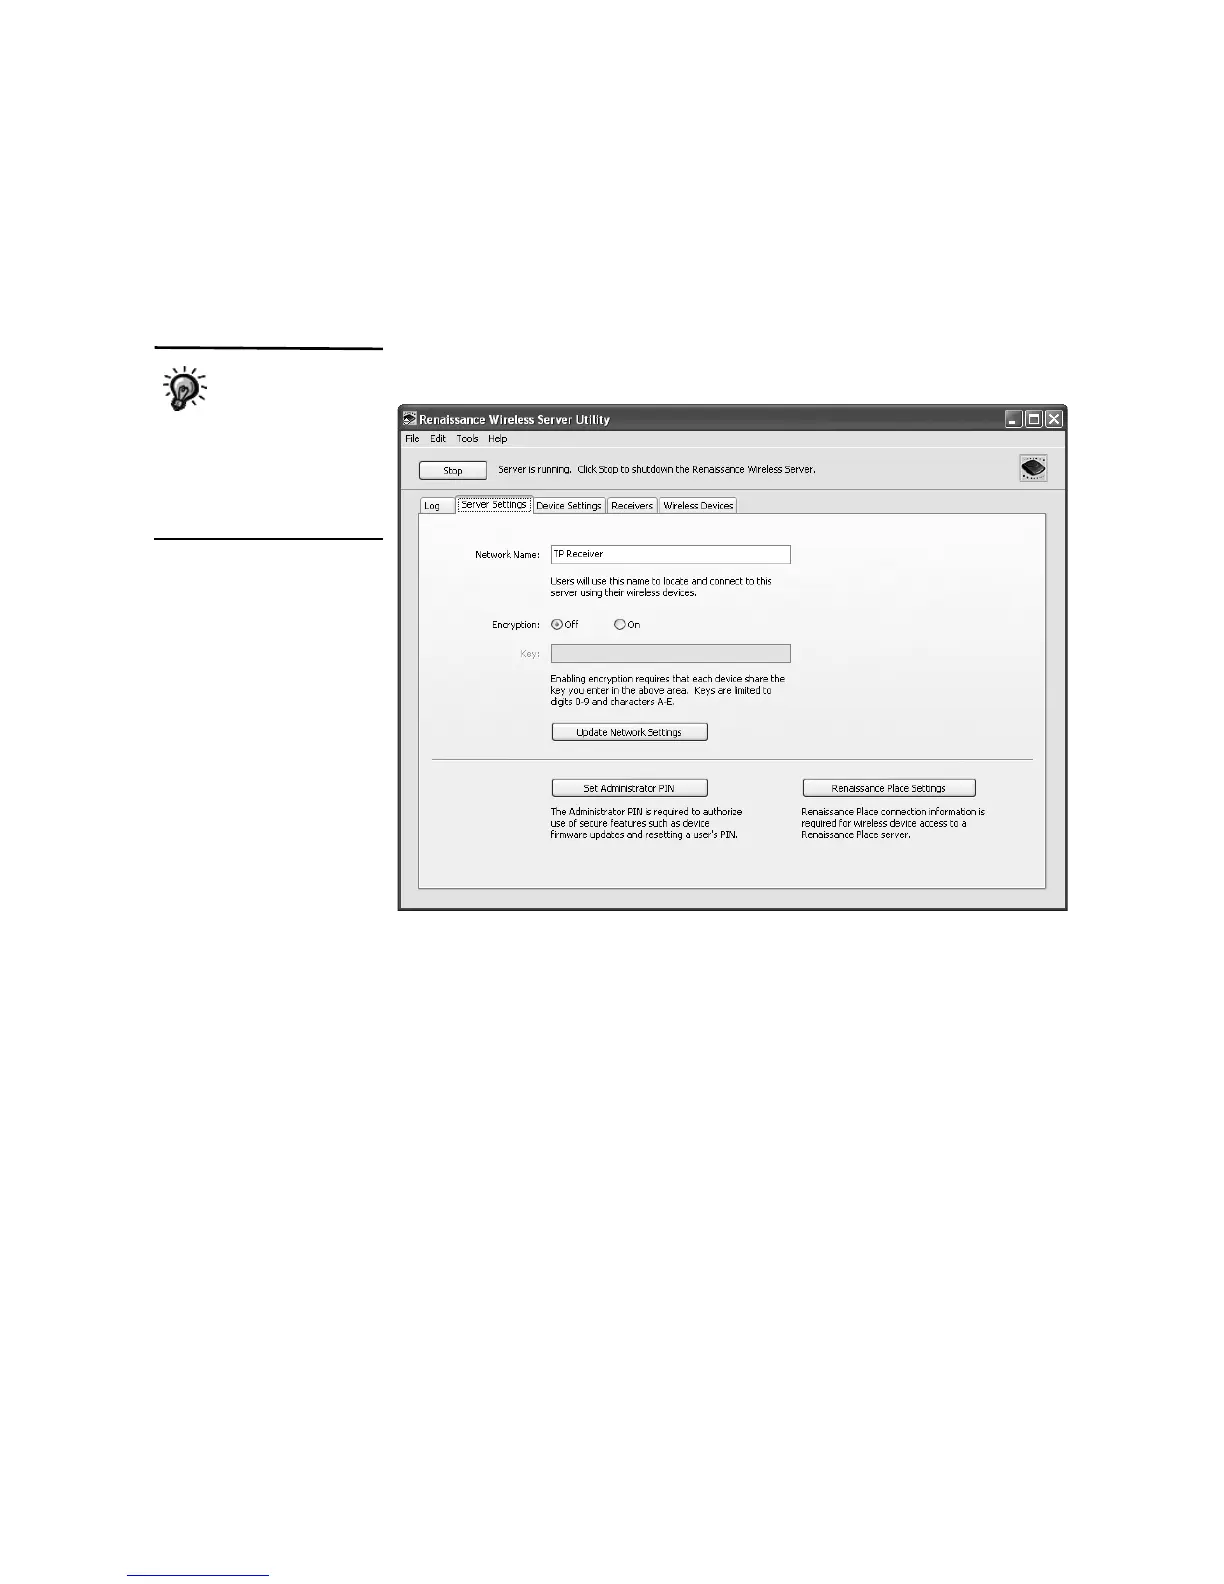
3. Click the Server Settings tab.
4. Enter a new name in the Network Name field
A. Make sure the name is
different from the name of your school’s other Receivers.
5. Click Update Network Settings
B.
6. Click OK when the program finishes updating the network settings. Make
sure your students know the Receiver name.
You can also change
the Administrator
PIN on this tab by
clicking Set Administrator PIN,
entering a new PIN, and
clicking OK. Be sure to update
the network settings if you do
this.
A
B



 To Next Page