Ch. 6. Fluid Imaging in a Droplet Sec. 6.3. Preparing for Imaging
6.3.6.2. Focus on the cantilever
1.
Adjust objective focus ring:
• Move the focus offset ring on the
objective to the 2mm position. This is
necessary in order to compensate for the
change in focal depth of the objective
focusing through the glass window and
liquid.
Note: Moving the focus offset ring to 2mm is
important to correctly focus the instrument’s
optics. The system requires correctly
knowing the tip and sample focus in order to
avoid the tip crashing into the sample and for
proper deflection detection.
2. Focus on the cantilever as you would normally do for air imaging, outlined in more detail in 4.3.
We assume you are familiar with that tutorial and will only cover the main points briefly.
3. Set the cantilever focus position.
4. Use Spot On to move the cantilever under the AFM light spot.
5. Zero the deflection voltage.
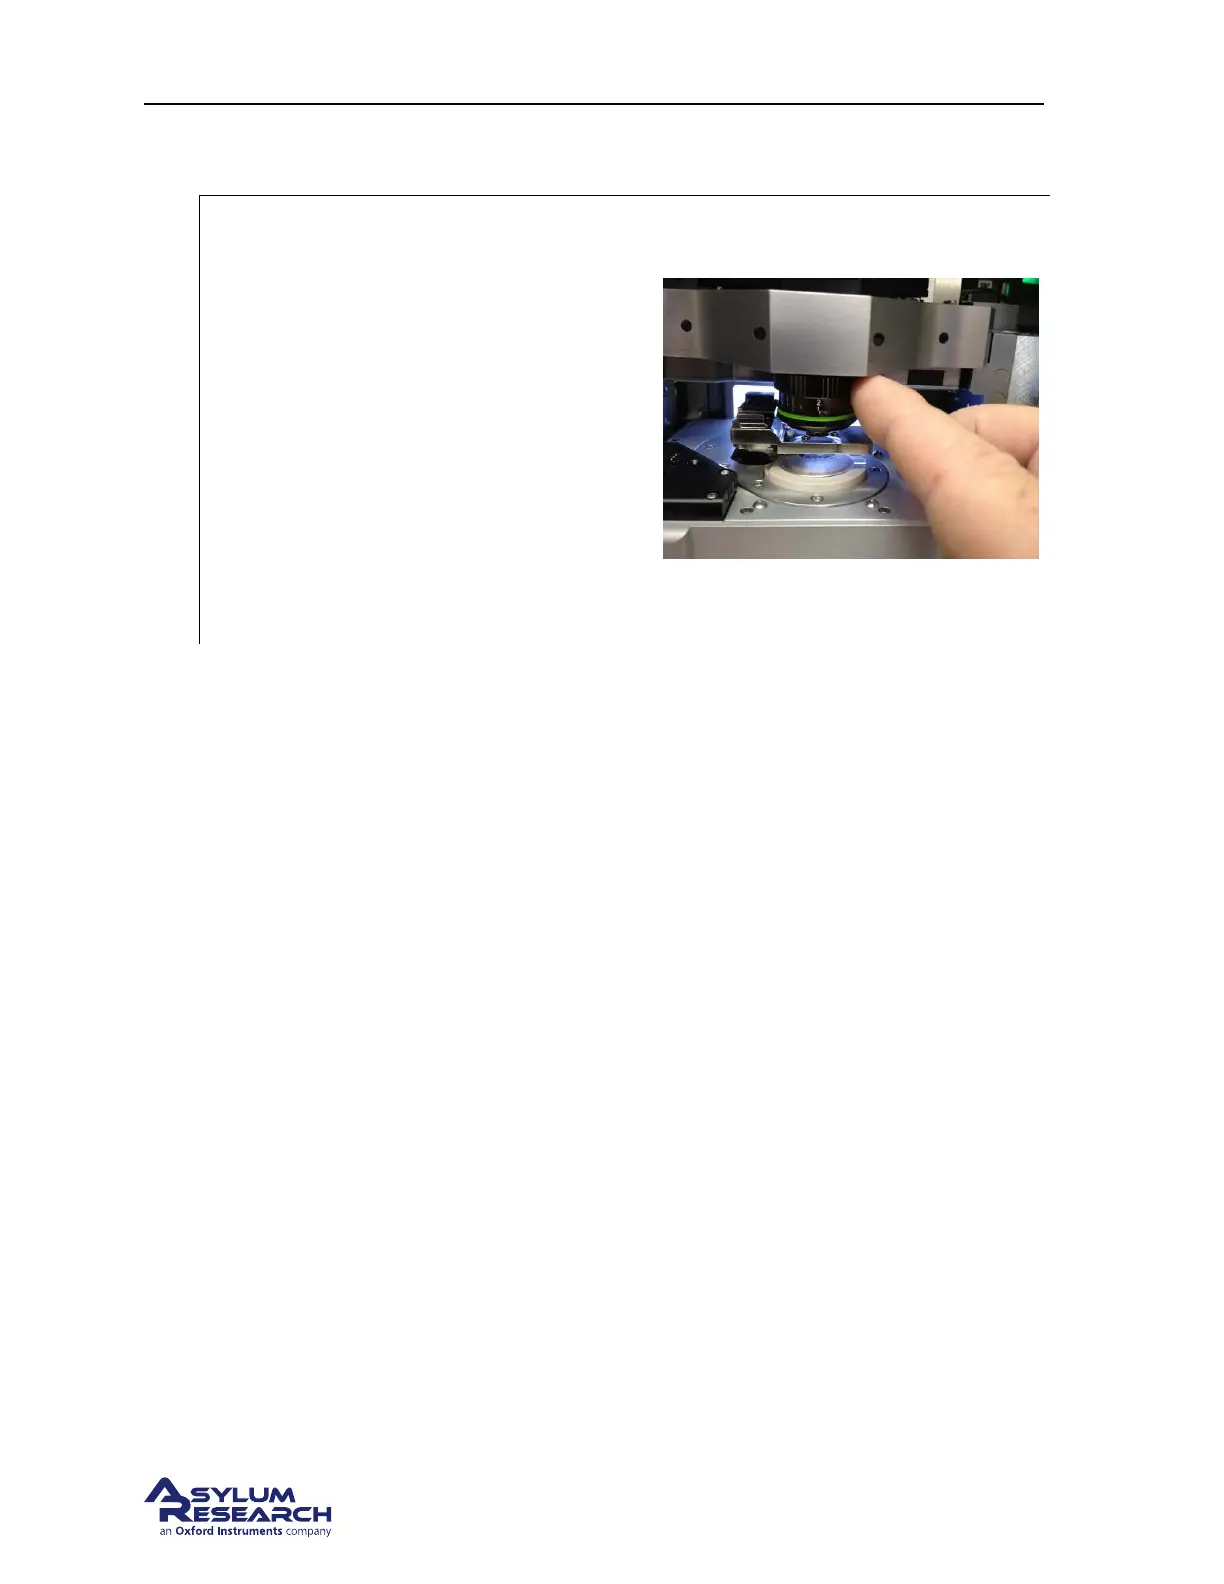
Note: On occasion, an air bubble may get trapped between the glass window and the cantilever. If this
has happened, raise the droplet holder out of the liquid and lower it back into coarse position over the
sample. If the bubble is still there you may need to remove the droplet holder, suck off any liquid on the
window and reapply a fresh drop to the cantilever area.
6.3.6.3. Focus on the sample
1. Lower the objective until features on the sample surface come into focus.
2. Set the sample focus position.
3. Click on the ’Move to Pre-Engage’ button.
4. Make any adjustments to the AFM spot or the deflection voltage before engaging the tip.
Using the Field Diaphragm to focus on transparent samples
In cases where there is nothing to focus on because the specimen is featureless and the substrate is
transparent, you can focus on the edge of field diaphragm which typically comes into focus about 30µm
above the actual sample surface.
Being familiar with this method takes a little practice but once you know what visual ques to look for, it
becomes relatively easy.
BETA
Page 62