Ch. 6. Fluid Imaging in a Droplet Sec. 6.6. Cleaning and Repair
Note: There is a small recessed area in the metal ring where the piezo actuator fits. Be careful not to hit
the piezo or twist the window into position.
1.
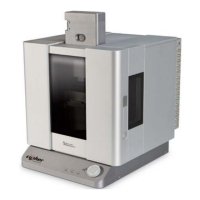
Secure the window assembly
Tools 0.050” hex driver or Allen wrench.
• Using a finger to hold the window in
place, thread the three 0-80x7/64”
socket head screws the window to the
holder using. Once all three screws are
started, gently tighten them with
uniform pressure.
Note Do not over tighten the screws. A small
amount of torque is all that’s required.
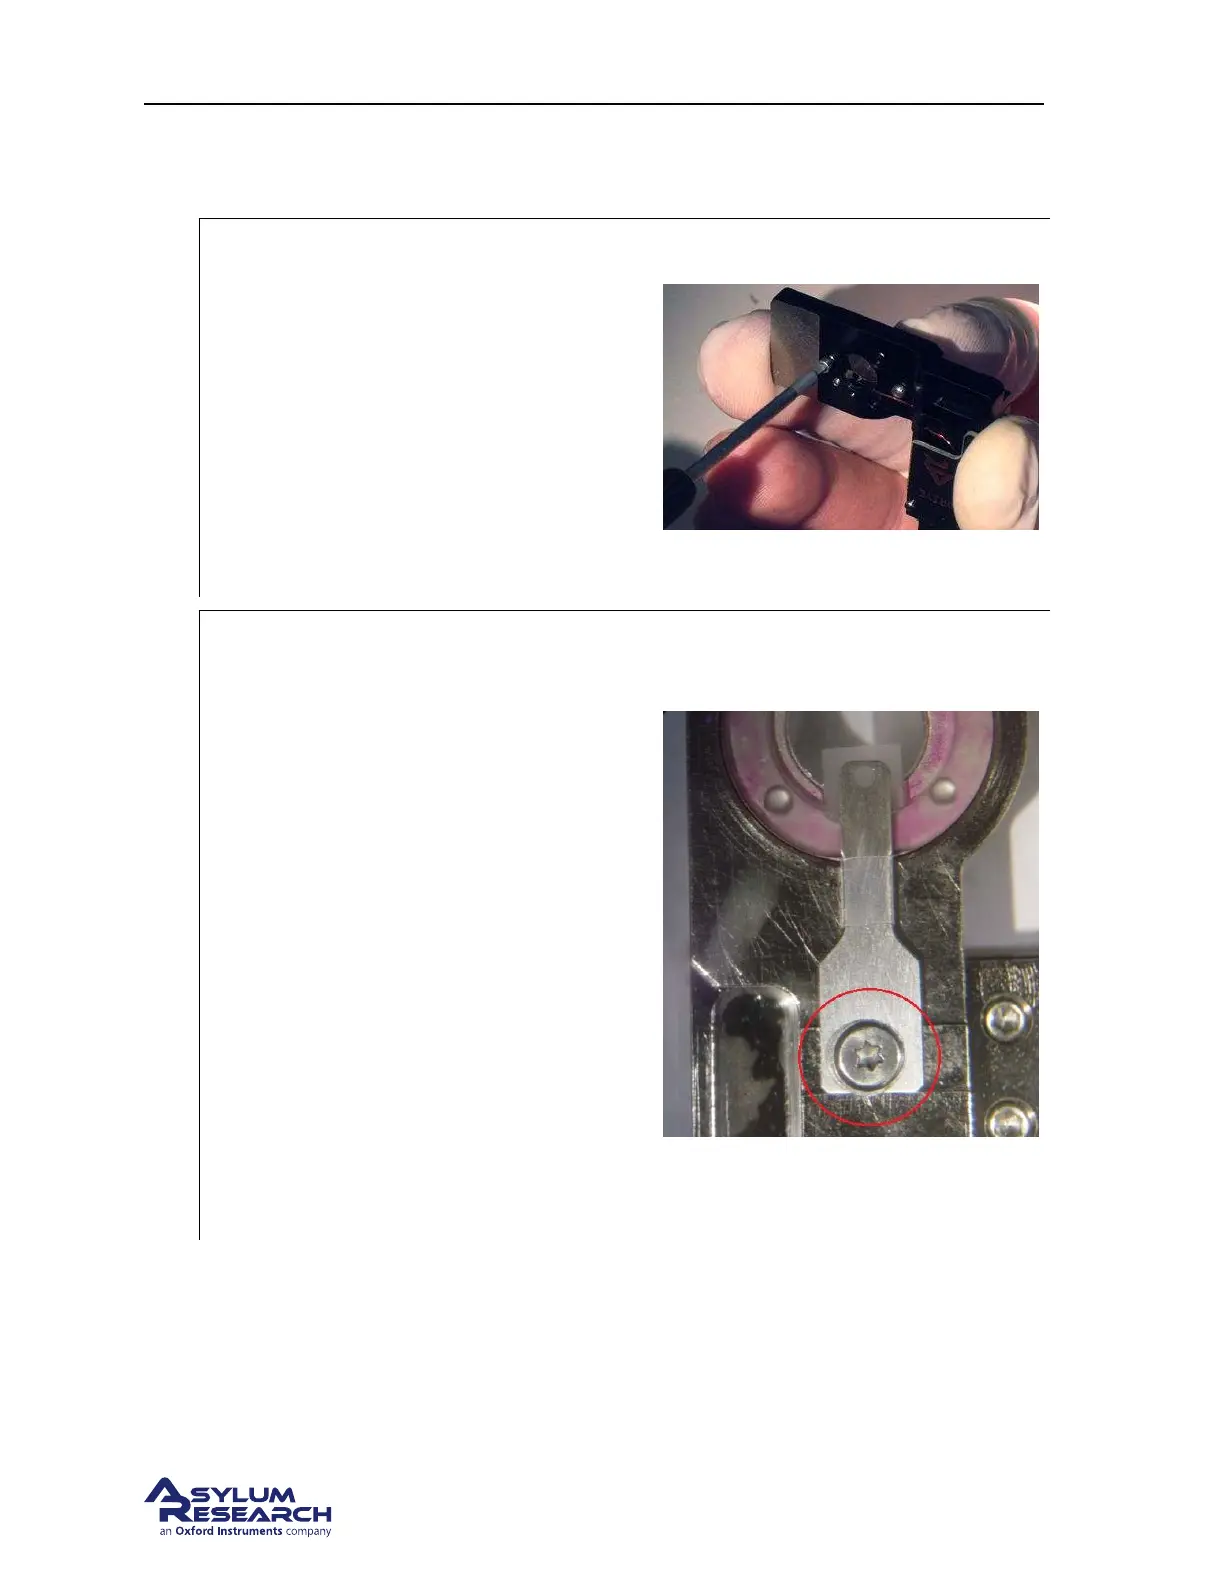
2.
Install the cantilever clip
Tools 0.050” hex driver or Allen wrench.
• Lay the cantilever holder body circuit
board side down.
• Place the clip on the holder body with
the taper on the clip facing away from
the window.
Note The end of the clip is tapered to provide
clearance between the underside of the clip
and the sample surface. Be sure the flat side is
against the glass and the taper is away from
the glass.
• Secure the clip to the holder with the
Torx screw and washer. The clip may
want to rotate as you tighten the screw.
Use a pair of tweezers to hold the clip in
the center of the ramp while you tighten
the screw.
6.6.4. Adjusting Piezo Preload
When first disassembling the droplet holder for cleaning, the preload screw was loosened. Doing this
allows you to readjust the compression on the piezo element properly after it is reassembled. This is
recommended since the amount of compression is very small and the piezo position may change when
you remove and reinstall the glass window.
BETA
Page 73