The power en try mod ule has a strip of in di ca tor tape show ing its mains
volt age set ting. This tape must be removed before use.
You MUST be sure that the ATS-2 mains power configuration
is correct for the electrical mains power supplied in your area.
If you are not sure, do not plug ATS-2 in to the mains power.
Follow the instructions below to check or change the ATS-2
mains supply voltage selection.
The mains power sup ply is ap plied to ATS-2 through the power en try
mod ule lo cated on the rear panel. Be fore con nect ing the power cord, con -
firm that the in put volt age se lec tion and fus ing ar range ment in the power
en try mod ule are cor rect for your mains power supply.
Checking the Mains Supply Voltage Configuration
The volt age in di ca tor pin pro trudes through one of the four la beled
holes in the mod ule cover to in di cate the se lected in put volt age, as shown
in Fig ure 2. Check that the in di cated volt age matches your mains sup ply
voltage.
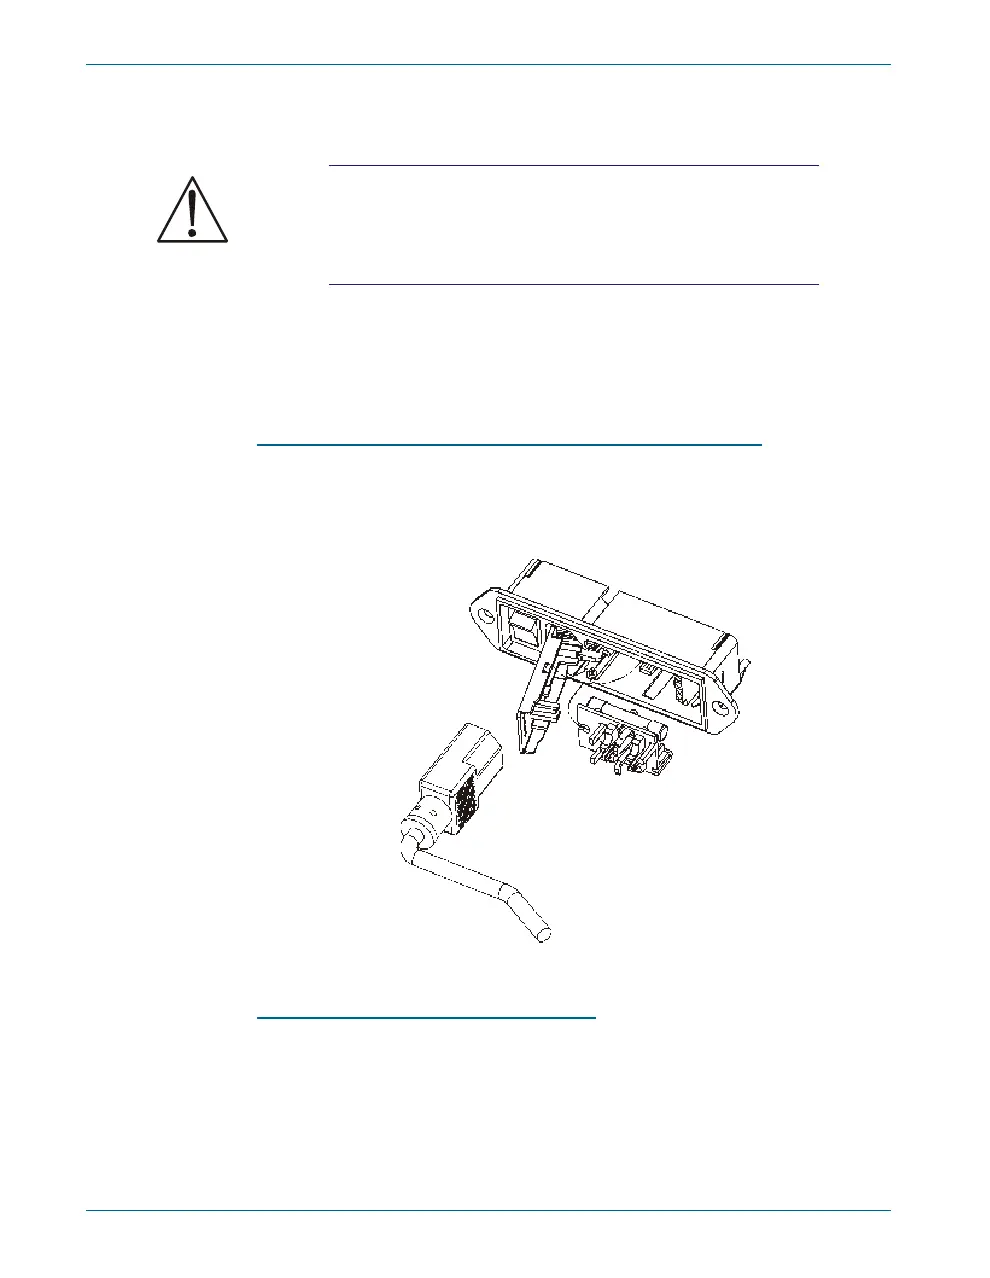
Opening the Power Entry Module
Un plug the power cord from the in stru ment be fore chang ing fuses or
per form ing any other op er a tions de scribed in this section.
To open the Power En try Mod ule, re fer to Fig ure 3 and pro ceed as fol -
lows:
Chapter 2: Installation and Setup for APIB Setting Up the ATS-2 Hardware
10 Getting Started with ATS-2
Figure 3. Power entry module door and fuse block.