12. User Settings and other options - Page 205
TitanUniversal_Man_v8-0_TT.doc 05 August 2014
• The software will allow you to configure more than 12 universes
from a single console but performance of the console will be
degraded. A warning will be shown in the processing load
section of the TitanNet overview.
12.4.1 Configuring DMX outputs
Switch the console to System mode and select [DMX Settings] on the
second page of options.
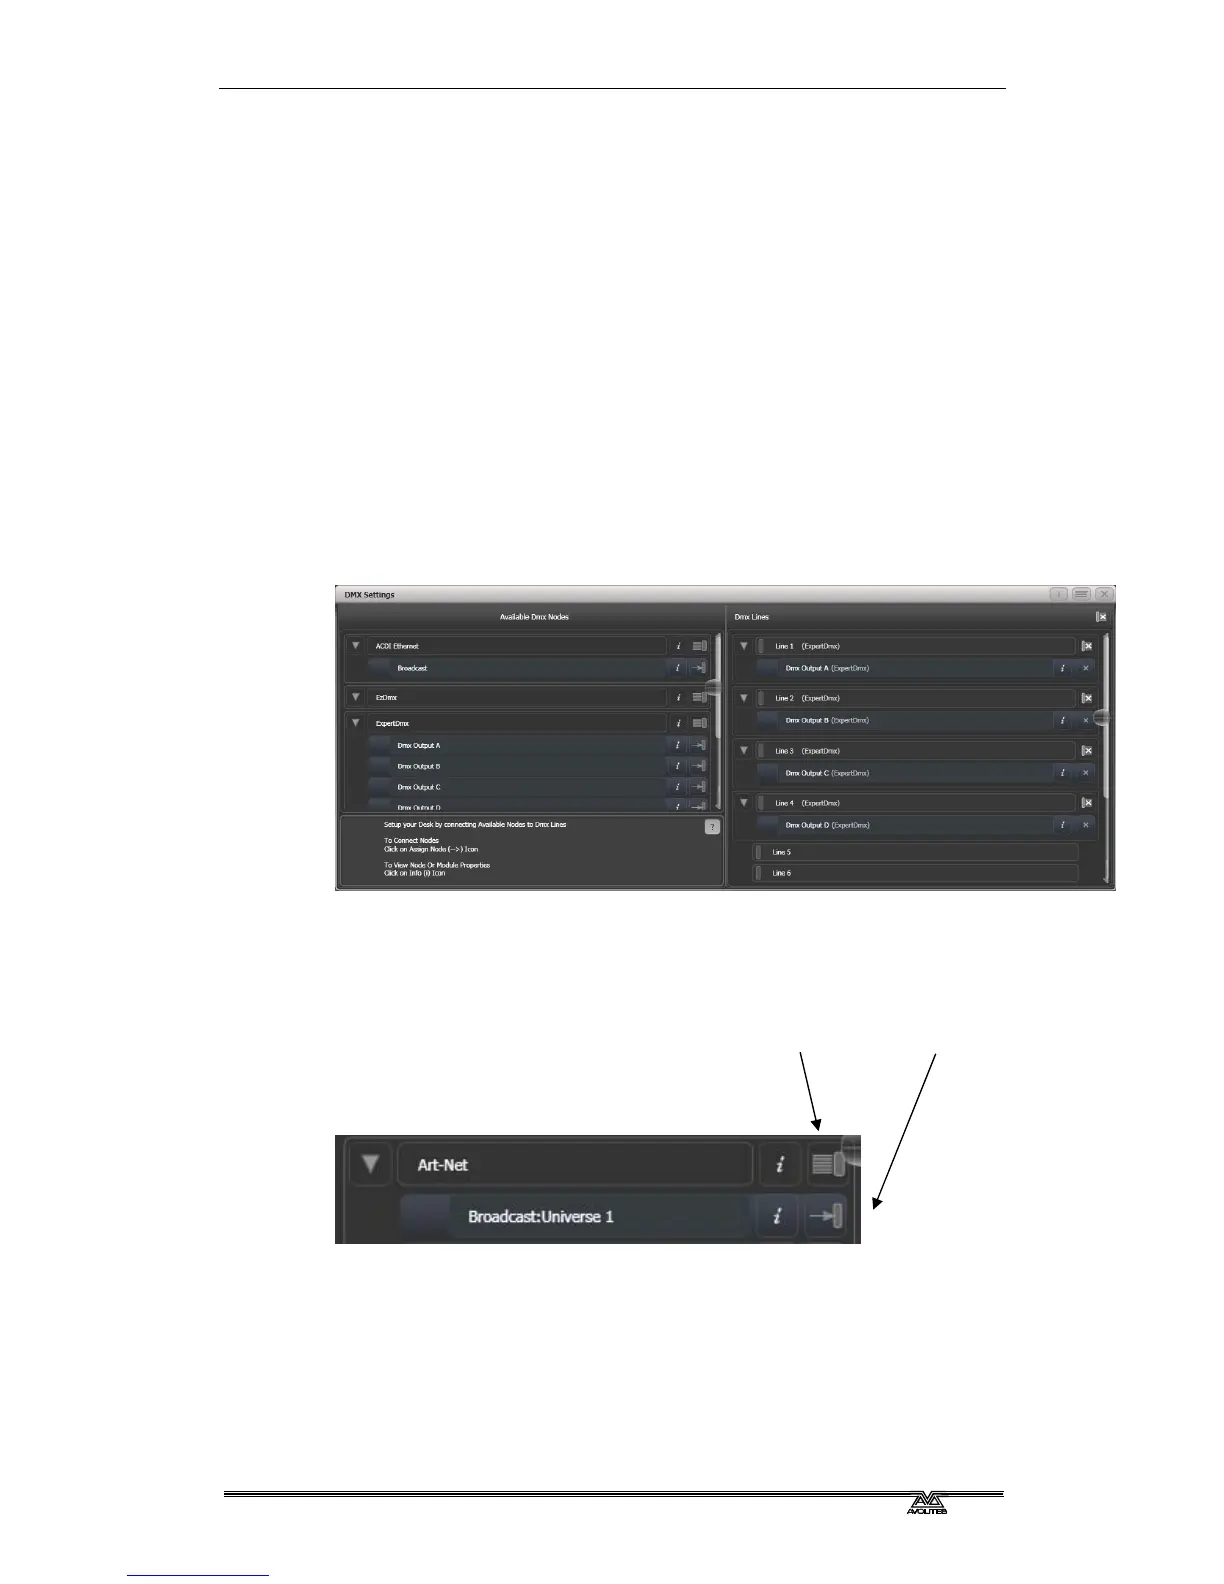
The screen will initially show the node tab relating to the console
itself. It shows a list of available DMX nodes (places where you can
send the DMX to) on the left, and a list of the 12 available DMX lines
(outputs generated by the console) on the right. Each DMX line can
send data to one or more nodes. If you assign more than one node to
a line, those nodes receive duplicated data.
On the right hand side, under each DMX Line there is a list of which
nodes are linked to that line. The default setting is for DMX Lines 1-4
to be linked to DMX Nodes Output A-D, the four XLR sockets on the
console.
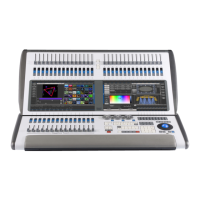
You can individually assign Nodes to Lines using the arrow button, or
assign all Nodes of the same type using the group assign button. For
example, to assign each XLR output socket on the back of the console
to a DMX line, you would click on the Group Assign button of the
ExpertDMX nodes.
To assign a node to a line, click on the arrow on the node (the node
will be highlighted), then click the line you want to assign to it.
To delete a node from the DMX lines, click on the X button. To delete
all nodes from a line, click on the Group delete button
You can show information about the DMX nodes, or the DMX lines, by
clicking the i button. For Ethernet/network type nodes, this allows
Group assign Individual assign