233
Task Procedures Illustrations
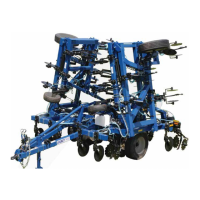
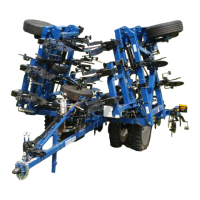
LEGACY
Light Kit Assembly and Mounting
h
AP3551
k
AP2548
l
AP2551
j
AP2547
h
AP3551
f
AM3414
m
BP3006
c
CP2660
n
AP4415
o
AM3415
LH
q
AM3418
r
BP3118
n
AP4415
g
AP3128
p
AM3417
RH
m
BP3006
Red Red
Amber
Amber
g
AP3128
1. Mount (f) (AM3414) rear
light bracket to frame side
plate with (m) (BP3006) 3/8”
x 1” hex cap screws and (c)
(CP2660) 3/8” hex lock nuts,
(Nylock).
2. Insert (h) (AP3551) oval
grommet into (f). Install (n)
(AP4415) Amber oval lamp
into grommet.
3. Attach (g) (AP3128) connector
to (n) (AP4415) Amber oval
lamp.
4. Insert (h) (AP3551) oval
grommet into (o) (AM3415)
front light bracket Left-hand
and (p) (AM3417) front light
bracket right-hand . Install (n)
(AP4415) Amber oval lamps
into grommets.
5. Attach (g) (AP3128) connector
to (n) (AP4415) Amber oval
lamp.
6. Attach front light brackets (o)
and (p) assemblies to (f)
(AM3414) rear light brackets
on both sides with (m) (BP3006)
3/8” x 1” hex cap screws and (c)
(CP2660) 3/8” hex lock nuts.
7. Install (q) (AM3418) light
shield brackets with (m)
(BP3006) 3/8” x 1” hex cap
screws and (c) (CP2660) 3/8”
hex lock nuts, (Nylock) and
(r) (BP3118) 3/8” x 5” hex cap
screw.
8. Install (j) (AP2547) yellow
reector to outside of (f)
and top of (o).
9. Place (l) (AP2551) Red-orange
decal above red light and (k)
(AP2548) Red decal below.
Rear
Front
 Loading...