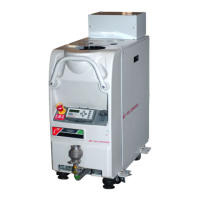
3.22 Install photohelic switch/gauge (accessory)
The following sections provide the installation of the photohelic switch/gauge to your
system. Note that the installation of the photohelic gauge is only possible if the disconnect
box has been installed.
3.22.1 Unpack and inspect
Remove all packaging materials and protective covers and check the switch/gauge. If the
switch/gauge is damaged, notify the supplier and carrier in writing within three days; state
the item number of the switch/gauge together with the order number and suppliers invoice
number. Retain all packing materials for inspection. Do not use the switch/gauge if damaged.
Check that the package contains the following items:
Inspection Check List
Quantity Description Check (✓)
1
Photohelic Switch/Gauge
complete with Power and
Signal Cables
❑
2 Photohelic Mounting Bracket ❑
3
Braided ¼” Hose complete
with Tube Fittings
❑
4 Photohelic Spoolpiece ❑
If any items are missing, notify the supplier in writing within three days.
If the photohelic switch/gauge is not used immediately, store in suitable conditions, as
described in Section 7.1.
Remove the finger guard from the pump enclosure air-extraction port (refer to Figures 2-1 to
2-3) and replace it with the photohelic spoolpiece shown in Figure 3-15.
3.22.2 Mounting
The photohelic switch/gauge is a wall mount unit. The mounting instructions are described
in the accessories manual.
3-38 iH Dry Pumping Systems