Quick Start Guide
This section guides you through the process of creating a label. Read the rest of this manual for
detailed information on each of these steps, as well as other functions not listed here.
Note: It is suggested that you read Appendix 2: Glossary of Terms before you read this
guide. This appendix acquaints you with the terms found in this manual that are used
within the specific context of the TLS2200
™
printer.
Summary of Steps
Following is a summary of the steps needed to create a label. A complete description of each
step follows later in this section.
Step Purpose of Step Page
1 To charge the battery 4
2 To install the battery. 5
3 To turn the power on. 5
4 To select the marker and ribbon. 6
5 To install the ribbon cartridge. 7
6 To remove the marker roll. 7
7 To install the marker roll. 8
8 To type text. 8
9 To edit text. 10
10 To print the label. 11
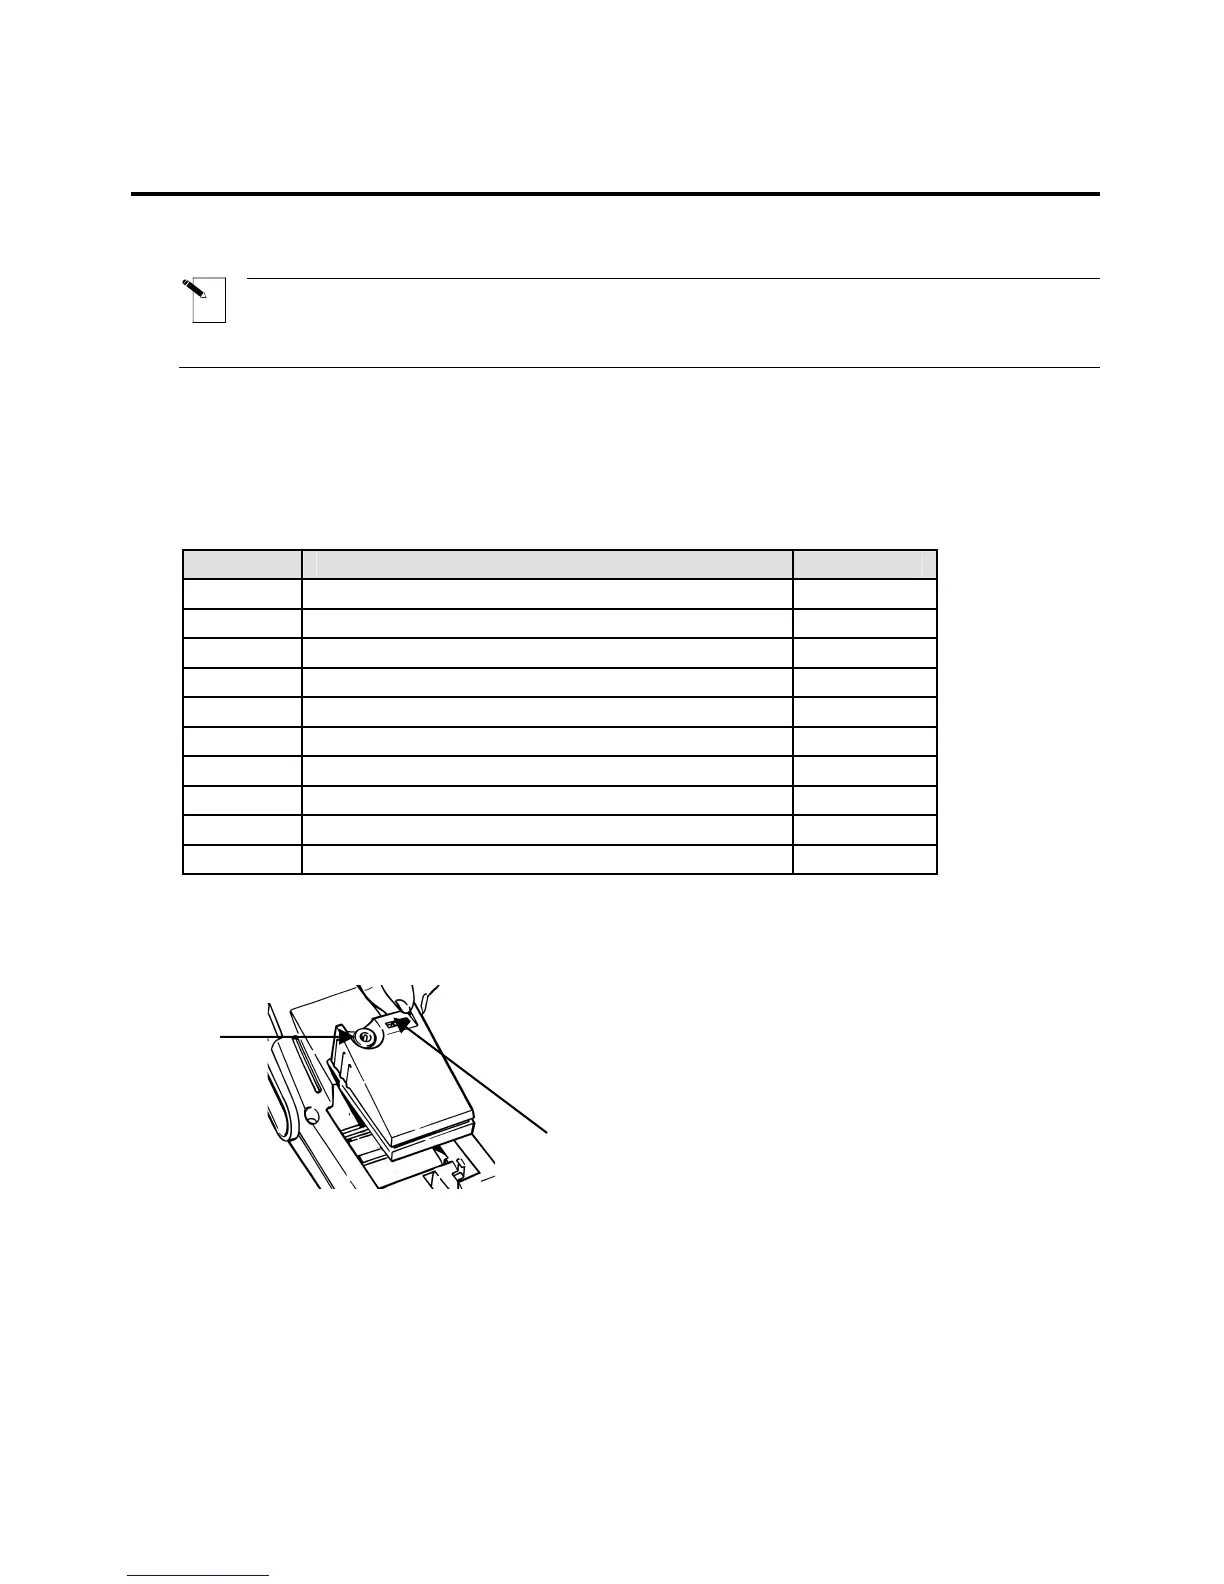
Step 1. Charge the Battery
Battery Power
Switch.
(I)=On
(O)=Off
Battery
Charger
Jack.
4 TLS2200
™
Thermal Transfer Printer User Manual