T6: Creating a Barcode Label
Note: This example assumes you have marker roll PTL-19-423 loaded in your printer.
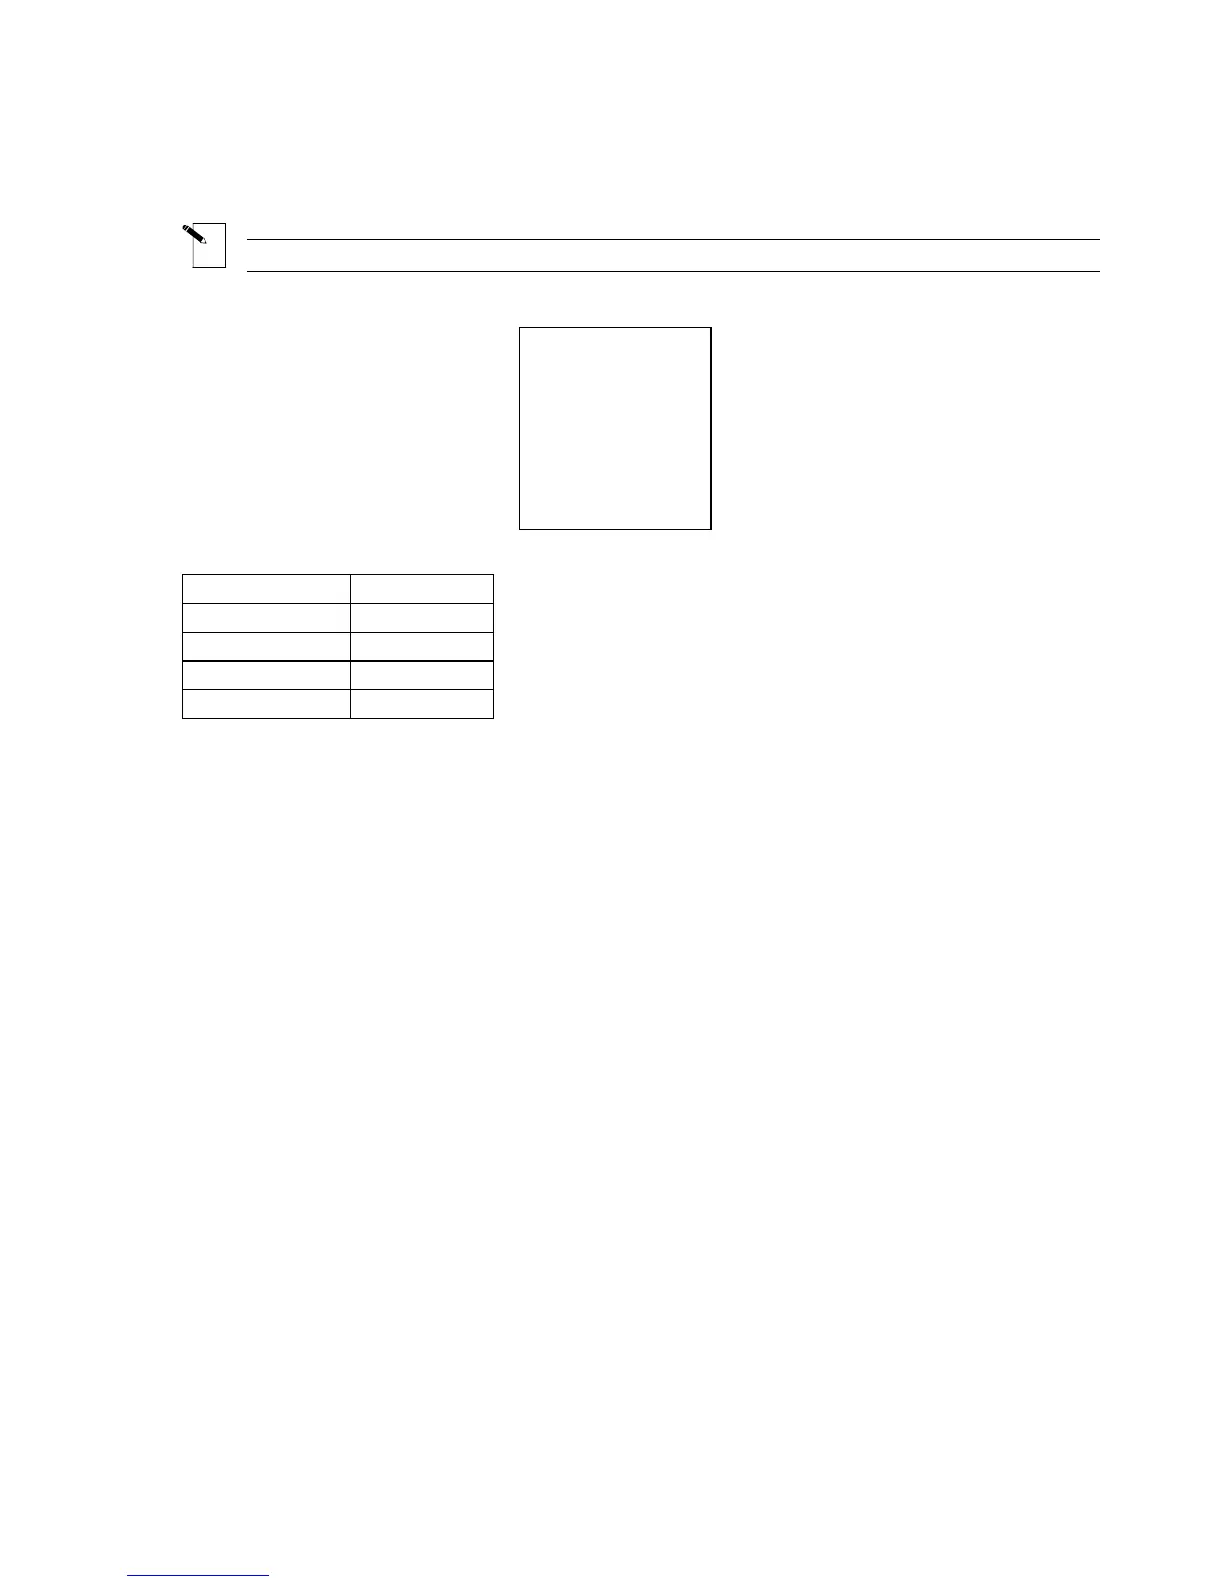
Label to be printed:
BRADY
A101
A101
Setup Status:
Center
H Justify
Center
V Justify
0 Degrees
Rotation
Component
Format
Text
Legend Type
1. Press the <Barcode> key to toggle the legend type from Text to Barcode mode
(B is displayed on the Status Bar).
2. Press the <Func> + <Setup> keys to access the Setup Menu.
3. Press the <
▼> key once to select Barcode, then press <Enter>.
4. With the cursor highlighted on Bar Height, press <Enter>.
5. Use the <
▲> and <▼> keys to set the height of your barcode(s), then press <Enter>.
6. Press the <
▼> key once to select Human Readable, then press <Enter>.
7. Press the <
▲> or <▼> keys to toggle the human readable text on or off as required, then
press <Enter>.
8. If human readable, press the <
▲> or <▼> keys to select the text font size desired, then
press <Enter>.
9. Press the <▼> key once to select Barcode type, then press < Enter>.
10. Toggle <
▼> and <▼> key to select Barcode type, then press < Enter>.
11. Press the <Delete> key to back out one level in the Setup Menu tree.
12. Press the <
▼> key twice to select Style, then press <Enter>.
13. With the cursor highlighted on Rotation, press <Enter>.
14. Use the <
▲> and <▼> keys to select the desired rotation, then press <Enter>.
15. Press <Func> + <Exit> to exit back to the Text Editor screen.
16. Enter barcode text as needed and print your label.
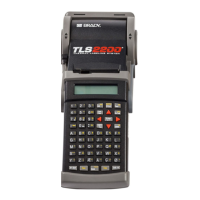
TLS2200
™
Thermal Transfer Printer User Manual 43