Handling
CryoProbe Installation BRUKER 27 (93)
Handling 3.9
0
CAUTION: The most fragile parts of a CryoProbe are:
- sample cavity
Avoid fast dropping of samples with the sample lift.
Do not introduce any objects into the cavity (not even a soft cotton bud!).
Due to manufacturing processes it is not possible to clean the sample cavi-
ty with strong solvents.
See "Cleaning the sample cavity" on page 67
for further information.
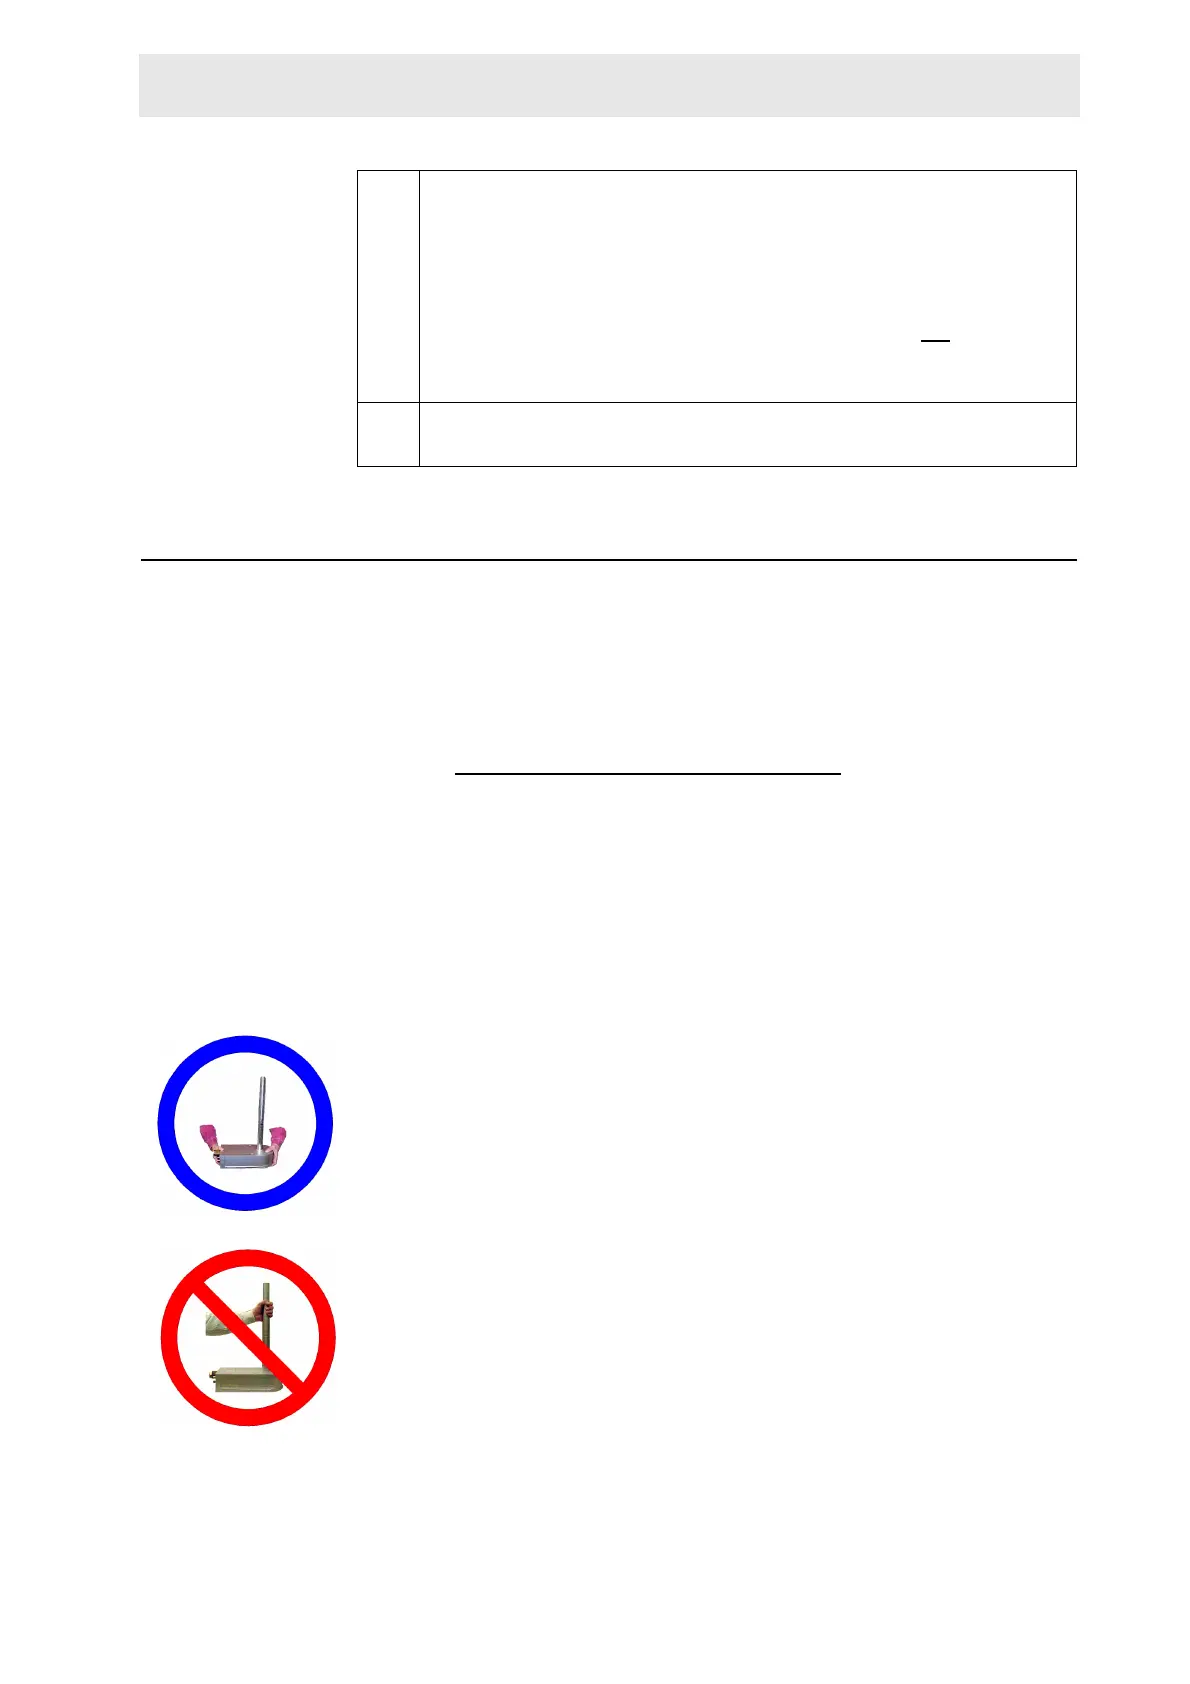
- probe tube and its joint to the body
Do not hold the CryoProbe at its tube. Support and carry the CryoProbe
only at its body. Do not bend the tube.
- CryoCoupler
Do not force the CryoCoupler into position.
- connectors
Do not bend the connectors for vacuum, RF, sensors, or gas.
CAUTION: Do not heat or cool the CryoProbe housing from the outside (e.g. do
not try to speed up the evacuation process by heating the CryoProbe with a heat
gun).
h.10 Insert the clamp part, put the remaining two screws in place, and tie all
six screws in a balanced fashion.
IMPORTANT: Make sure that the shim system tube is not tilted inside
the magnet bore. Center it properly to avoid shimming problems.
If the shim system had been rotated temporarily in step h.6
, release the
six screws again just a little bit. Bring the shim system back to its original
orientation and fix it tightly, then tie the six screws again.
h.11 Do not switch O
N the magnet’s air suspension now but wait until the
CryoProbe is mounted.
Figure 3.2. Carry a CryoProbe only at its body!
Figure 3.3. Never hold a CryoProbe at its tube!
 Loading...


