32 (93) BRUKER CryoProbe Installation
Initial setup
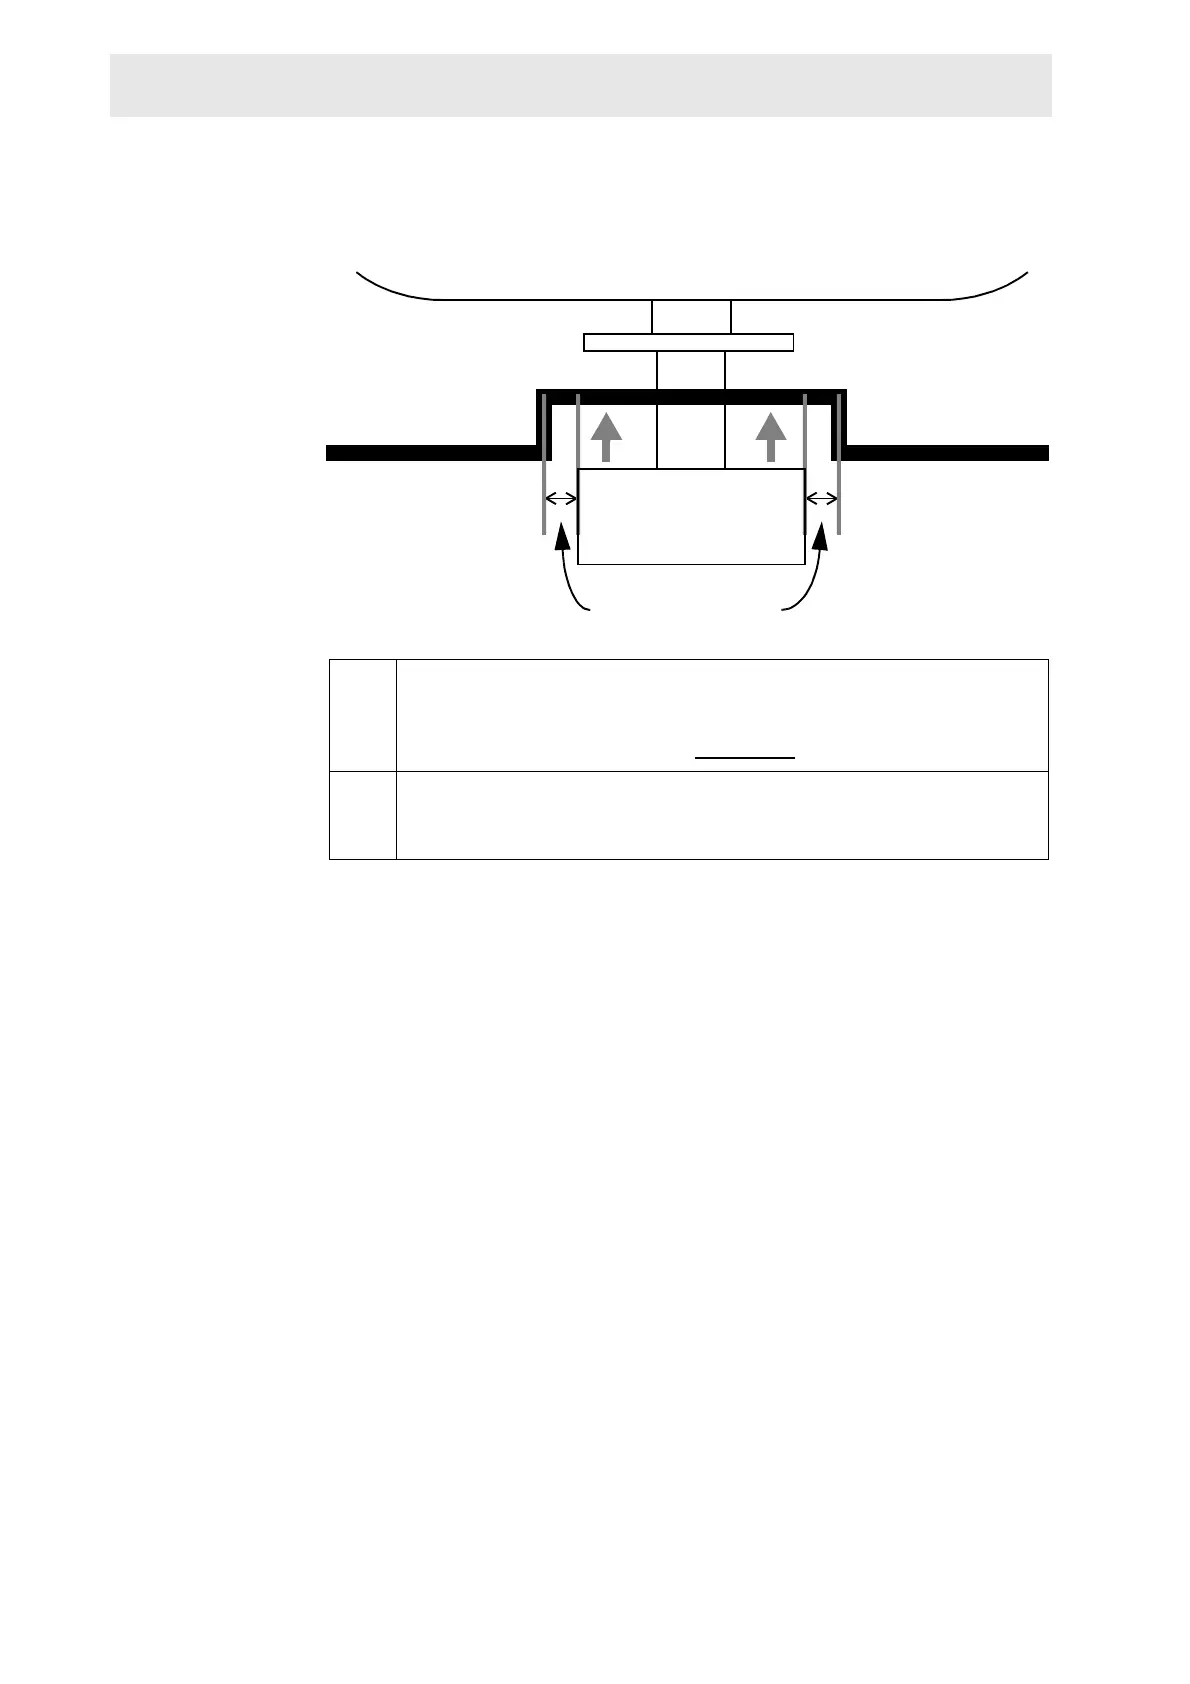
m.12 Push the CryoProbe up gently by turning the screw below its center
until the CryoProbe body almost touches the shim system (gap
0.5 mm). Feel for the end position, but upon reaching it, do not use
great force to tighten the screw (Figure 0.4.
).
m.13 Turn the other four screws on the support plate in an alternate fashion
such that they support the CryoProbe gently. Take care not to tilt its
body by forcing one screw more that the other screws.
CryoProbe front
upper pillar brace
same horizontal
clearances (∫ 5 mm)
Figure 3.6. CryoProbe and optional cranked pillar braces

 Loading...


