36 (93) BRUKER CryoProbe Installation
Initial setup
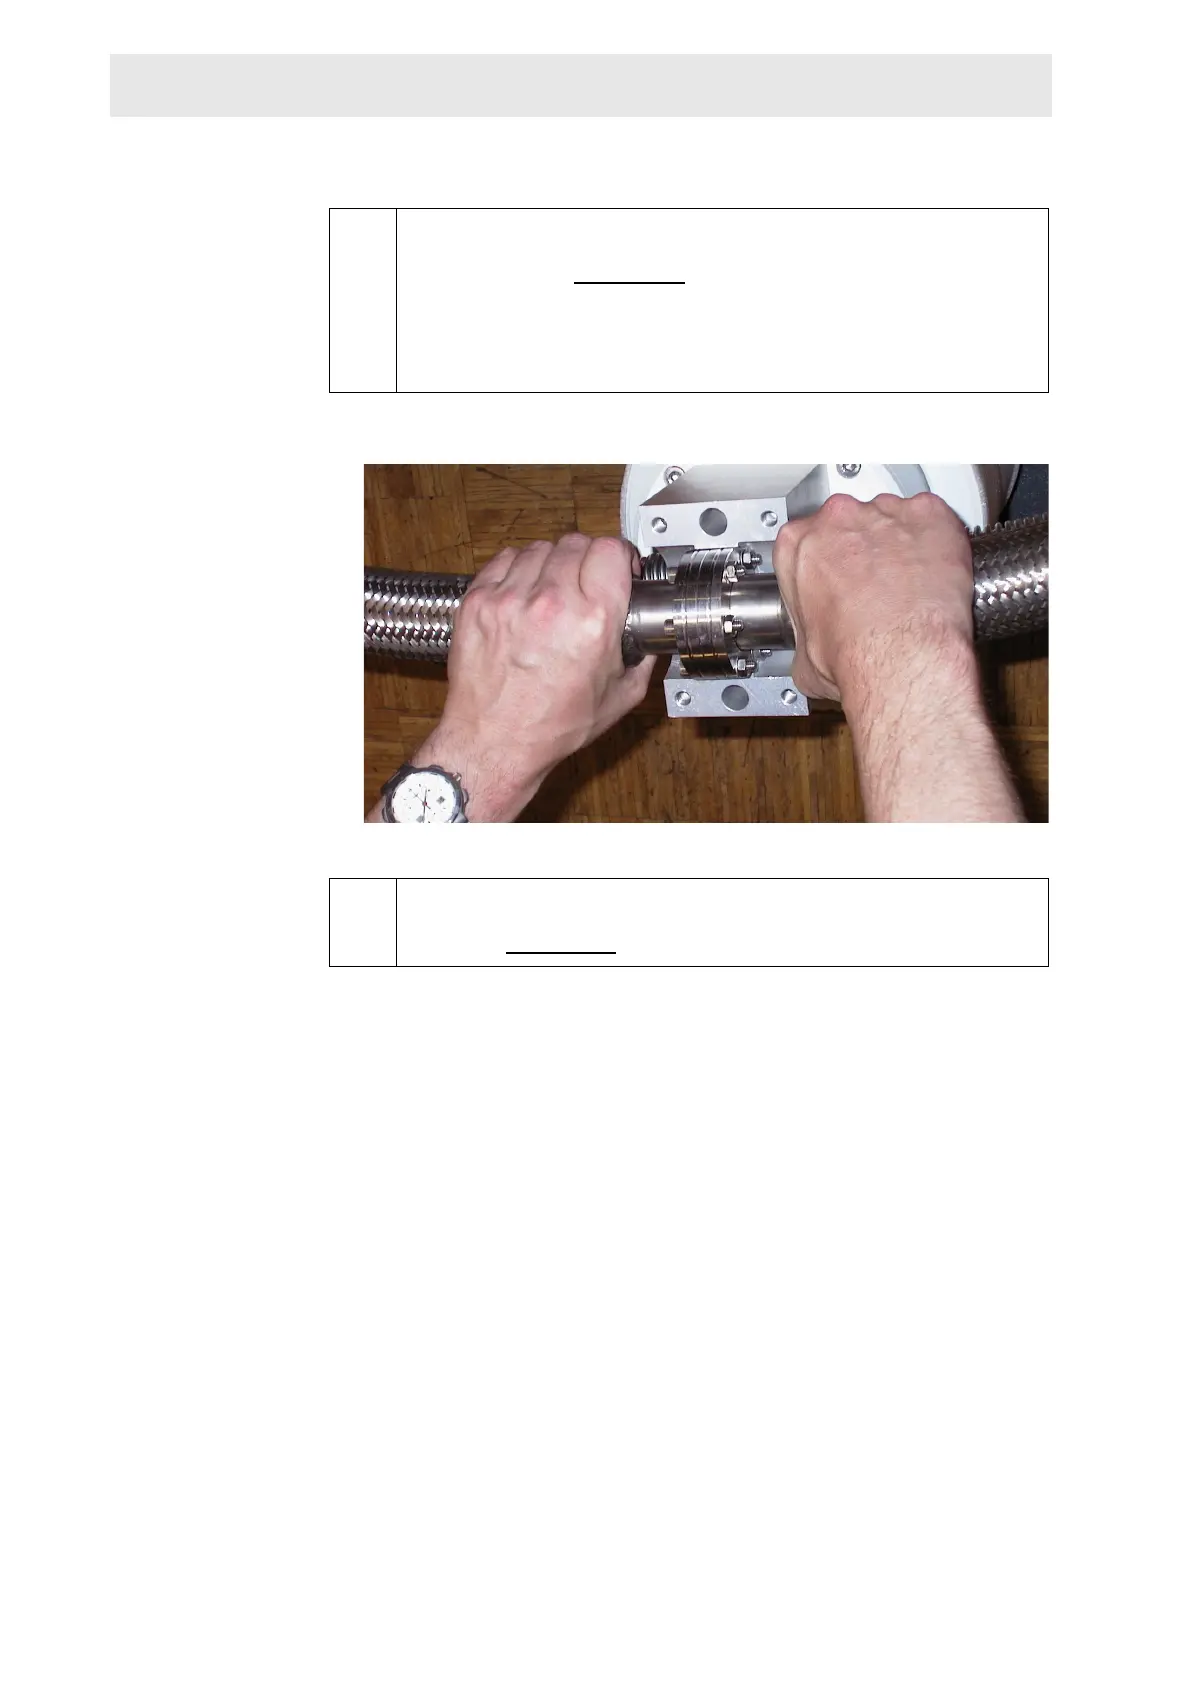
Figure 3.10. Turn the CryoCoupler
j.5 Turn the CryoCoupler end such that it will fit into the CryoProbe: the
groove must be exactly on top. Hold the Transferline strait to make the
twisting smoother. Figure 3.10.
NOTE: No twisting should be necessary to insert the CryoCoupler into
the CryoProbe. Do not re-tighten the vacuum connection on the He
transferline yet.
j.6 Hold the CryoCoupler on the He Transferline with one hand. Take the
vacuum joint which is 1 m away from the CryoCoupler into the other
hand (see Figure 3.11.
).
 Loading...


