6.
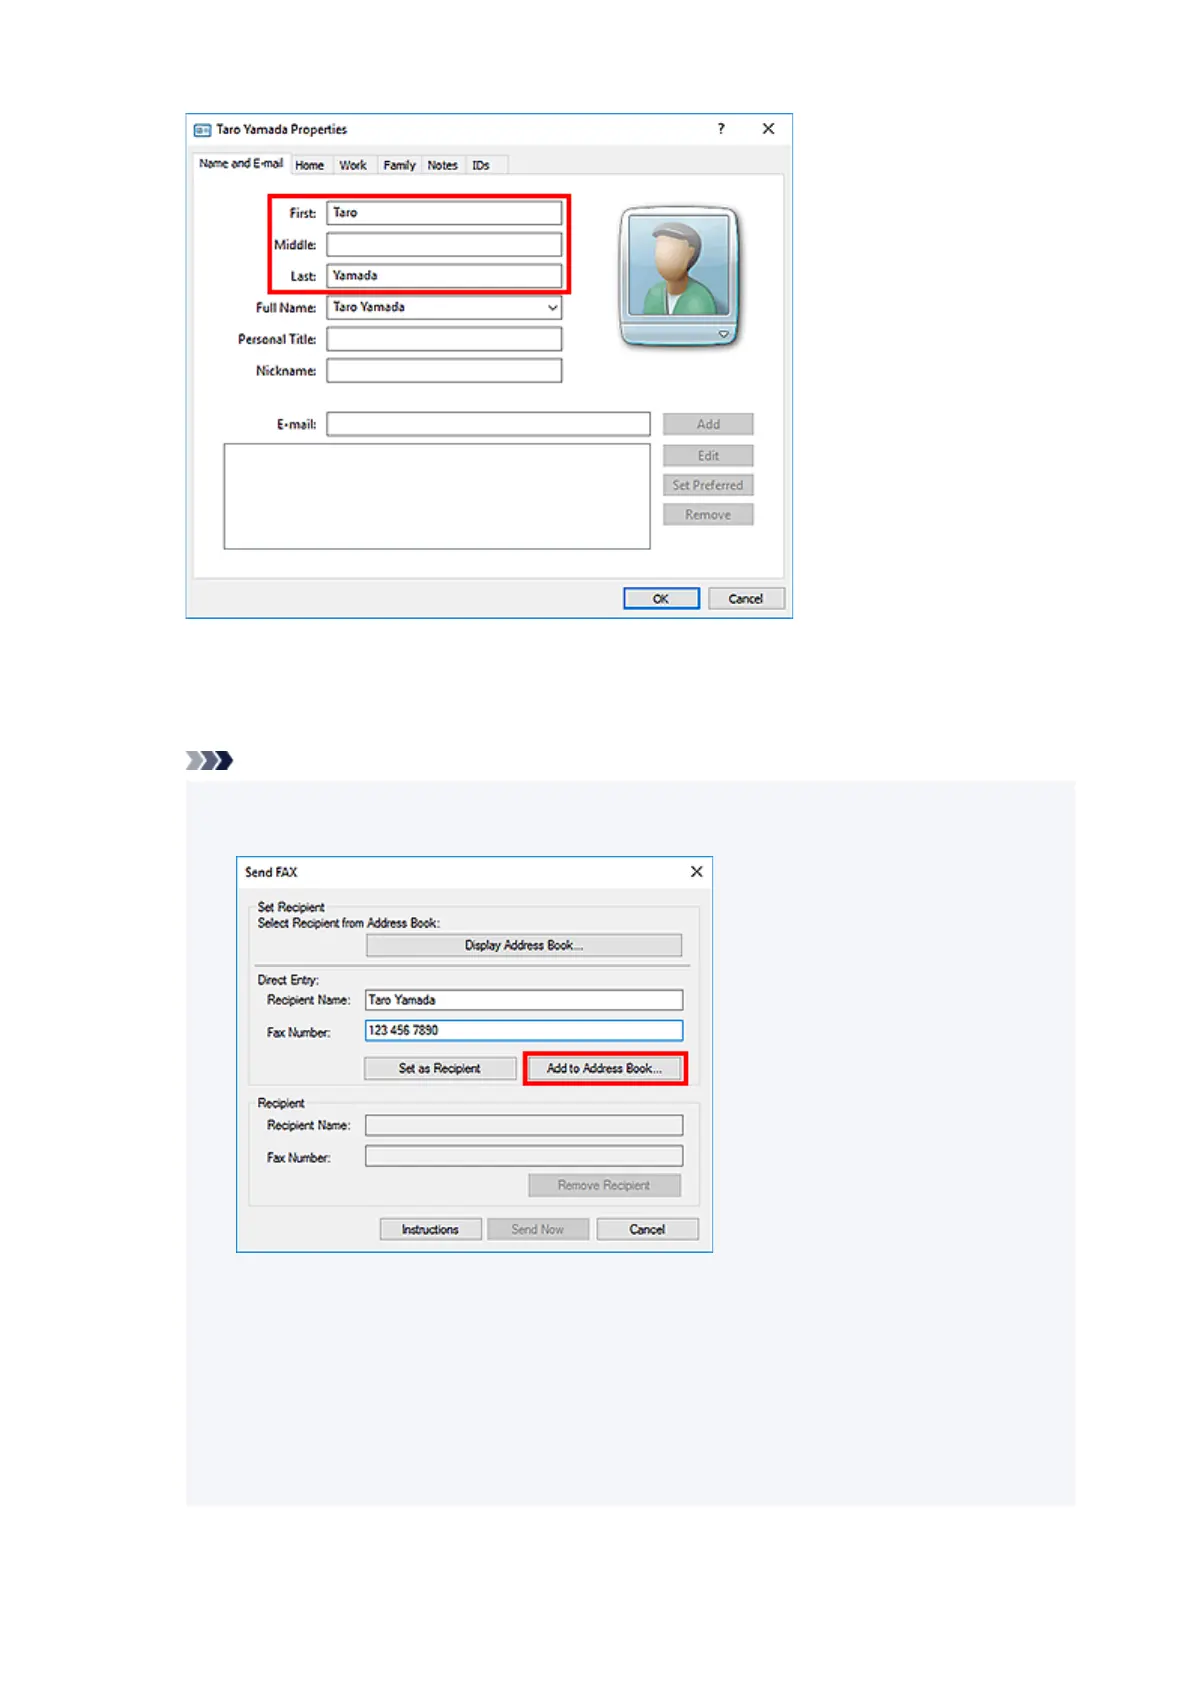
Enter the fax number on the Home or Work tab, then click OK.
6.
An individual recipient (Contact) is registered in the address book.
Note
• You can also register a recipient by clicking the Add to Address Book... button on the Send•
Fax dialog box after entering the recipient.
•
Add the outside line access number before the fax number as needed.
•
(Example: When the outside line access number is "0" and the fax number is "XXX-XXXX",
enter "0XXX-XXXX".)
•
If you upgrade from Windows XP to Windows Vista, the address book you created in Windows
•
XP may not be reflected in Windows Vista. In this case, open the address book in the following
procedure and reflect the information to a new address book.
1.
Select Control Panel > Appearance and Personalization > Folder Options.
493
 Loading...