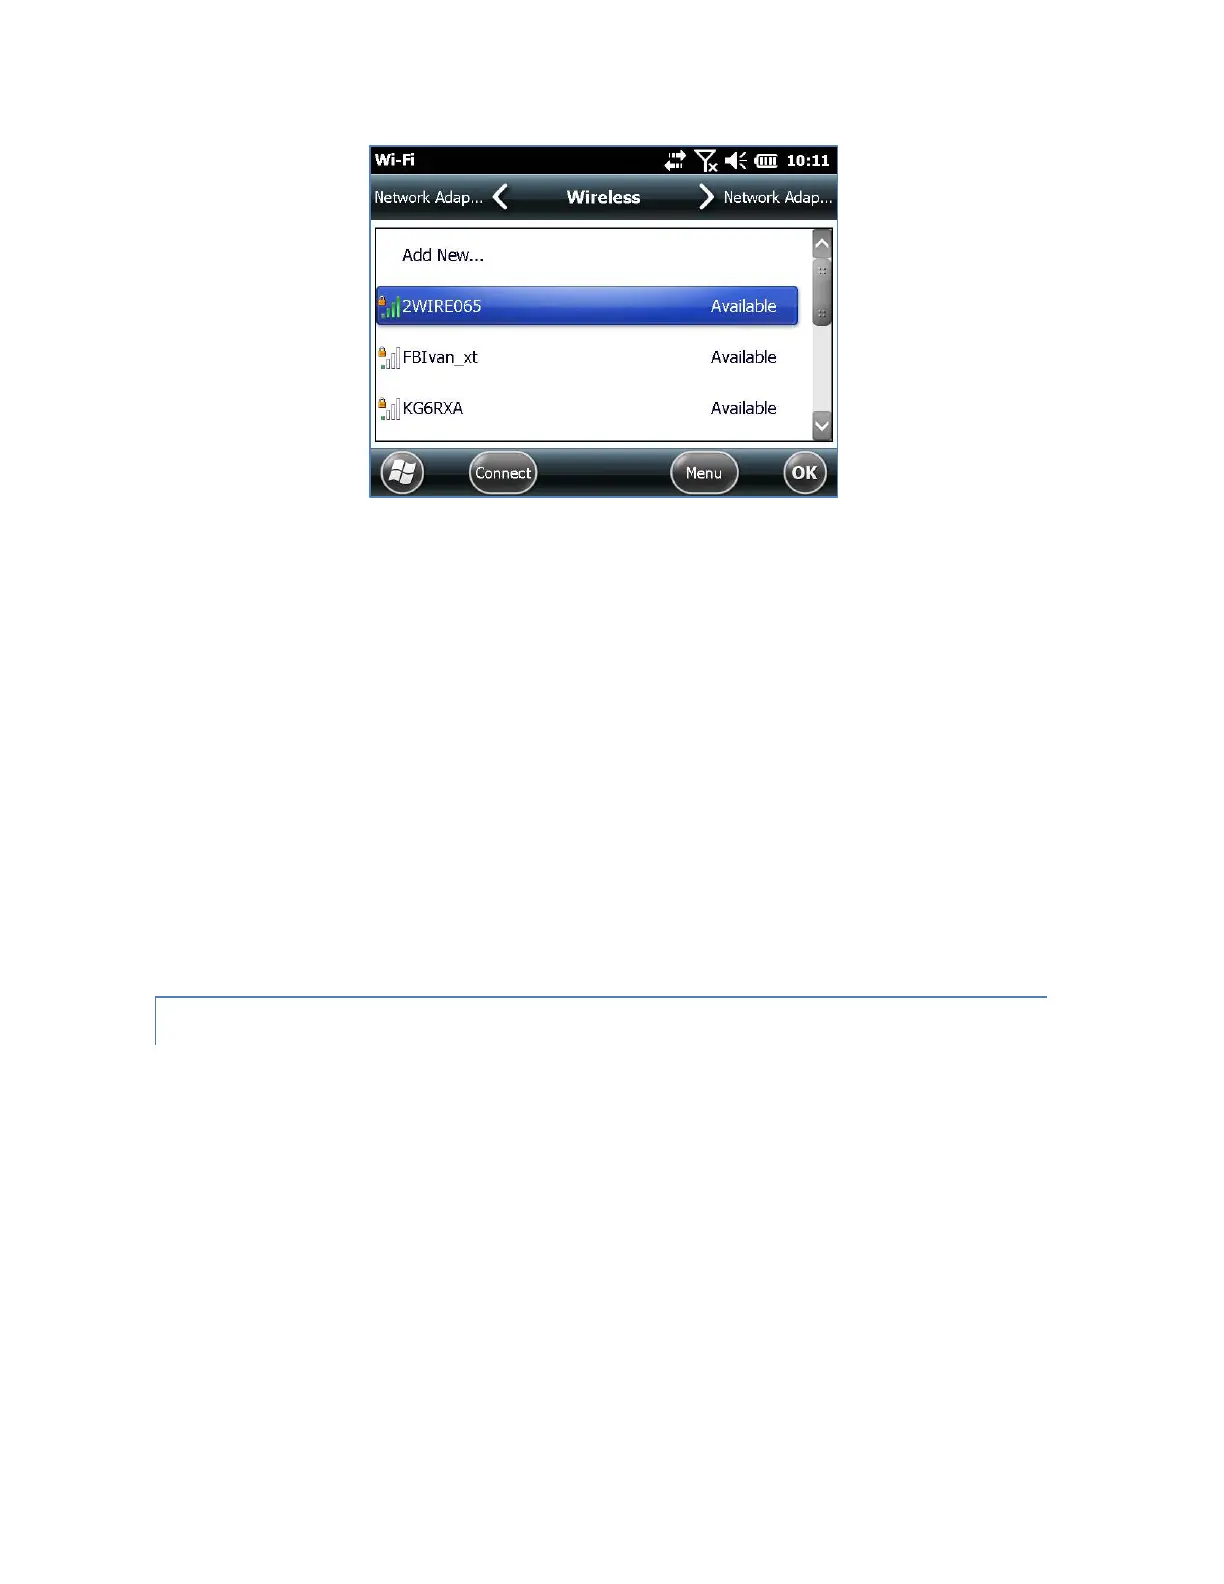
3. Select the network to which you want to connect. If you want to add a new network,
select Add New from the top of the list.
4. Configuration and authentication setup screens are shown. Depending on the network
you are connecting to, you may need to make some selections from pull down lists and
enter information like a passkey. Some information may not be required or will appear
automatically. When you are finished with the set up screens, press Finish.
5. Select Network Adapters from the horizontal scrolling menu near the top of the screen.
For connection options, select The Internet or Work (for office networks). Other settings
can be modified if necessary.
6. If you selected The Internet, you can open Internet Explorer and begin using the Internet.
Once a Wi-Fi network is set up, the icon on the Home Page turns blue and the name of the
network is shown.
The Surveyor2 remembers the Wi-Fi network connections created.
WI-FI DIALOG BOX
Whenever Wi-Fi is turned on, a dialog box might appear at the bottom of the screen indicating the
Wi-Fi networks the Surveyor2 has located. You can select a new network from this dialog box
without opening the Wi-Fi control panel.

 Loading...