Routine Servicing
Vibrex 2000 and Vibrex 2000 Plus User Guide 127
Find the EPROM version near the bottom of the screen, for example,
=Vibrex 2000/2000 Plus Version 2.71=
6.3.2.2 Getting Started
Precautions -
It is important to note that the EPROM chip is an
electrostatic discharge (ESD) sensitive device. Use all standard ESD
precautions when changing the EPROM or main PCB, including
grounding all parts and using a static wrist strap while touching the
EPROM. These precautions make sure the electrical potential of all parts
is the same.
CAUTION: There is no risk of electrocution from the Vibrex unit,
but electrostatic discharge could damage the EPROM chip.
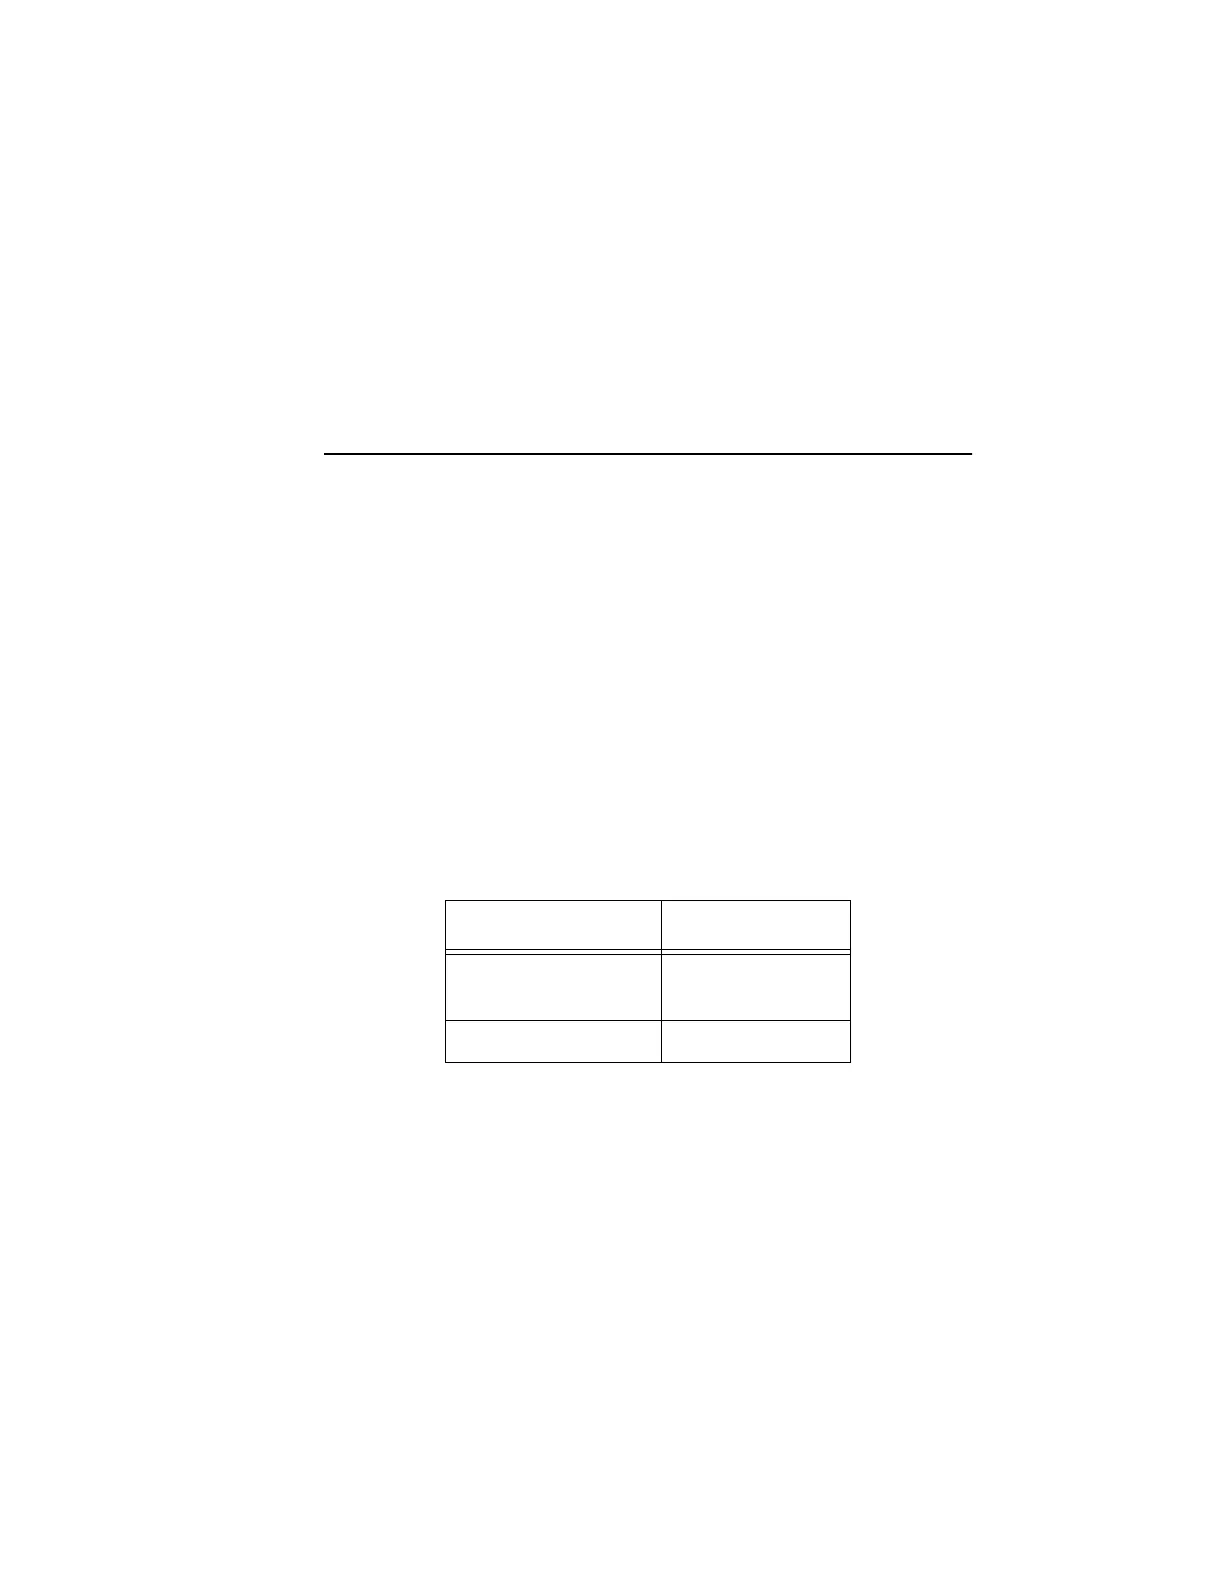
Required Tools -
The table below shows the tools required for EPROM
replacement.
6.3.2.3 Replacement Procedures
For a complete diagram of how to disassemble the Vibrex unit, see the
illustration on page 138 (numbers in parentheses refer to reference
numbers in this diagram and in the table on page 142).
Replace the EPROM chip, as follows:
1. Remove the battery end plate (15) that holds the batteries in place, by
turning the large Phillips screw (16) counter-clockwise, using the
No. 1 Phillips screwdriver.
2. Remove the batteries (20).
3. Remove the four 4-40 (03) screws holding the shield to the bottom of
the chassis.
Description Tool
No. 1 Phillips (cross-
head)
Screwdriver
No. 2 Common Screwdriver