Chapter 2 Operating Principles
2-3. Operation Panel
CL-S400DT 2-30
2-3-2. Test mode
The following Test modes are available:
Operation Description
[FEED] + “Power ON” Enters self print mode.
[STOP] + “Power ON” Enters hex dump mode.
[MENU] + “Power ON” Enters menu list printing mode.
(1) Self print mode
You can check the printing quality by printing the built-in self print pattern.
This function is convenient to obtain optimum printing while adjusting the media thickness with
the Media thickness adjustment dial and media width with the Media width adjustment dial.
For label (prints 2 labels):
1. While pressing and holding the [FEED] key, turn on
the power.
2. Wait until the POWER LED (green) turns on and the
LCD indicates “Self Print Mode” “Label Media”, and
then release the [FEED] key.
The printer enters self print mode and the label is fed.
Self test printing is made for two labels, and then
printing stops.
3. To repeat self test printing, press the [FEED] key
again.
To exit from self print mode: Turn off the power.
For continuous media:
1. While pressing and holding the [FEED] key, turn on
the power.
2. Wait until the POWER LED (green) turns on and the
LCD changes from “Self Print Mode” “Label Media” to
“Self Print Mode” “Cont. Media”, and then release the
[FEED] key.
The printer enters self print mode for self test printing
and then stops after printing.
3. To repeat self test printing, press the [FEED] key again.
To exit from self print mode: Turn off the power.
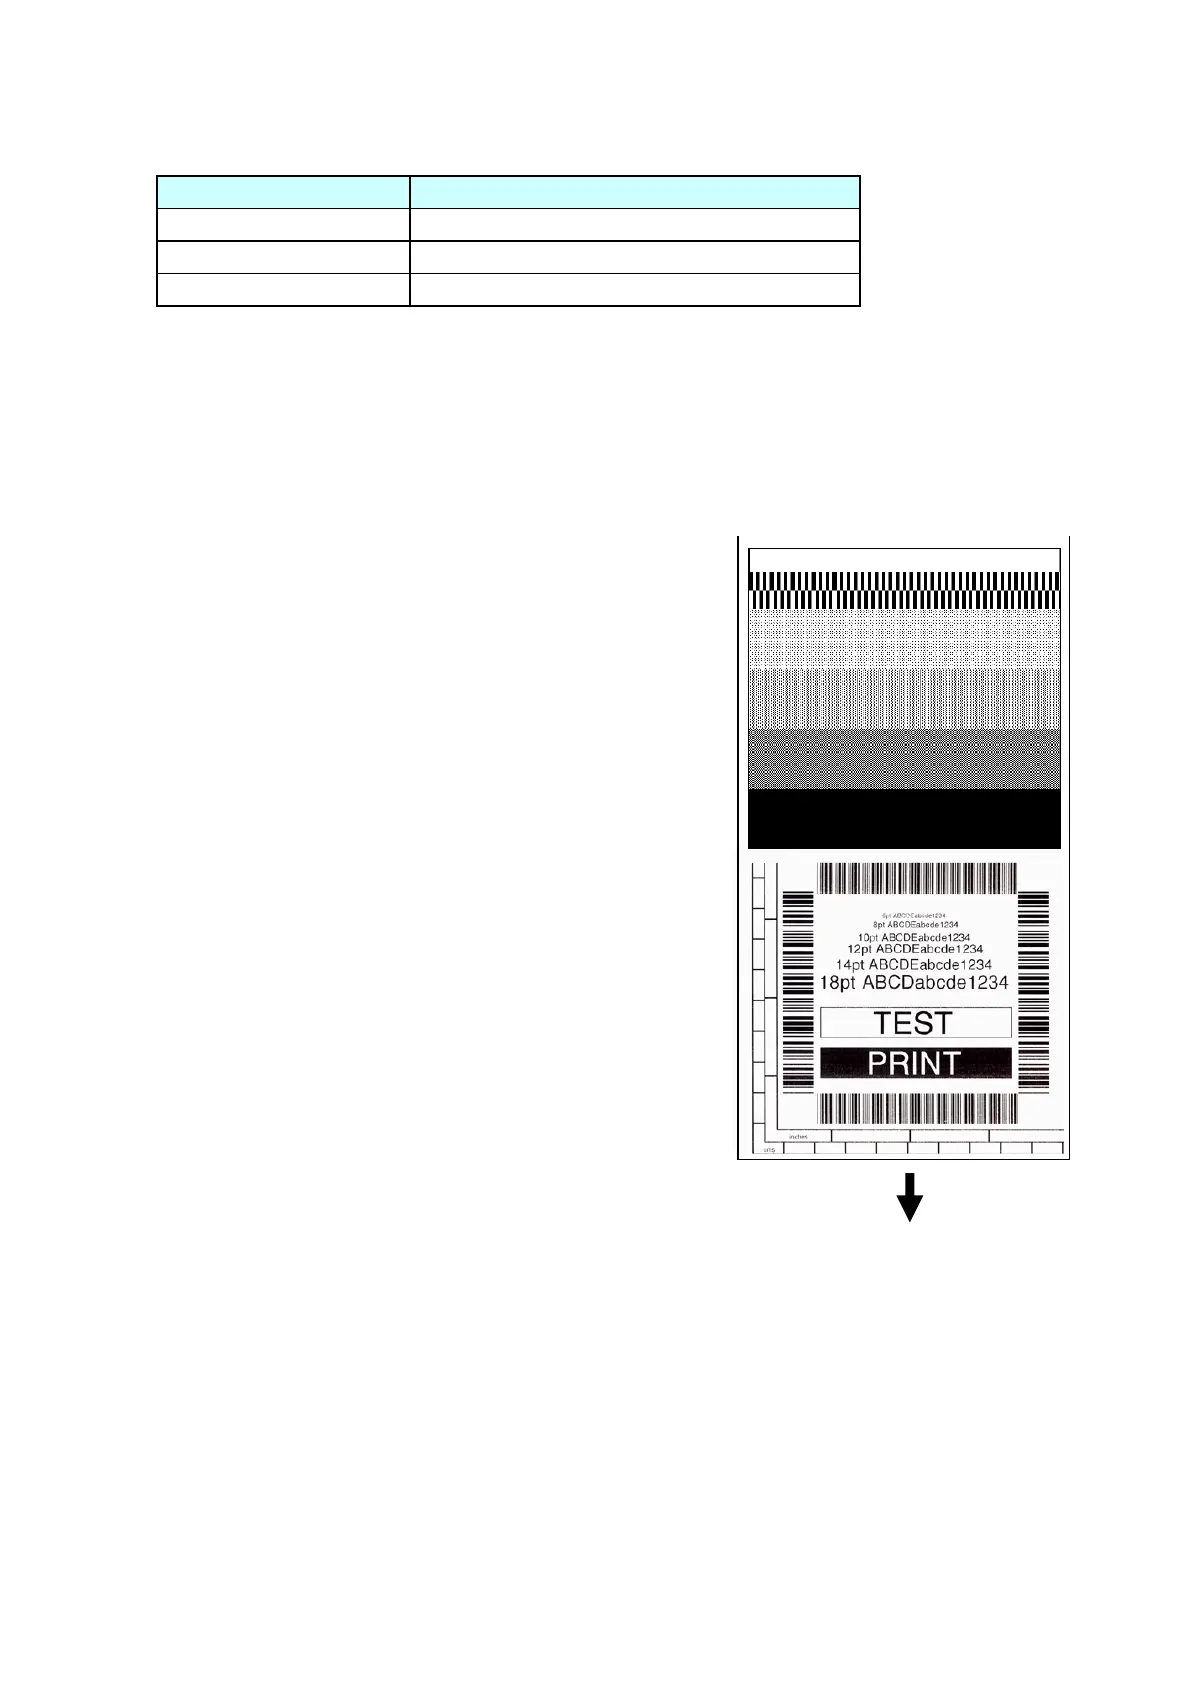
Media feed direction
[Print pattern in self print mode]
 Loading...