Group 22, Wheels and Tires
22-2-4 • Pneumatic Wheels and Tires SM 765, Nov ’06
Replace any lug nuts or studs that have damaged
threads. Make sure studs are secure in the axle hub.
3. Set the wheel on the hub and start the lug nuts on the
hub studs. Tighten the nuts only enough to seat the
nuts into the beveled openings on the wheel and to
secure the wheel on the axle hub.
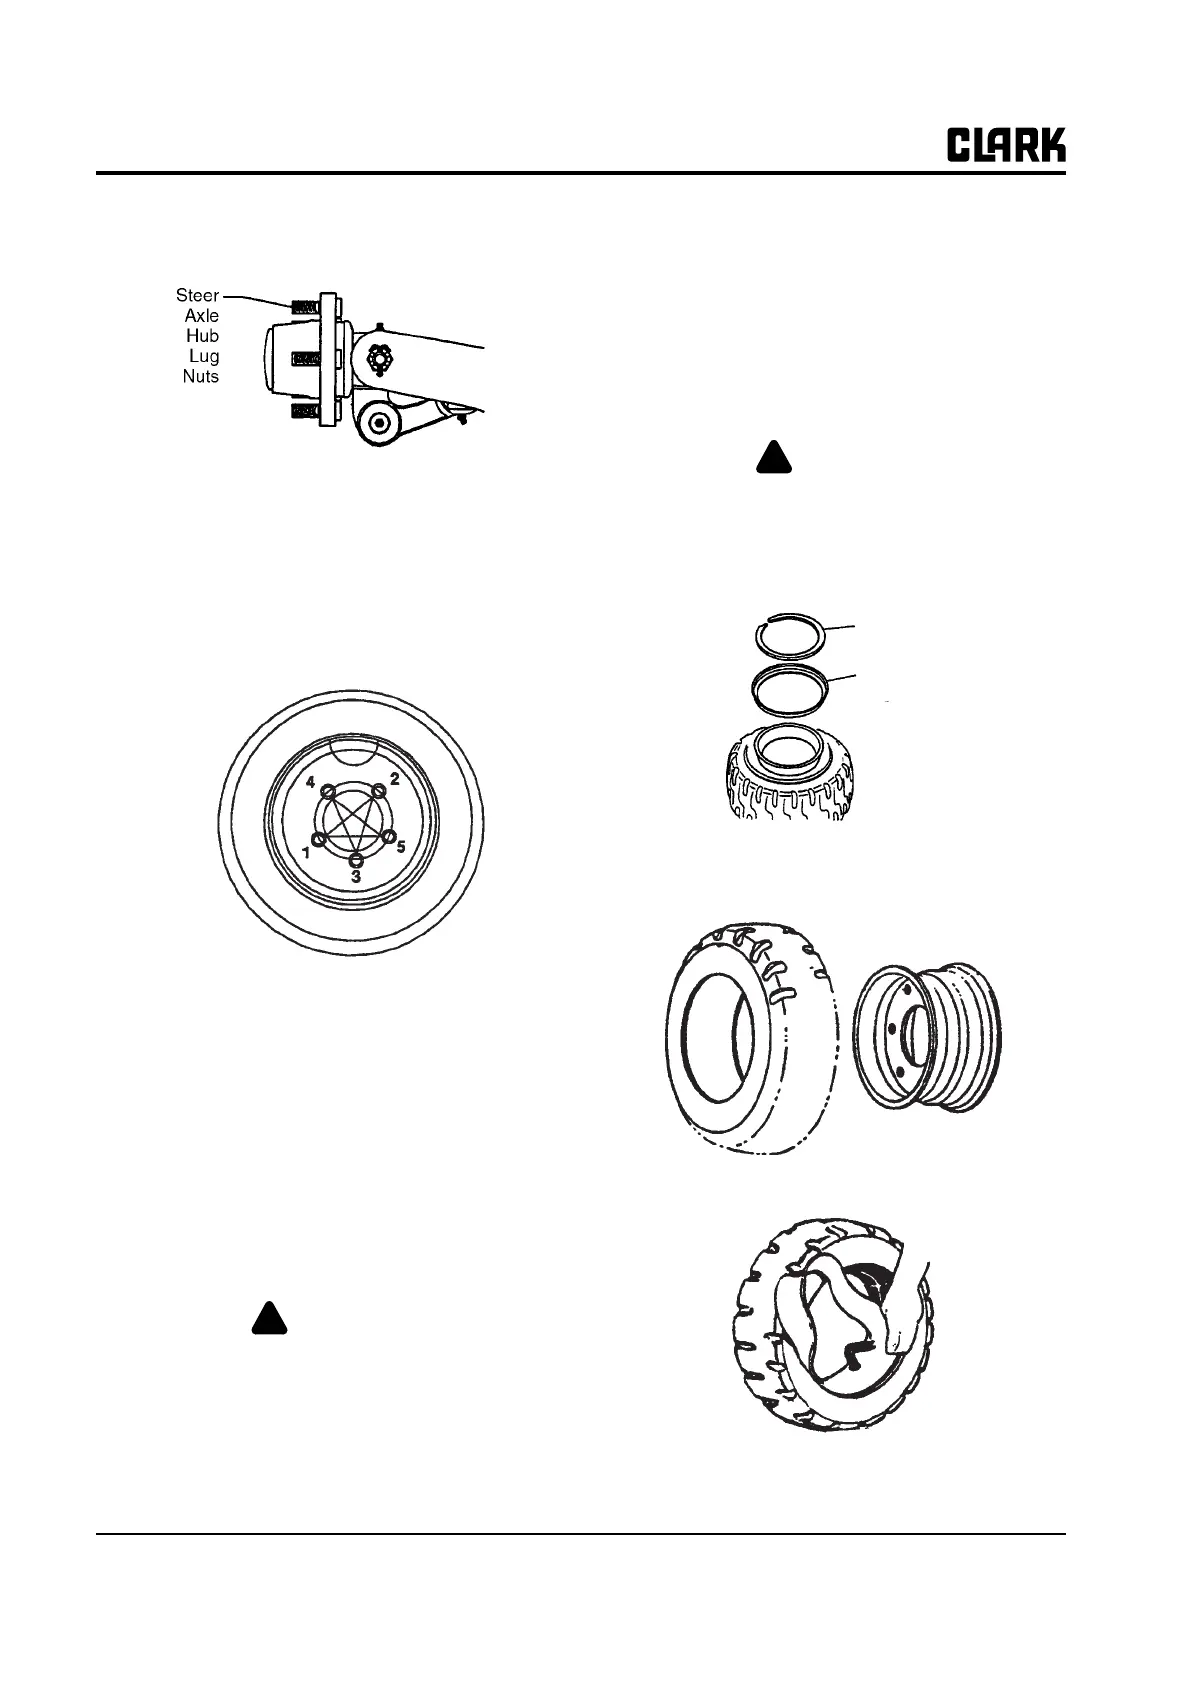
4. Use a crisscrossing nut tightening sequence to torque
the nuts to a pre-final torque of 54-81 N⋅m (40-60
ft⋅lb). Make sure all nuts seat into beveled spacer
holes correctly.
5. Begin the crisscrossing sequence again and tighten
the lug nuts to final torque.
• Torque drive wheel 1 piece lug nuts to 155-180
N⋅m (114-133 ft⋅lb).
• Torque steer wheel lug nuts to 225-250 N⋅m
(165-185 lb⋅ft).
6. Carefully lower the truck and remove the jack.
7. Check tire pressure for correct inflation pressure.
• Drive wheel pressure is
GEX20/25/30: 800 kPa (116psi)
• Steer wheel pressure is
GEX20/25/30: 1000 kPa (145 psi).
WARNING
!
If tires are not fully inflated, see “Adding Air
Pressure To Mounted Wheel/Tire Assem-
blies” and follow the procedures for adding
air to the mounted tires.
Before you add air pressure to the tire, make
sure the lock ring is correctly positioned in
the rim and side ring. The lock ring can sepa-
rate from the rim with enough force to cause
injury or death.
Wheel Disassembly and Tire Removal
1. Remove valve core from the valve stem to be sure all
air is removed.
WARNING
!
Before starting disassembly, remove the air
from the tire. Failure to remove the air from
the tire can result in serious injury.
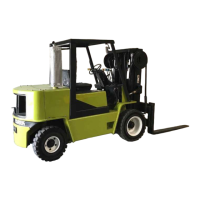
2. Remove lock ring.
3. Remove wheel wedge.
4. Remove tire from wheel.
5. Remove the rubber inner tube protector (flap).
6. Repair tire and/or tube, as needed.
Lock Ring
Wheel
Wedge