Group 26, Steer Axle
SM 765, Dec ’06 Pivot-Turn Steering Axle Maintenance • 26-7-7
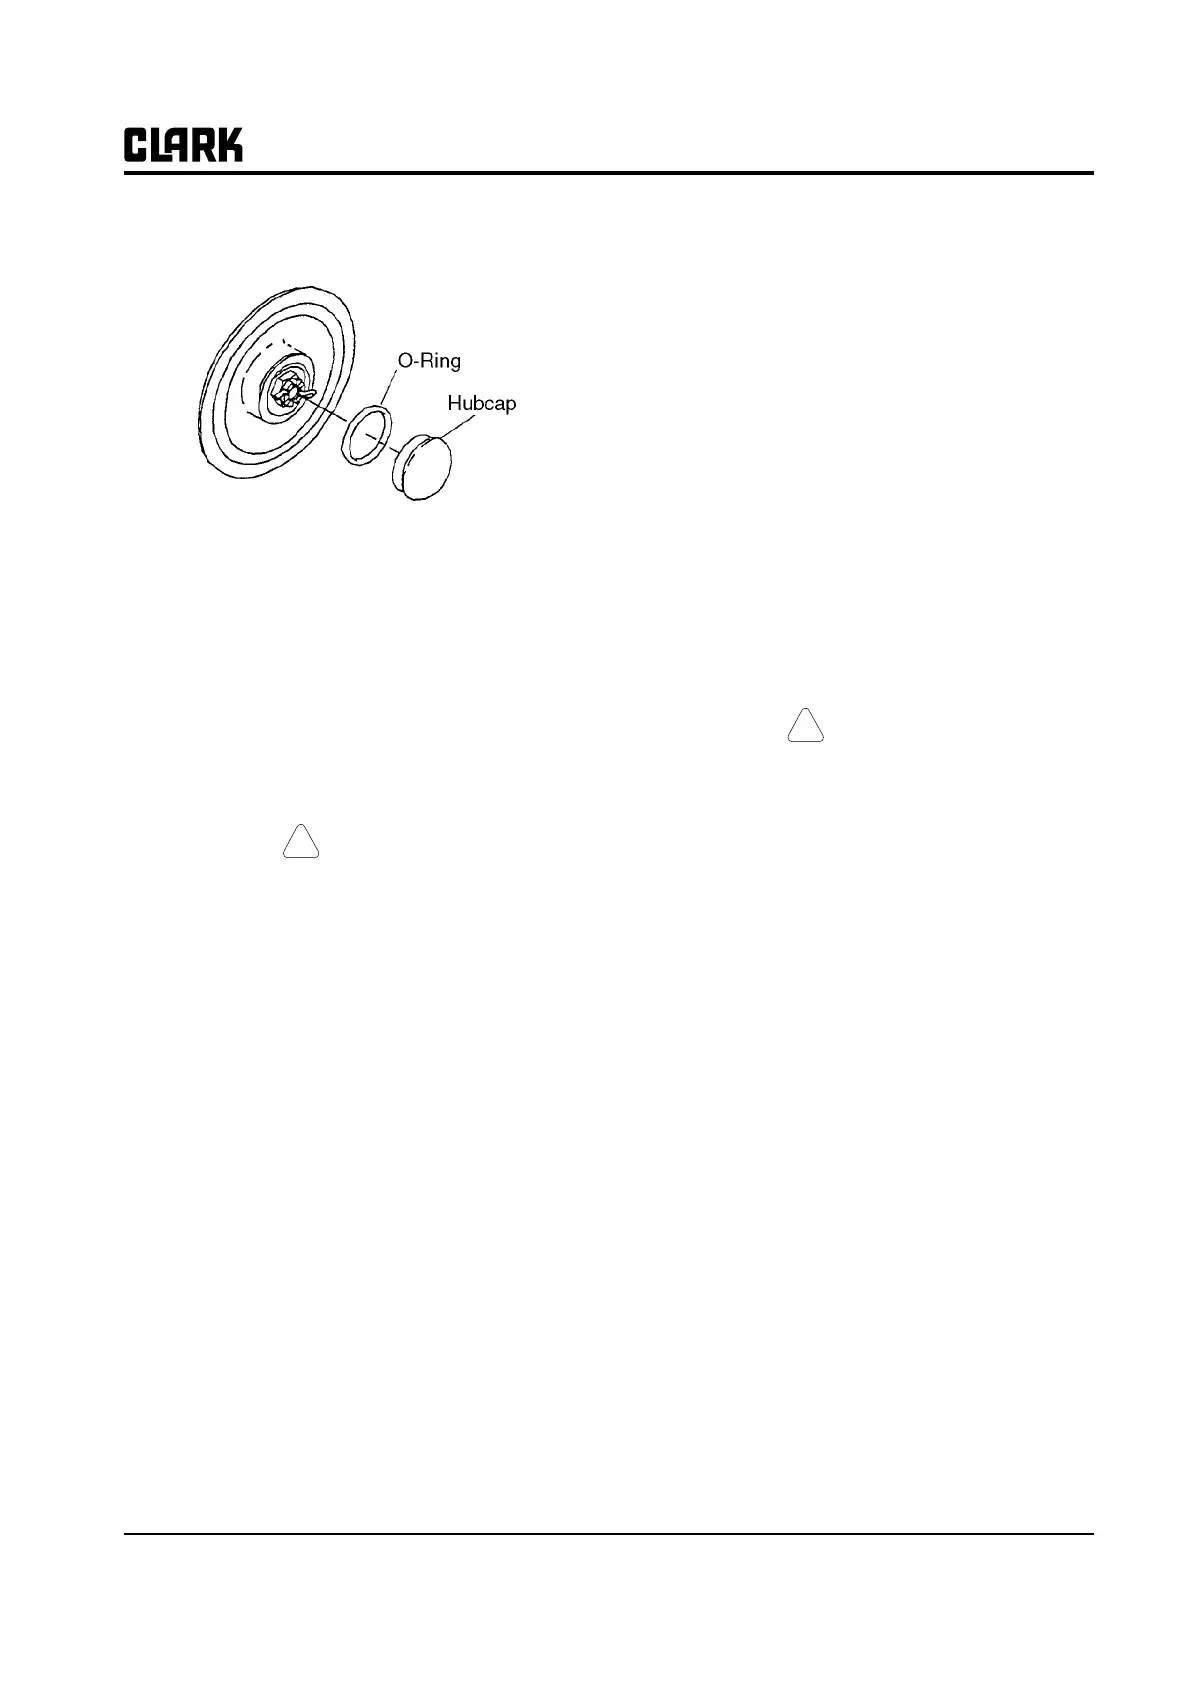
16. Refit O-ring on hubcap and install hubcap by tapping
into place with a rubber or plastic-faced hammer.
Wheel Bearing Adjustment
The steer wheel bearings are retained and adjusted by the
wheel nut.
N
TE
You should clean and repack the wheel bear-
ings before performing a wheel bearing
adjustment. See “Wheel Bearing Lubrica-
tion” in this Section for the complete proce-
dure.
CAUTION
!
SAFE PARKING. REFER TO PAGE 3.
1. Make sure the truck is parked on a level, hard sur-
face, the upright is fully lowered, the drive wheels
are chocked, and the steer wheels are jacked and
blocked securely. Refer to “Lifting, Jacking, and
Blocking” for safe procedures.
2. Remove hubcap.
3. Remove and discard cotter pin.
4. Loosen wheel nut.
5. After wheel nut is loosened, hit the top of wheel to
loosen the bearings. This moves the bearings free of
their seated, running position.
6. Rotate hub or wheel counter clockwise and torque
wheel nut to 27-31 N⋅m (20-23 ft-lb).
7. Back wheel nut up until it is loose.
8. While turning the hub or wheel counter clockwise,
torque the wheel nut to 2.3-2.8 N⋅m (1.7-2 ft-lb).
9. Back up wheel nut to nearest castellation slot and
install new cotter pin.
10. Recheck for correct bearing adjustment by rotating
the wheel by hand. Wheel should rotate freely or
with only slight “drag”. Readjust bearings by adjust-
ing wheel nut as necessary to avoid binding in bear-
ings.
11. Bend cotter pin tabs over.
12. Pack the area around wheel nut with grease.
13. Refit O-ring on hubcap if removed or replaced and
install hubcap by tapping into place with a rubber or
plastic-faced hammer.
Steer Axle Disassembly
IMP
RTANT
Before removing any component for over-
haul, make sure the correct repair parts,
seals, and gasket sets are available.
CAUTION
!
SAFE PARKING. REFER TO PAGE 3.
N
TE
Cleanliness is of extreme importance in the
repair and overhaul of this assembly.
• Before starting disassembly, thoroughly clean the
axle assembly of all accumulations of dirt, oil, cor-
rosion, and other substances to prevent contamina-
tion of the parts during disassembly and overhaul.
• Work in a clean area.
• Keep all parts in order as disassembly progresses.
Take care to properly identify each part and its
order of removal. If necessary, keep notes and put
markings on parts using a non-destructive marker
such as a grease pencil or felt-tipped pen.
• If necessary, see Section 3, “Steer Axle Removal
and Replacement,” for the procedures to remove
the steer axle from the truck.
• See Section 5, “Steer Cylinder Removal and
Replacement,” for the procedures to remove the
steering cylinder and steering links from the steer
axle.
• See Section 6, “Steering Cylinder Overhaul,” to
disassemble the steer cylinder.