GEN1000 Operator Manual
32 July 22, 2019 | 287960-ENG | R00
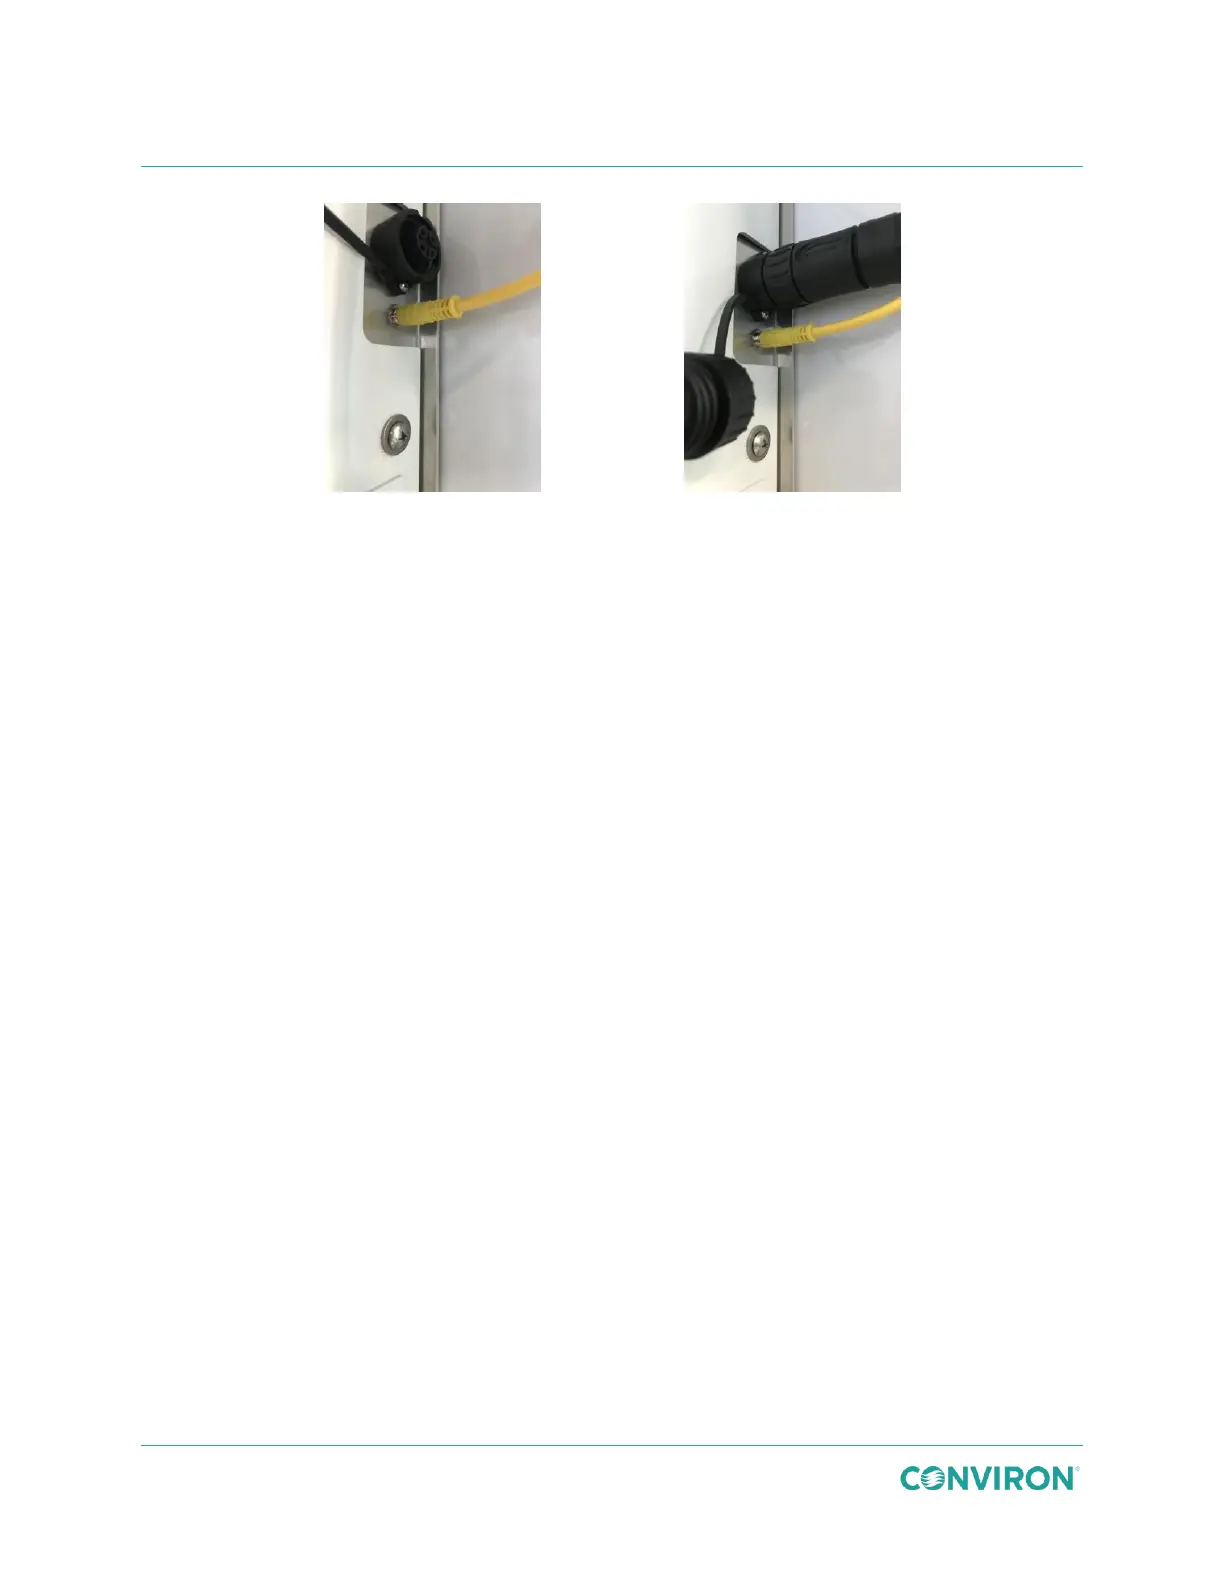
Figure 3-47 Control Connection
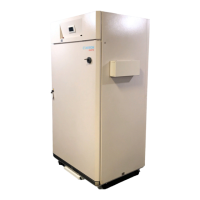
Figure 3-48 Power Connection
9. Plug the yellow canopy control cable into the small receptacle on the right-hand side
of the chamber (Figure 3-47).
10. Unscrew the receptacle protective cover and plug the black canopy power cable plug
into the large receptacle on the right-hand side of the chamber (Figure 3-48).
11. Repeat steps 8 through 10 for each remaining canopy.
3.7 Remove the Light Canopies and Shelves
Prior to installing a new configuration kit, the existing configuration kit must be removed. Retain
all associated fasteners, clips, bracket, shelves, cover plates, and canopies for future use.
3.7.1 Remove a Wire Shelf
1. Lift the shelf up away from the shelf clips.
2. Remove it from the chamber.
3.7.2 Remove a Wire Shelf Clip
1. Tilt the clip upwards to remove the bottom tab from the pilaster.
2. Continue tilting the clip upwards to unhook the top of the clip from the pilaster.
3.7.3 Remove an Air Shelf
1. Use a #2 Phillips screwdriver to remove the screw securing the bracket to the shelf.
2. Remove the brackets from the pilaster.
3. Support the front end of the shelf with one hand, and with the other hand, remove the
screws that secure the shelf to the plenum.
4. Continue supporting the front of the shelf, and lift the back of the shelf to separate it
from the cover plate.
5. Remove the shelf from the chamber.