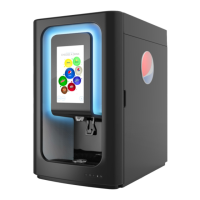
PBD175 (Spire 3.0) Service Manual
Publication Number: 620062609SER - 32 - © 2015-2016, Cornelius Inc.
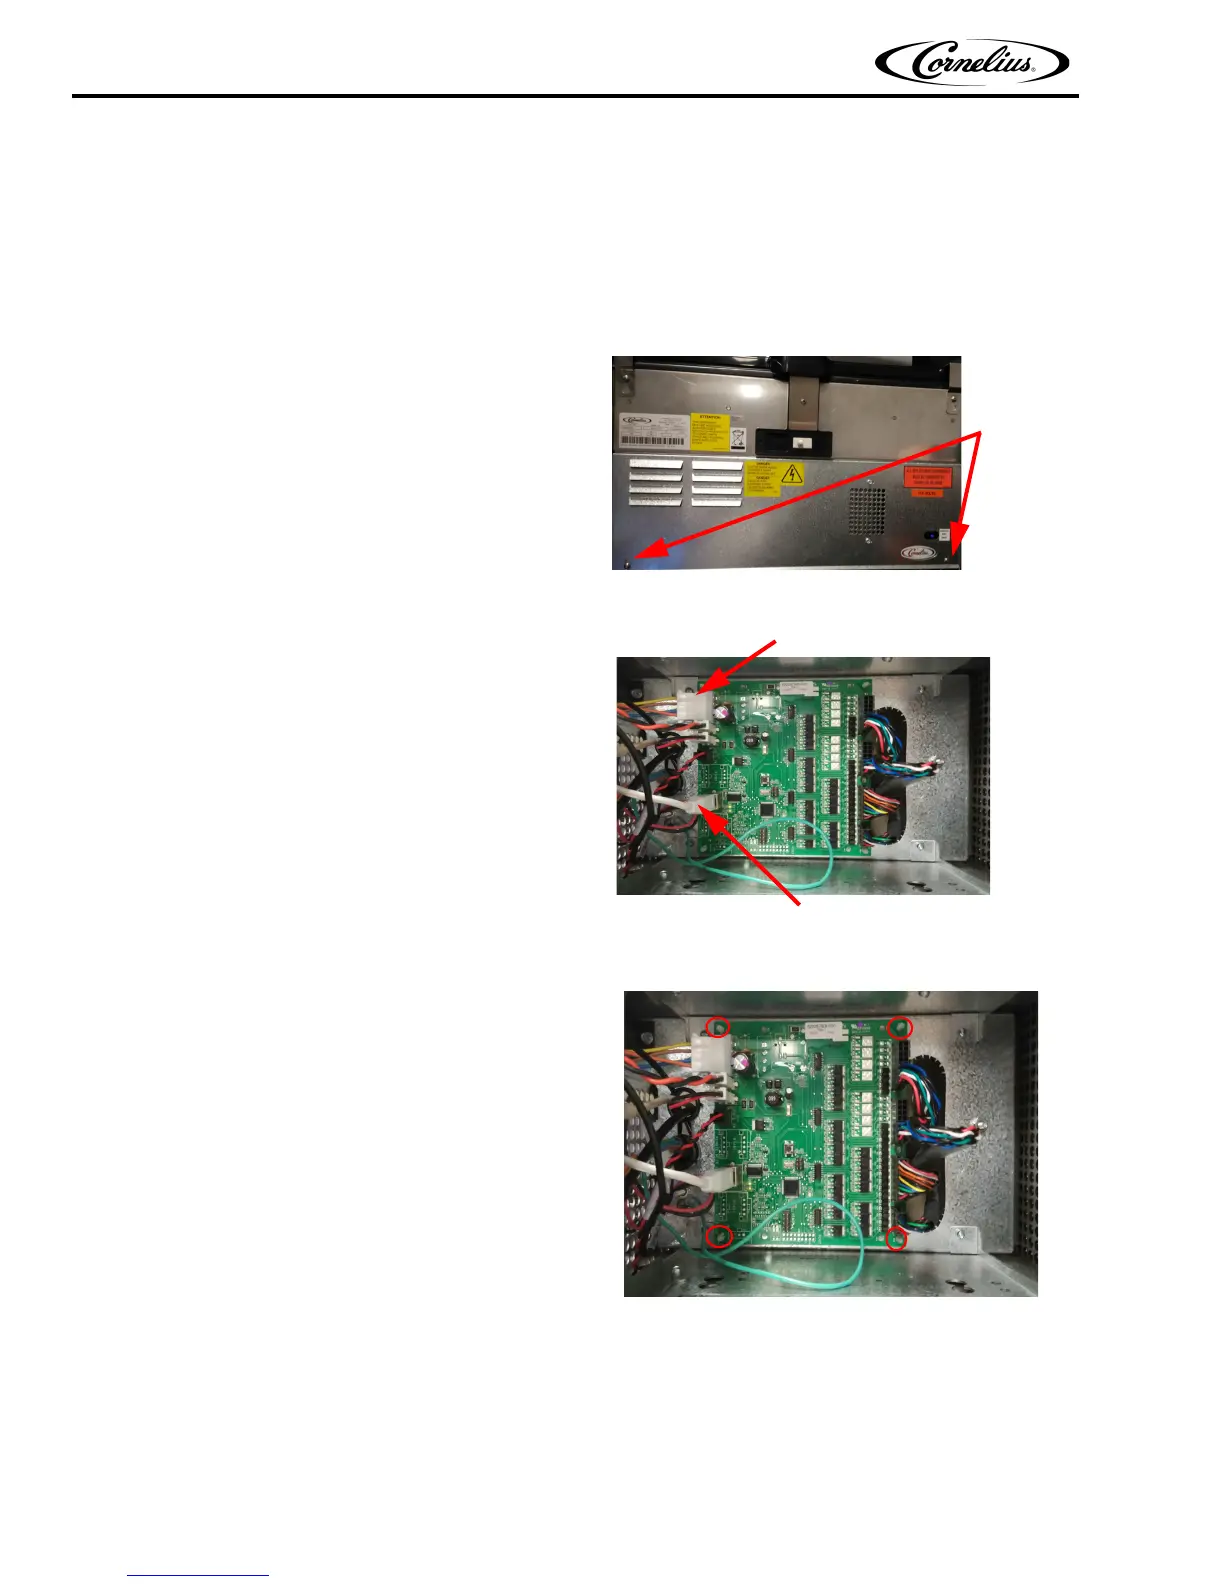
Replacing the Valve Control Board
To replace the Valve Control board, perform the procedure below.
1. Shut down the unit using the service menu on the
display.
2. Unplug the power cord from the wall receptacle.
3. Open the door.
4. Remove the E-box cover by removing the two
mounting screws and sliding the panel down to
disengage the tabs on the top of the panel.
Figure 52.
5. Unplug the 30/12VDC PWR, USB and the four
valve connectors at the right side of the board.
6. LED down light.
7. Ensure that key switch connector is in the horizontal
or “ON” position”.
Figure 53.
8. Using a needle nose pliers, pinch the four standoffs
to release the board.
Figure 54.
9. Replace the Valve Control board and press the new board onto the four standoffs.
10. Reconnect all of the connectors to the board from step 5-7.
11. Replace the E-box cover and install the two screws holding the cover.
12. Reconnect the power cord in the wall receptacle and resume normal operation.