Setup Connecting to a Computer or Network (Optional)
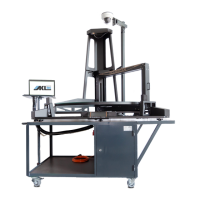
CubiScan 125 20
Installing and
Configuring the
USB Driver
You must install a driver on your computer before it can recognize and
communicate with the CubiScan 125 via the USB port. Complete the
following steps to install the driver.
1. With the CubiScan 125 turned on, connect the USB cable to your
computer’s USB port and to the USB port on the CubiScan 125.
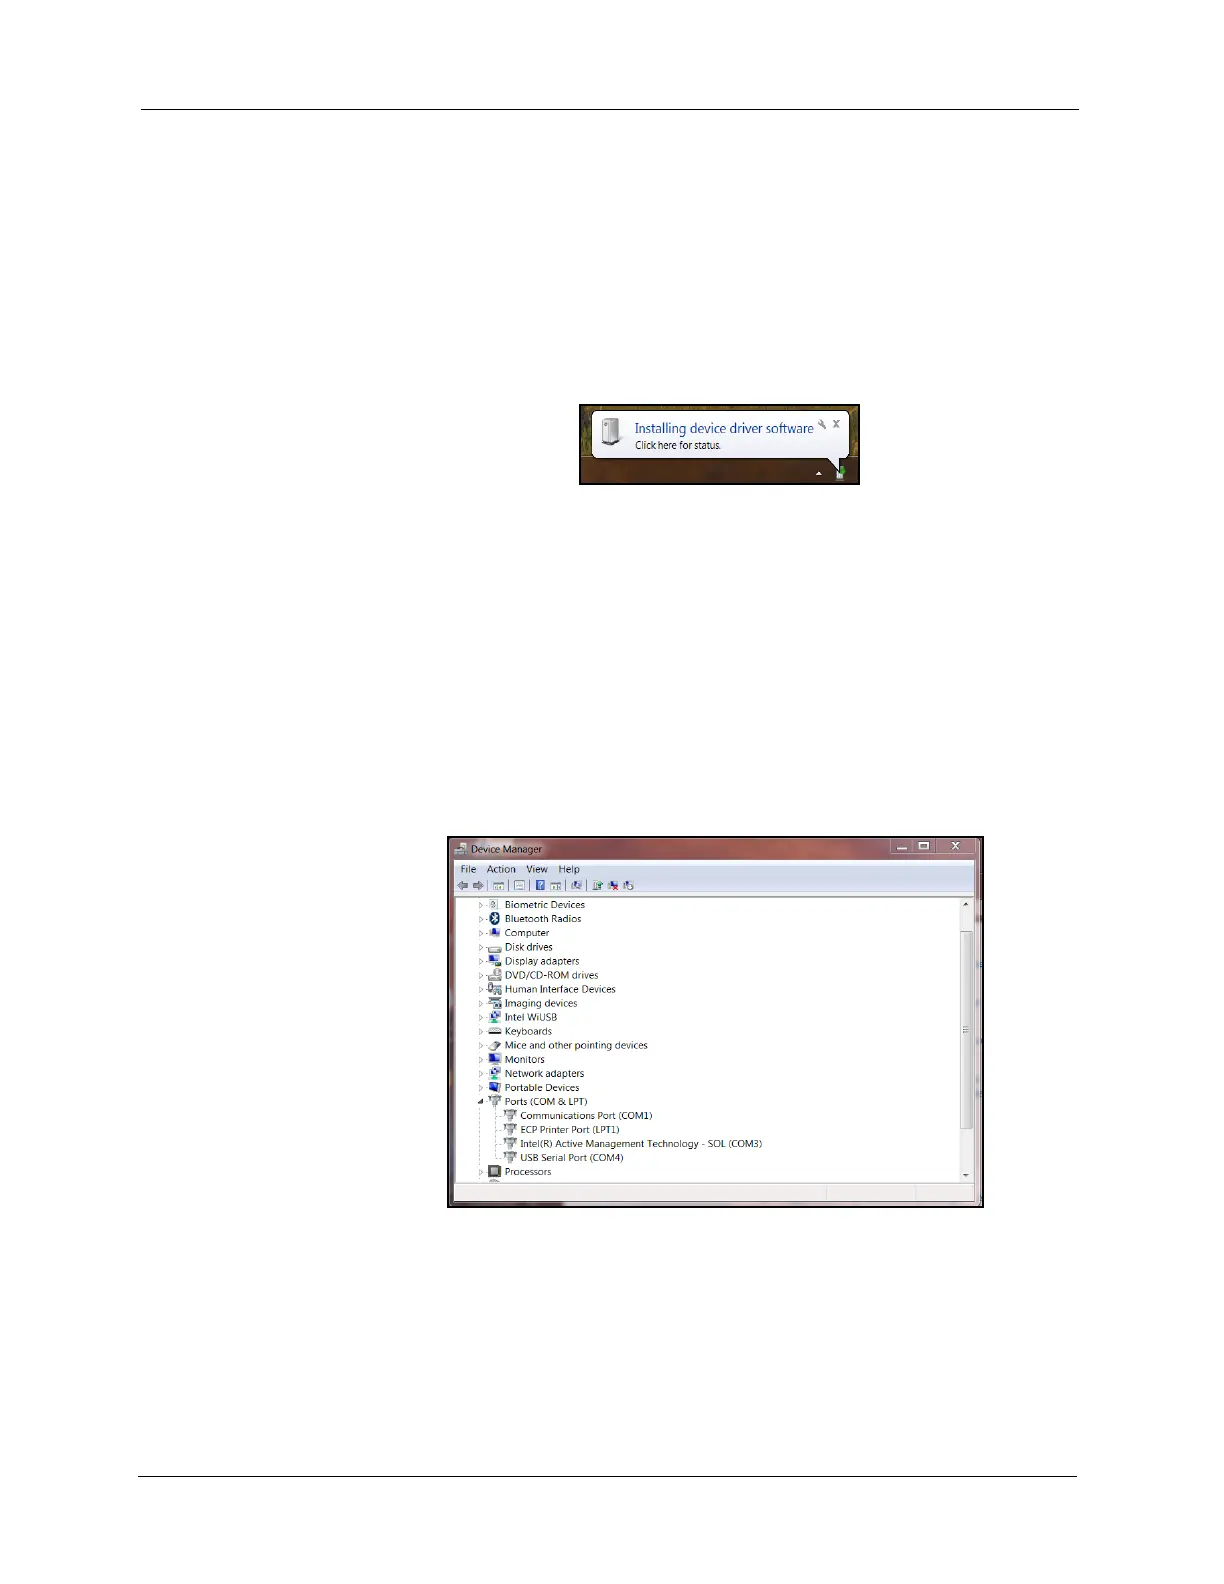
In the bottom right corner of the monitor, a bubble appears indicating
that new hardware has been found.
The driver will be automatically installed. A notification bubble will pop
up in the bottom right corner of the screen when the installation
process is finished.
If you are using Windows XP, the driver will need to be loaded
manually.
2. To determine which COM port the computer has assigned to the USB
port, go to Control Panel > Hardware and Sound.
3. Click on Device Manager to display the Device Manager window.
4. Click the arrow next to
Ports to display the available ports. Locate the
COM port assigned to the CubiScan 125. It will read USB Serial Port.
This is the COM port you will use when setting up Qbit applications to
communicate with the CubiScan 125. In this example, the CubiScan 125
was assigned to COM4.
5. Close the Device Manager and the System Properties window.