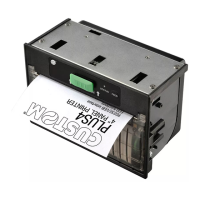
3.2 Fastening (horizontal paper out only)
The printer is provided with three fi xing holes on the bottom of device (see following fi gure). To fasten the printer on
a panel, use three M4 screws
115
220
15
4 x M4
A A
It’s very important to consider the screws length to not damage the internal components placed near the fi xing holes
(see following fi gure).
max 10SP
Section A-A
Printer chassis
Fixing panel
Fixing screw
The screw length (L) will be calculated according to the thickness of the panel (SP) on which the printer is fi xed, as
follows
L ≤ 10mm + Sp
For example, if panel thickness is 10mm ( Sp = 10mm ) the max screw length will be 20mm.
3. INSTALLATION
16 KPM216HII ETH User manual