User’s Manual
49
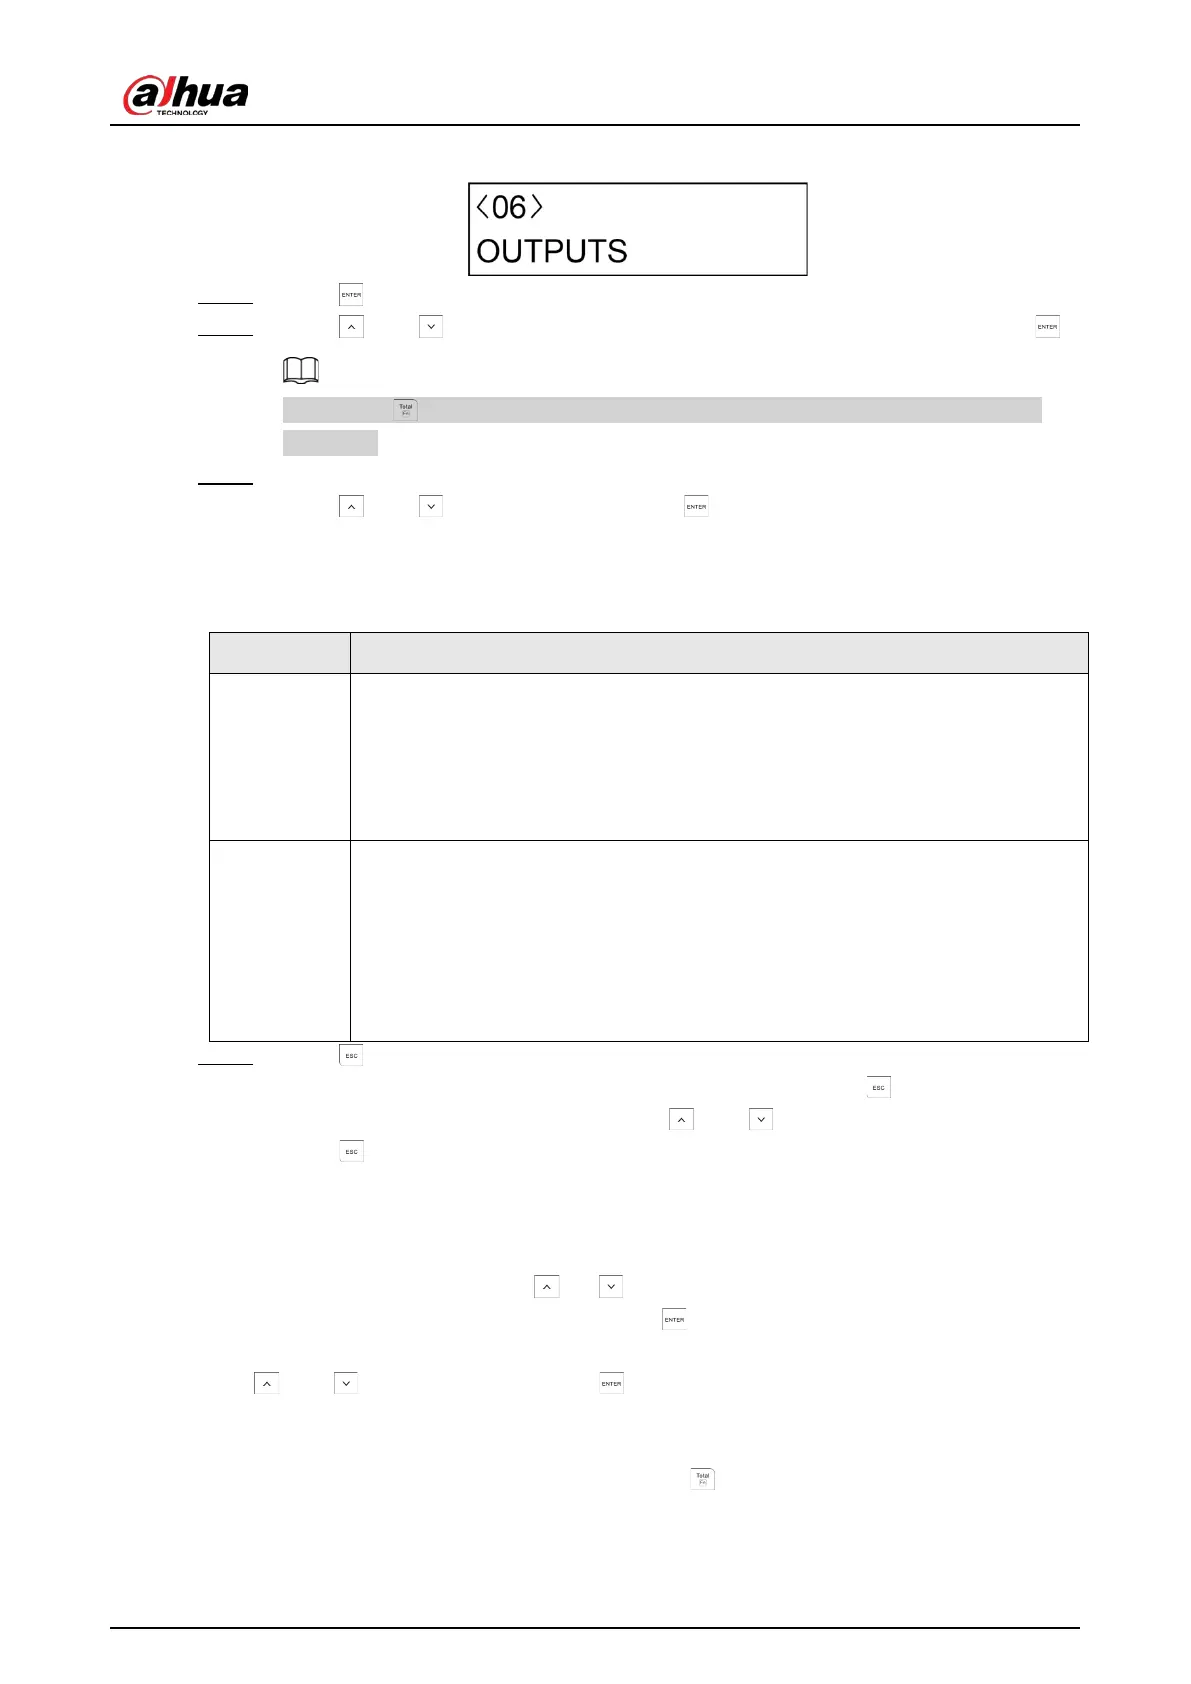
Figure 7-8 Outputs
Step 2 Press to enter the programming mode.
Step 3 Press and to select the
OUT[UTS
that you want to configure, and then press .
By pressing + 2, you can enter the
EDITING
mode for changing the description of
OUTPUTS
.
Step 4 Configure the parameters.
Press and to alter the options. Press to confirm the setting and move to the
next submenu.
The two numeric fields 000.00 represent minutes and seconds.
Table 7-5 Outputs settings
Submenu Setting
STATE
Set the mode according to the installation requirements.
●
ACTIVE
: The wire output is fully operational.
●
ISOLATE
: The wire output is programmed but permanently bypassed from
the system.
●
OFF
: The wire output is not used.
CATEGORIES
Set the output categories.
●
AREAS
●
ZONES
●
LINK
●
GENERIC
●
SYSTEM
Step 5 Press to return to the
OUTPUTS
menu.
Then you can continue with programming other outputs, or press to return to the
OUTPUTS
menu from where you can press and to move to the next menu or
press to exit from the installer menu.
7.9.2 Configuring Output Categories
On the
CATEGORIES
submenu, press or to select the output category from
AREAS
,
ZONES
,
LINK
,
GENERIC
, or
SYSTEM
, and then press to enter the programming mode of output
that you selected.
Press and to alter the options. Press to confirm the setting and move to the next
submenu.
By entering the
OUTPUTS
menu when the LCD display shows the name of output, it is possible to
manually activate the output to test its operation: Press + 1 (F1), the
ACTIVE
screen is displayed.
 Loading...