User’s Manual
70
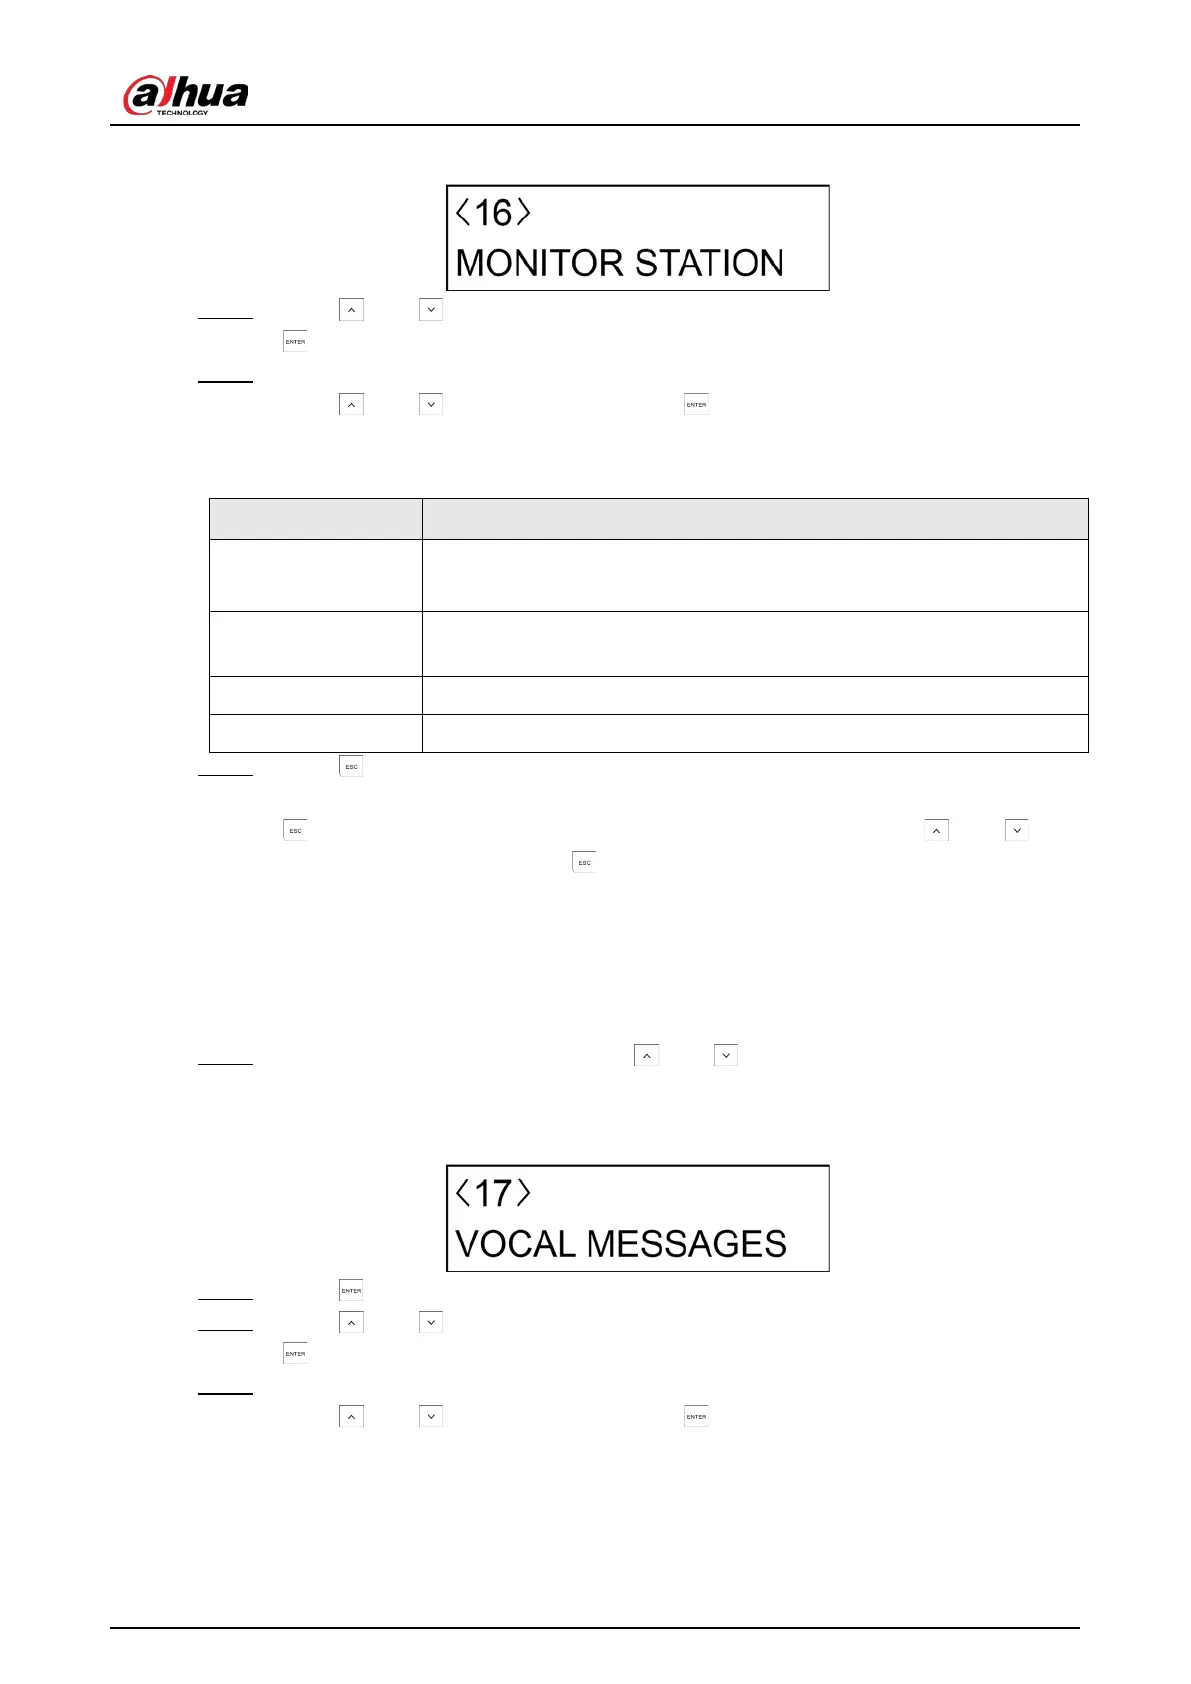
Figure 7-20 Monitor station
Step 2 Press and to select the monitor station that you want to configure, and then press
.
Step 3 Configure the parameters.
Press and to alter the options. Press to confirm the setting and move to the
next submenu.
Table 7-20 Monitor station settings
Submenu Setting
STATE
●
ACTIVE
: The PSTN number is enabled.
●
ISOLATE
: The PSTN number is set but temporarily locked.
MODE
Set the digital protocol for each service center number (Only
CONTACT
ID
for now).
TEST DATE Set the date when to test PSTN.
TEST TIME Set the specific time when to test PSTN.
Step 4 Press to return to the
MONITOR STATION
menu.
Then you can continue with programming other monitor stations (up to three), or press
o return to the
MONITOR STATION
menu from where you can press and to
move to the next menu or press to exit from the installer menu.
7.20 Vocal Messages
Procedure
Step 1 After entering the installer menu, press and to scroll up and down until you reach
the
VOCAL MESSGAES
menu.
Figure 7-21 Vocal message
Step 2 Press to enter the programming mode.
Step 3 Press and to select the vocal message that you want to configure, and then press
.
Step 4 Configure the parameters.
Press and to alter the options. Press to confirm the setting and move to the
next submenu.
 Loading...