3.1 Workflow
3-2
Writing the setup data
Page 3-16
7 Writing the setup data
Write the setup data onto Welding Interface (Digital) and the
robot controller.
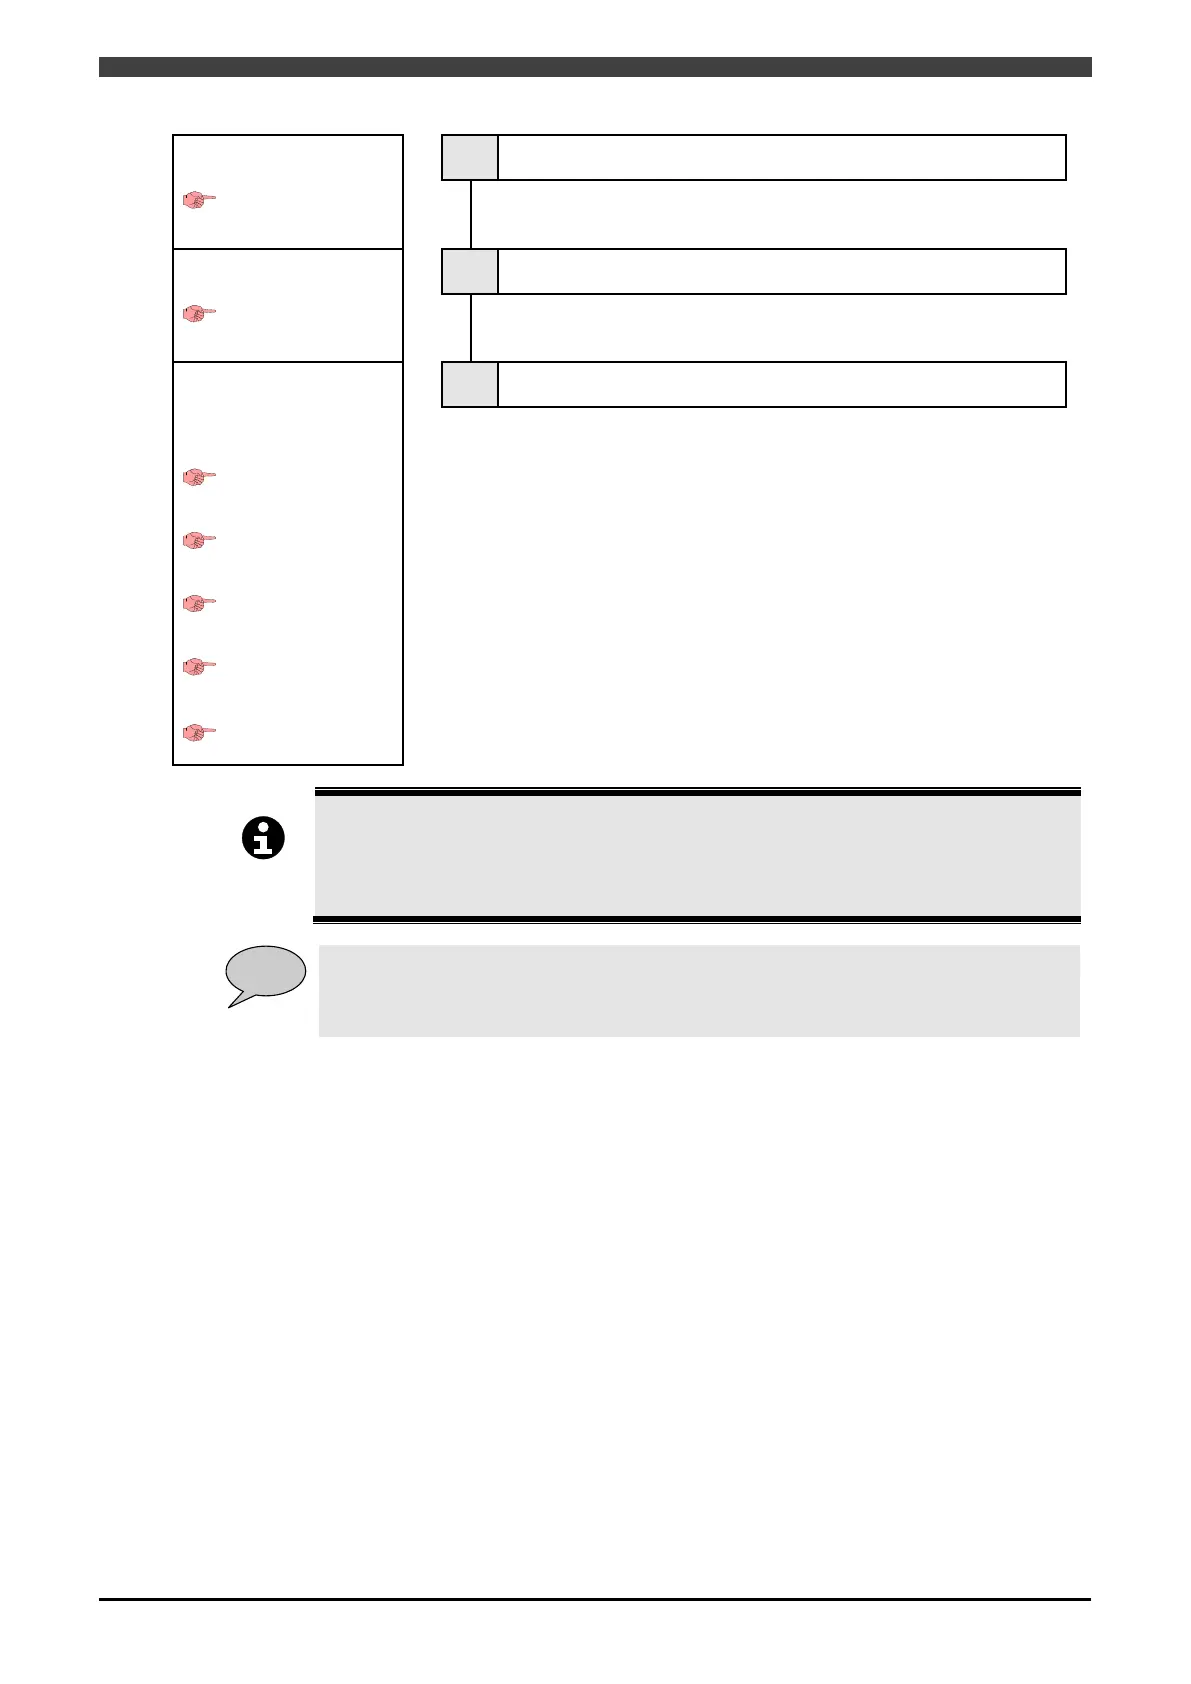
Check the configuration
Page 3-20
8 Check the configuration
Check that the interface is configured correctly and the welding
power source can be used.
Adjusting the welding
characteristic data
WB-M350L/M400L
Page 3-23
WB-M350/M400/M500
Page 3-28
WB-P350/P400
Page 3-31
WB-P350L/P400L/P500L
Page 3-38
WB-W350/W400
9 Adjust the welding conditions
Adjust the welding conditions to suit your welding power source.
For details on the welding conditions that can be used with the
interface, see the welding conditions for the various welding
power sources from the section 3.8 .
Also, for details on editing the welding conditions, see the
APPLICATION MANUAL (ARC WELDING) instruction manual
for your robot controller.
Be sure to check the welding conditions that can be used in step 9.
The welding c
ondition editing screen of the robot controller includes the parameters for D
series welding power sources, which are not used by Welbee Inverter series welding power
sources.
When you turn on a robot controller again, please also turn on a welding power source again .
To change the registration of the welding characteristic data in f5 <Arc Constant> - [4 Setting
of weld data] on the robot
controller in order to change the welding mode that is used, repeat
steps 4 to 7 in this procedure.
 Loading...