3.1 Workflow
3-1
3.1 Workflow
Configure Welding Interface (Digital) on your computer using the "Welding Interface (Digital) Setup" tool.
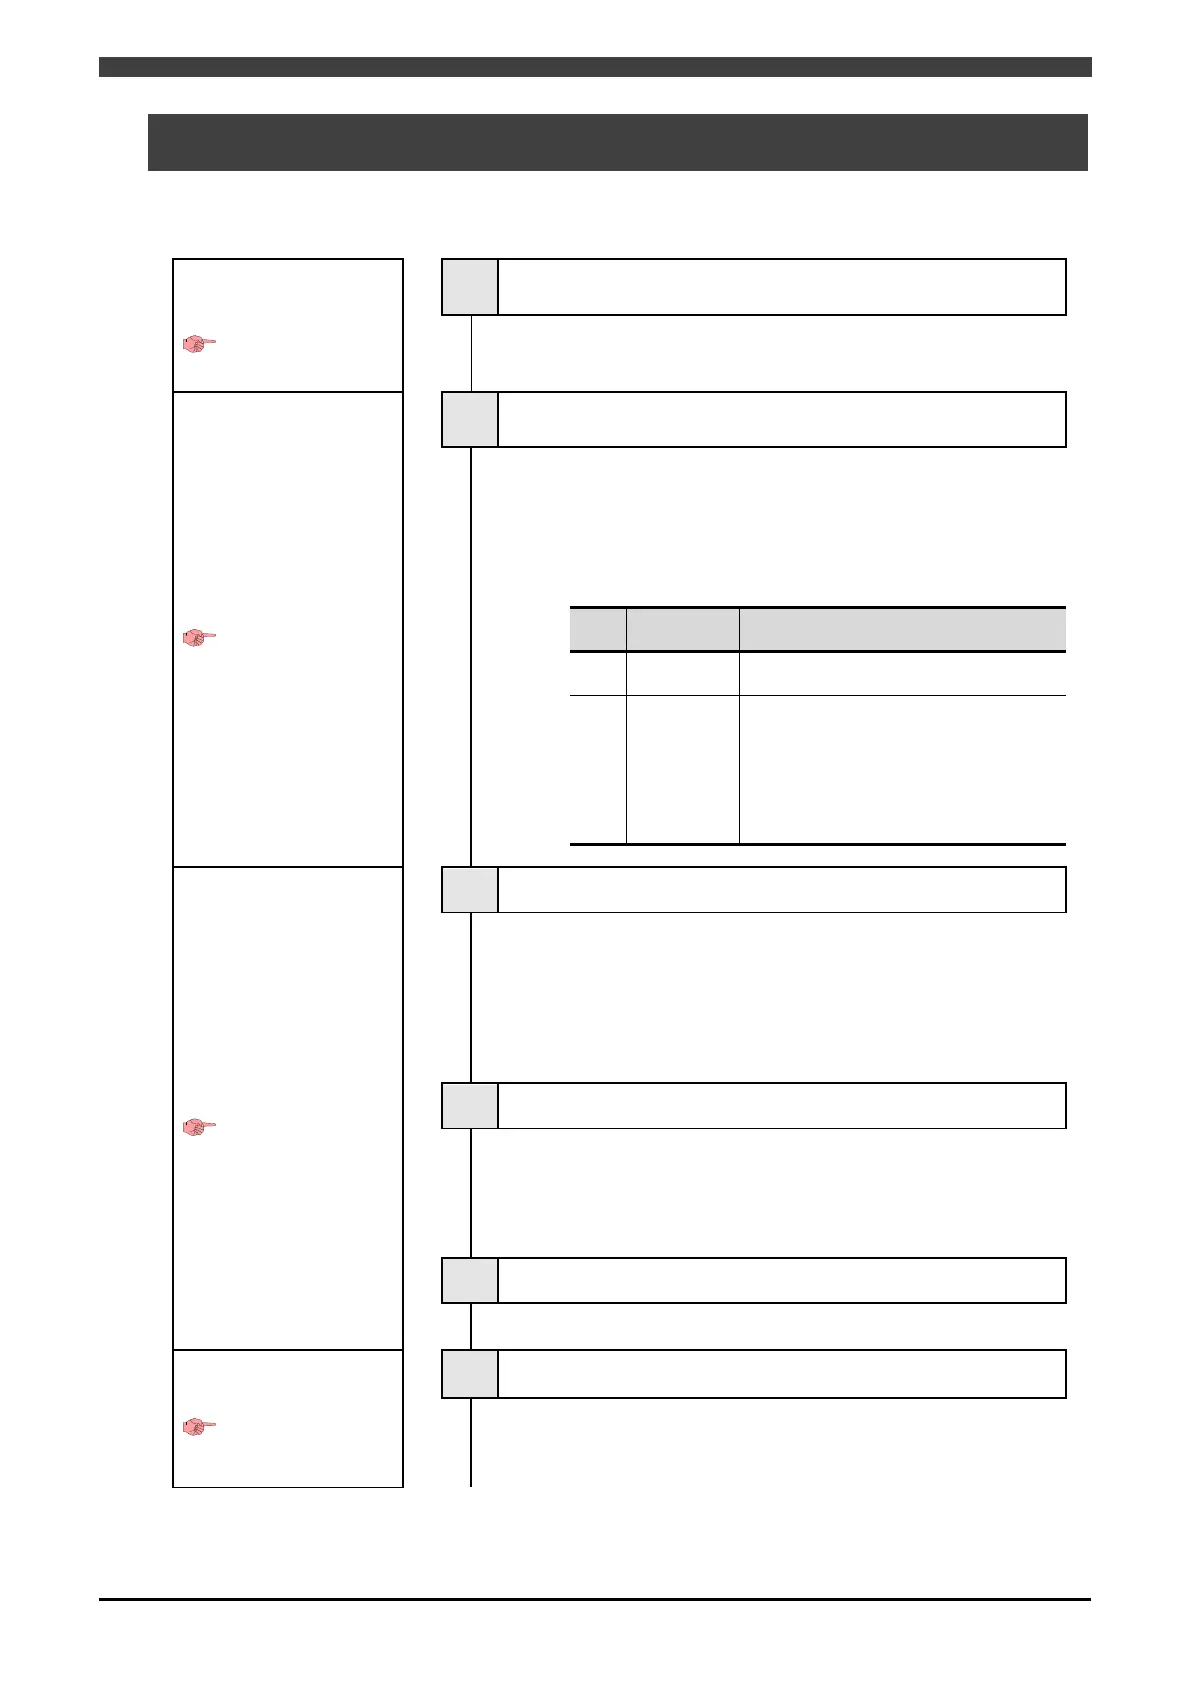
The workflow is shown below.
Configuration
preparations
Page 3-3
1 Download the "Welding Interface (Digital) Setup" tool
Download the "Welding Interface (Digital) Setup" tool onto your
computer.
Configuring the Welbee
Inverter series welding
power source
Instruction manual
for the welding
power source
2 Configure the welding power source
Configure the Welbee Inverter series welding power source to
enable communication with the interface. Configure the internal
functions as shown in the table below by operating the front
panel of the welding power source. For details on the operation
methods, see the instruction manual of your welding power
source.
No.
Setting
F4
Set "3: OTC robot 1".
F43 CANID
When connecting 1 welding power
source to the interface, set "1".
When connecting multiple welding
power sources to the interface, set the
same number as the registration
number in the next item, "Register the
Configuring the robot
controller
Page 3-4
3 Registering the welding power source
Register the welding power source to use for the robot
controller. In this step, register a D series welding power source
instead of the Welbee Inverter series welding power source.
When changing the welding power source from the D series to
the Welbee Inverter series as shown in Table 1.2.3 and
continuing to use the existing programs, this step is not
required.
4 Register the welding mode
Register the welding mode to use for the robot controller.
When changing the welding power source from the D series to
the Welbee Inverter series as shown in Table 1.2.3 and
continuing to use the existing programs, this step is not
required.
5 Creating a backup
Back up all the robot control data onto a CF card.
Creating the setup data
Page 3-10
6 Create the setup data
Create the setup data for configuring the robot controller and
the interface by using the "Welding Interface (Digital) Setup"
tool.
 Loading...