3.4 Creating the setup data
3-15
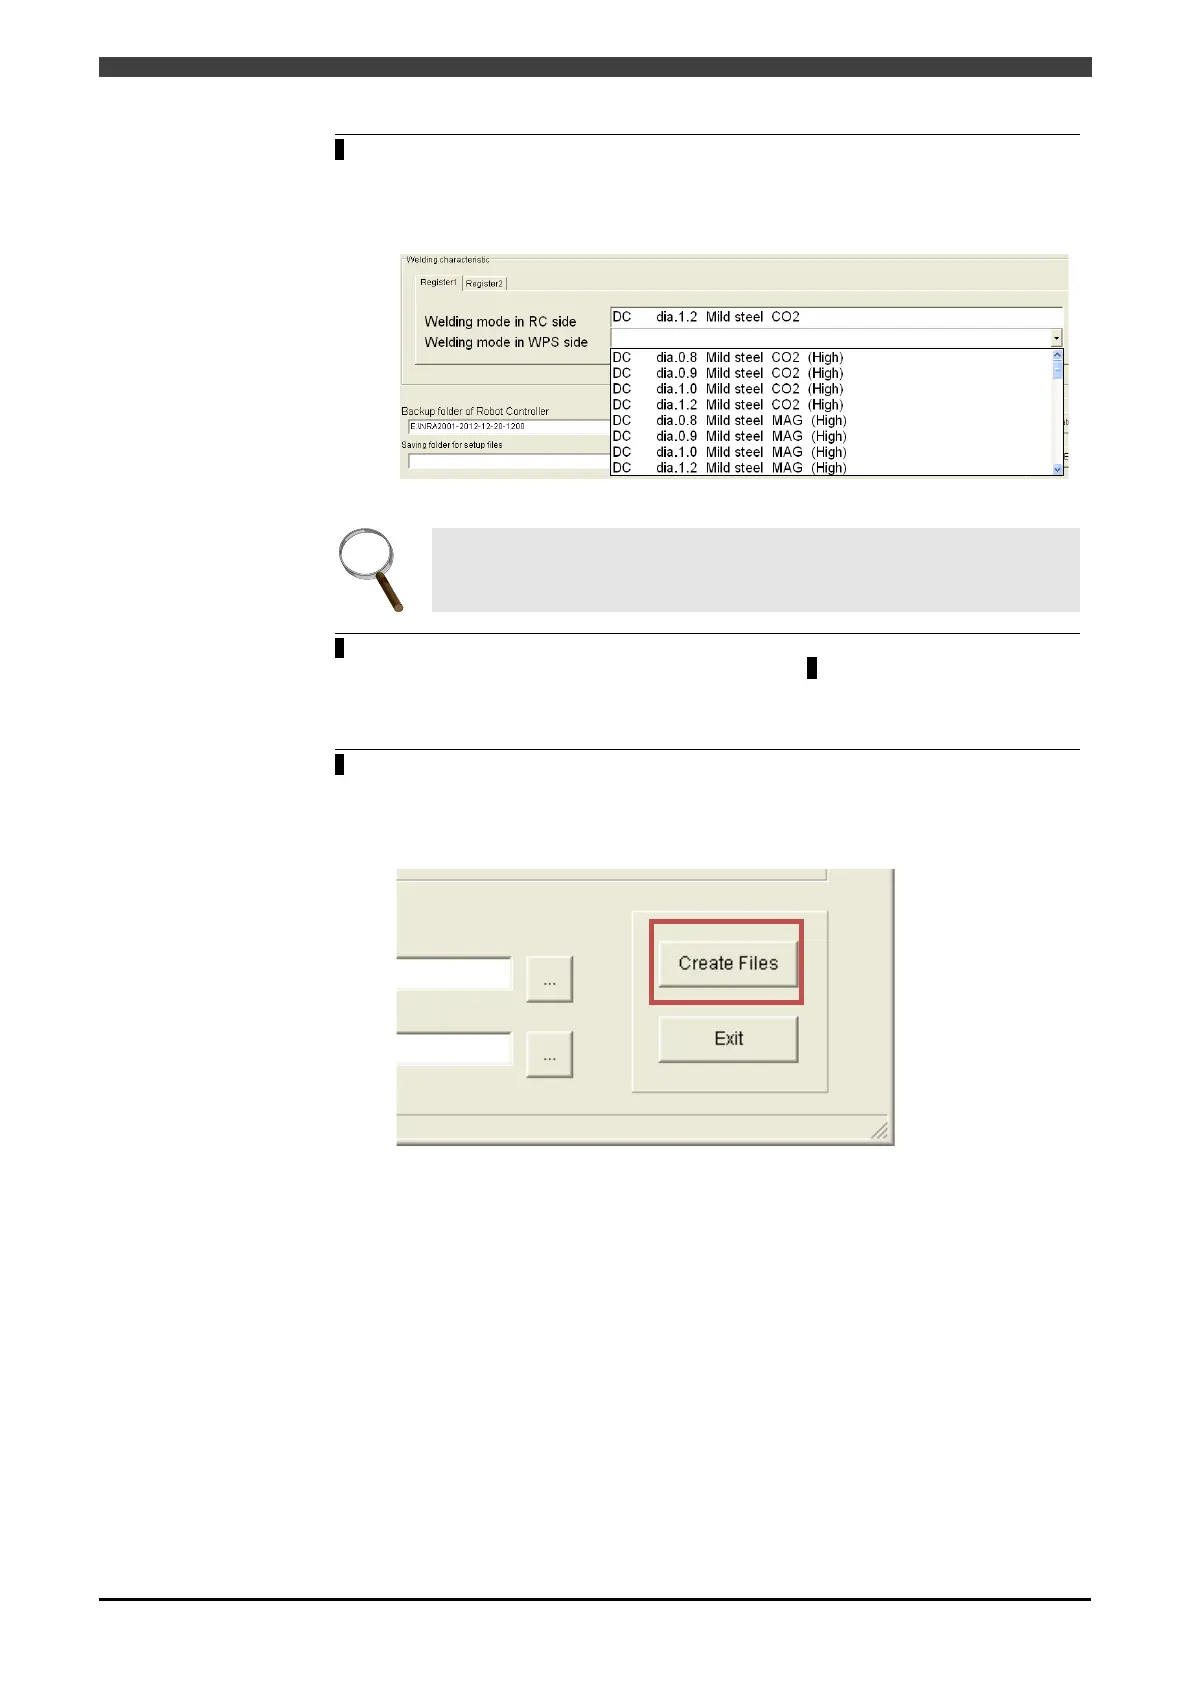
In the [Welding characteristic] item, select the welding mode to use with the
Welbee Inverter series welding power source.
>> The welding mode displayed in [Welding mode in RC side] is associated with the
welding mode set in this step.
For details on selecting the welding mode, also see "3.3.2 Register the welding
mode".
For WB-A350P/A500P, the item of welding characteristics is not appeared.
If multiple welding modes are registered in the robot controller, select the next
[Register] tab and repeat the operation from step 3
. In this way, associate all the
welding modes registered in the robot controller with the welding modes of the
Welbee Inverter series welding power source.
Press the [Create Files] button.
>> The setup data is created. The setup data is saved on both the USB memory and
the CF card (that stores the robot controller backup) selected in "3.4.1
Configuring the setup tool".
 Loading...