Operational Maintenance
Product Reference Guide 3-13
4. Fully seat the new Vertical Scan Window into the window channel,
engaging it within the retention tabs. Reference Figure 3-3d and
Figure 3-3c.
5. Clean both sides of the new Vertical Scan Window using a paper
towel or lint free cleaning tissues dampened with a mild, water-
based glass cleaner. DO NOT use abrasive cleaners or pads.
6. Tilt in the bezel to seat the two ears at the bottom corners of the
bezel into their holes in the scanner and push in on the top of the
bezel to securely snap it in place (see Figure 3-3b). Vertical Scan
Window replacement is now complete.
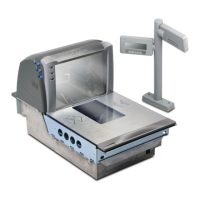
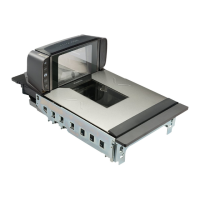
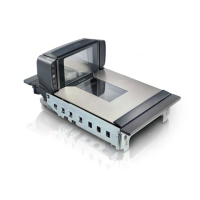
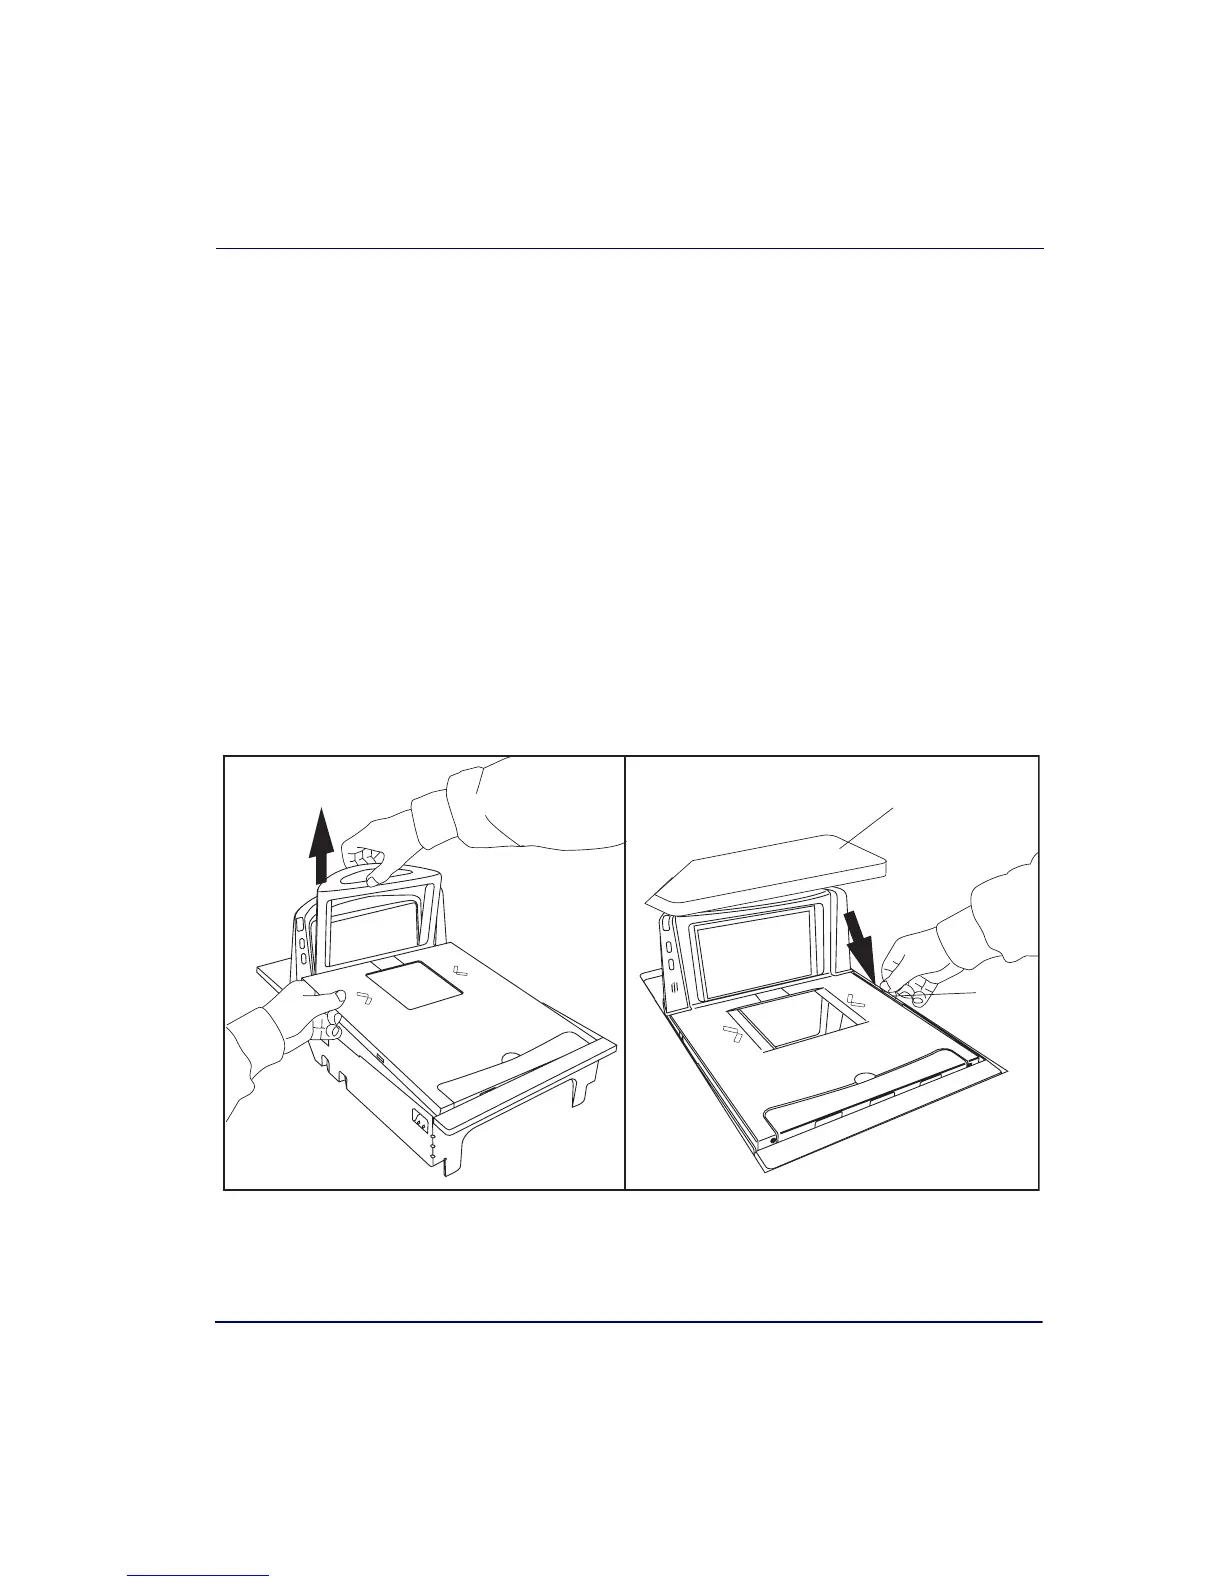
L-Platter Vertical Scan Window Removal
1. Grasp the platter as shown in Figure 3-4 and gently lift it from the
scanner.
Figure 3-4. L-Platter Removal/Reinstallation
ab
Coin
(Obstruction)
 Loading...