Adjustments and Maintenance
2-17
3. Allow the printhead to dry.
4. Install media (and ribbon, if necessary). Lower and latch the Printhead Assembly. Close the cover.
Plug in and turn ON the printer. Run several sample labels and examine the print quality. If
streaks are still present, go to Section 2.4.1.2; otherwise, this completes the procedure.
2.4.1.2 Cleaning Card Procedure
This cleaning method is recommended when using direct thermal media, thermal transfer media with
a wax ribbon, or if symptoms persist after performing the cotton swab procedure (see Section
2.4.1.1).
1. Turn OFF and unplug the printer. Wait for the printhead to cool.
2. Raise the Printhead Assembly then remove the media (and ribbon, if installed).
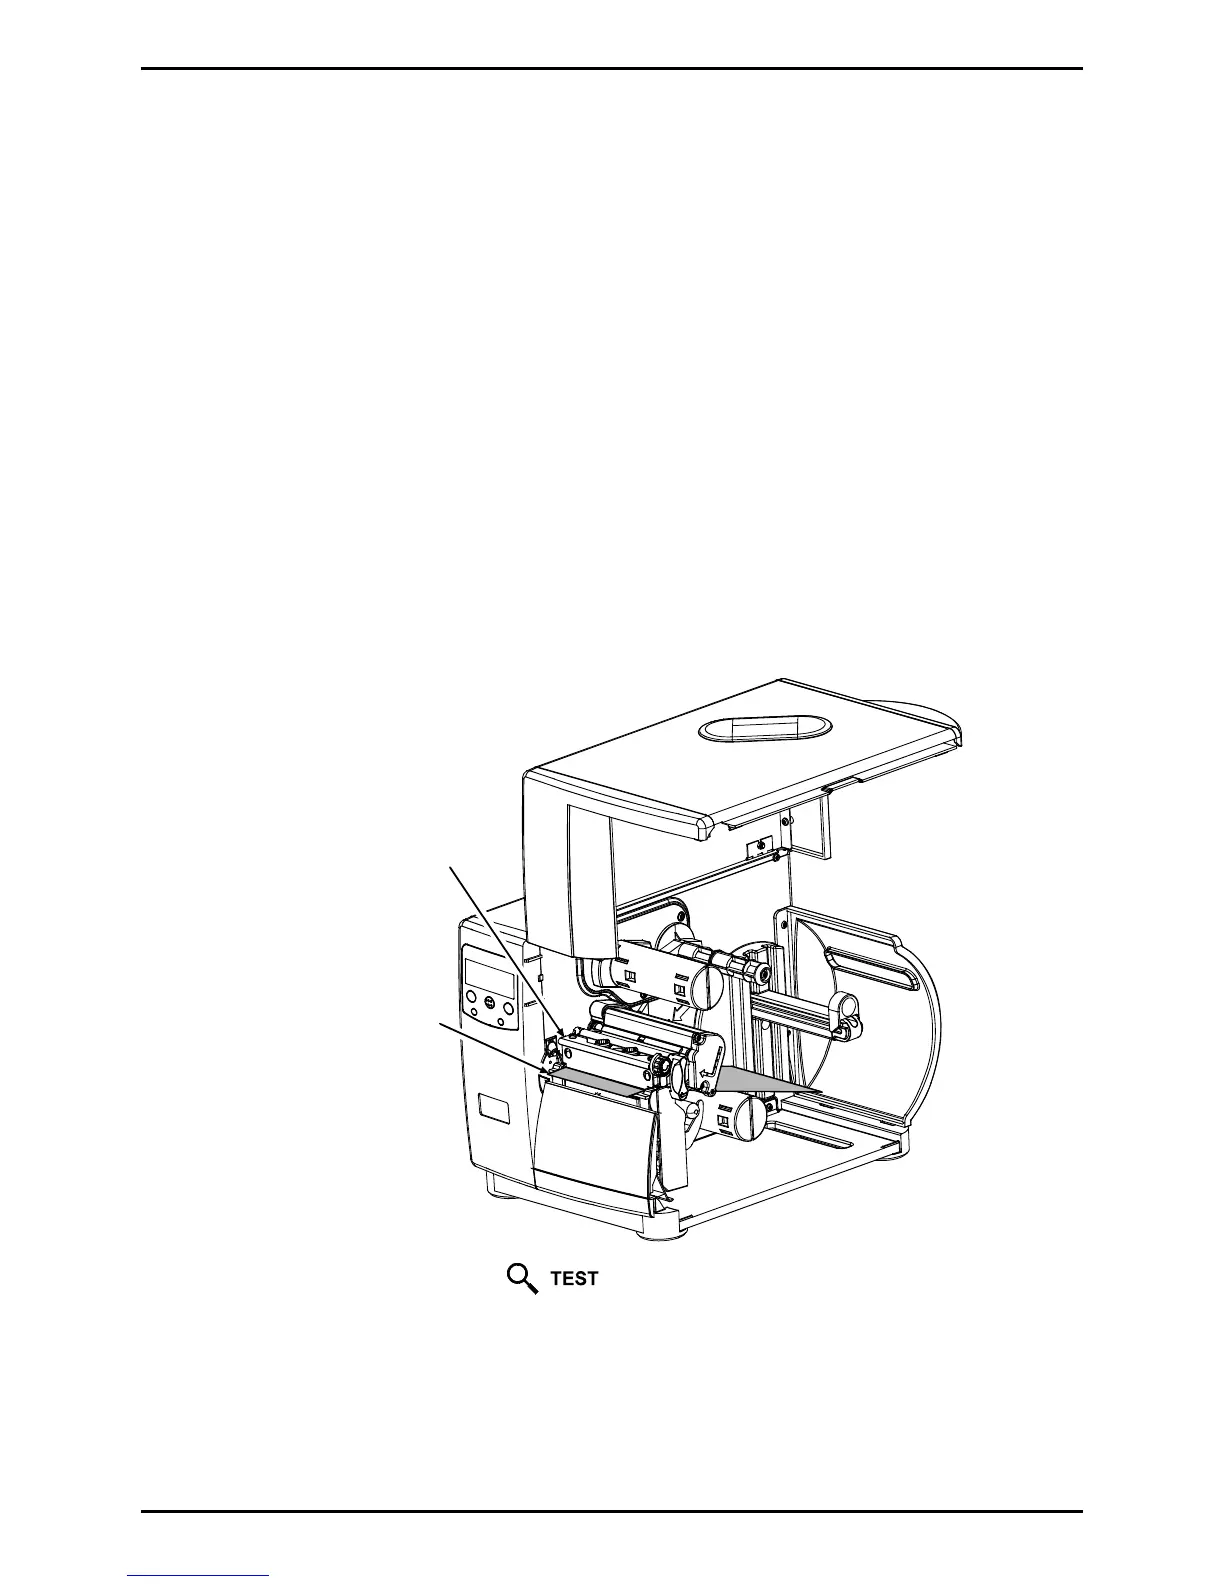
3. Place a Cleaning Card (part number 70-2013-01) under the printhead.
4. Lower and latch the Printhead Assembly.
5. Disengage the Leveling Cam; see Section 2.2.1.
Cleaning Card
(or Cleaning Film)
Printhead Assembly
6. Close the cover. Press and hold the Key for approximately four seconds. (As an
alternate, CLEAN HEAD NOW can be selected in the menu.)
7. Install media (and ribbon, if necessary). Lower and latch the Printhead Assembly. Adjust the
Leveling Cam. Close the cover. Run a few sample labels and examine them. If streaking is still
present, go to Section 2.4.1.3; otherwise, this completes the procedure.
 Loading...


