Troubleshooting
3-5
3.2.4 Poor Print Quality
Note: (1) If printed results are uneven, light or splotchy try increasing HEAT or reducing PRINT
SPEED as no further adjustments may be needed; (2) during the procedure below, synthetic
media may not produce the intended results due to the requirements of the material; and,
(3) in extreme conditions, over-temperature protection circuitry can interrupt printing.
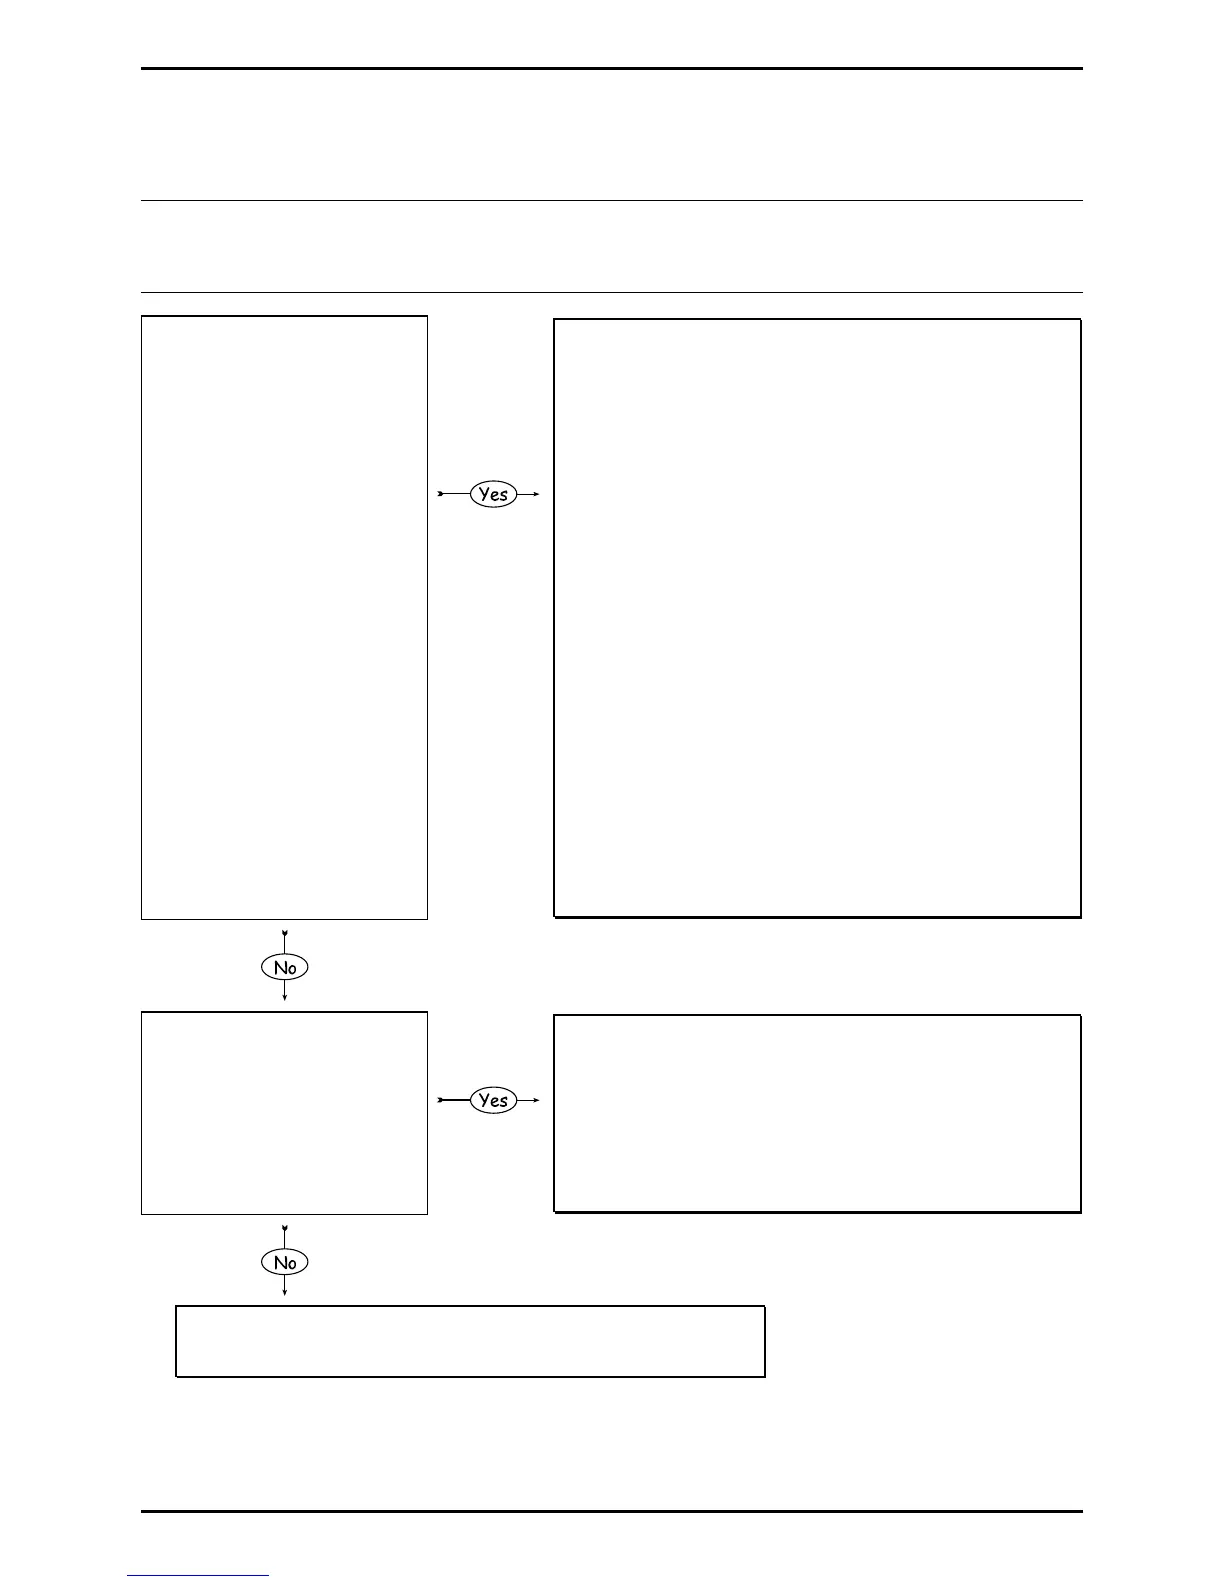
1. Press TEST.
Scroll to PRINT
QUALITY LABEL and
then press TEST.
Does the produced
label have streaks or
missing areas of print?
• The HEAT setting may be too low; raise it.
• Possible incorrect media & ribbon combination.
• Possible loose printhead assembly; latch it.
• Possible dirty, misaligned, or defective printhead;
clean, align, or replace it (see Section 2.4.1, 2.2.3 or
4.4, respectively).
• Possible loose or defective printhead cable.
• Possible ribbon wrinkle (see Section 2.3).
• Possible defective Main Logic PCB; replace it (see
Section 4.11).
• Possible dirty or worn Platen; clean or replace it (see
Section 2.4.2 or Section 4.3, respectively).
• Possible wrong firmware; check the version.
• Possible wrong resolution Printhead (e.g., 203 DPI in a
300 DPI model); see Section 4.4.
• Possible wrong resolution Drive Motor or motor
position (or worn belt on early models); see Section
4.8.
2. Does the print fade
across the width of the
label?
• Leveling Cam may be over-adjusted; adjust it (see
Section 2.2.1.)
• The HEAT setting may be too low; raise it.
• Possible misaligned printhead; align it (see Section
2.2.3).
• Possible worn Platen; replace it (see Section 4.3).
Possible incorrect media & ribbon combination or improper
print control adjustments (check the settings –- in some cases,
host commands may override menu selections.)
 Loading...


