Troubleshooting
3-4
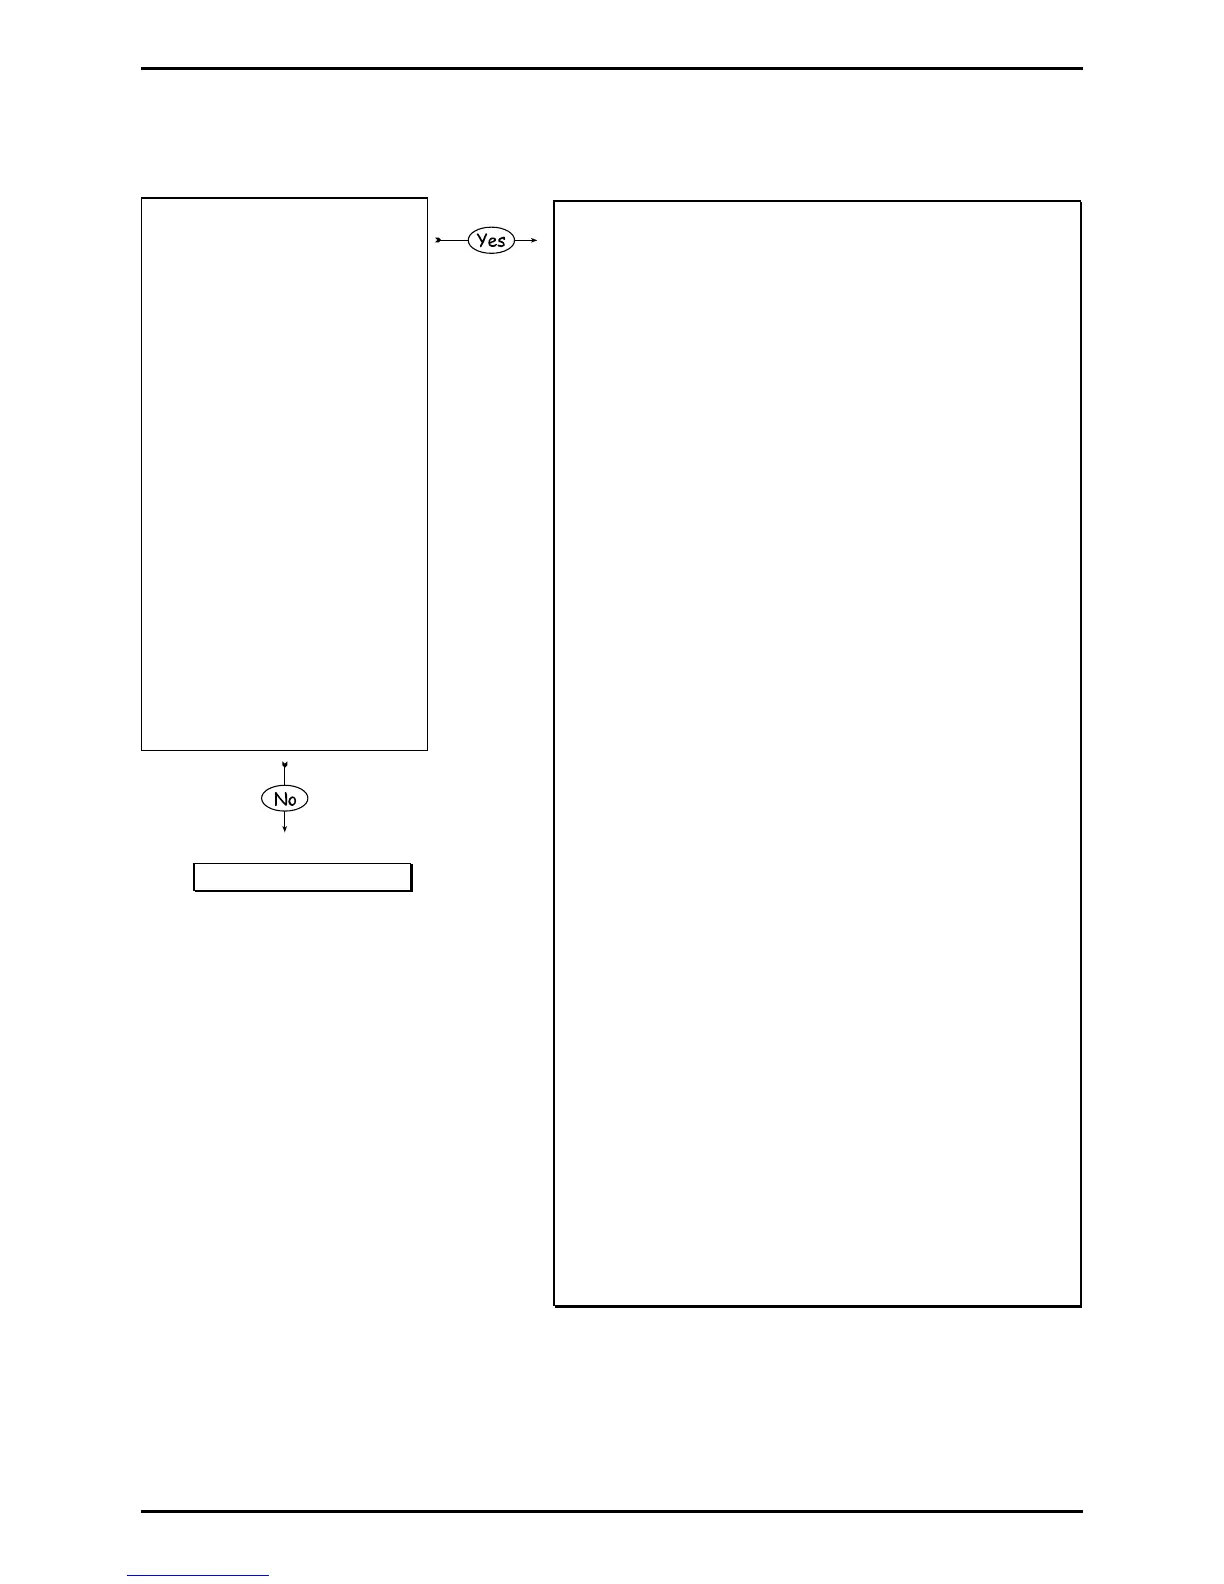
3.2.3 No Print
Press TEST.
Scroll to PRINT
CONFIGURATION, and
then press TEST.
Is the resulting label
blank?
Test complete.
Proceed according to the installed media type:
If using direct thermal media:
• Possible loose printhead assembly; latch it.
• Possible wrong media; ensure type.
• The HEAT setting may be too low; raise it.
• Possible misaligned or defective printhead; align or
replace it (see Section 2.2.3 or 4.4, respectively).
• Possible loose or defective printhead cable.
• Possible defective Power Supply PCB; check the
voltage (see Section 2.2.4) then, if necessary, replace
the PCB (see Section 4.10).
• Possible defective Main Logic PCB; replace it (see
Section 4.11).
If using thermal transfer media, examine the used
ribbon and then proceed accordingly –
The used ribbon has an image:
• Possible incorrectly loaded ribbon; reload correctly.
• Possible wrong ribbon type (CSO/CSI), which can be
verified by lifting ink off the ribbon using the adhesive
on a label; clean the printhead (see Section 2.4.1)
replace ribbon with the correct type.
The used ribbon does not have an image:
• Possible loose printhead assembly; latch it.
• The HEAT setting may be too low; raise it.
• Possible incorrect media & ribbon combination; verify
it.
• Possible misaligned or defective printhead; align or
replace it (see Section 2.2.3 or 4.4, respectively).
• Possible loose or defective printhead cable.
• Possible defective Power Supply PCB; check the
voltage (see Section 2.2.4) then, if necessary, replace
the PCB (see Section 4.10).
• Possible defective Main Logic PCB; replace it (see
Section 4.11).
 Loading...


