Adjustments and Maintenance
2-2
2.1.2 Standard Calibration
During calibration, the printhead assembly can be raised for visual access, which can be helpful when
using small, position-critical TOF notches or marks. Three sample readings are required:
• Empty: No media in the sensor.
• Gap (or Mark): Only the backing (liner), notch, or reflective mark in the sensor.
• Paper: The label (with liner) in the sensor.
Make sure that the appropriate SENSOR TYPE has been selected, and then perform a Standard
Calibration following the steps below:
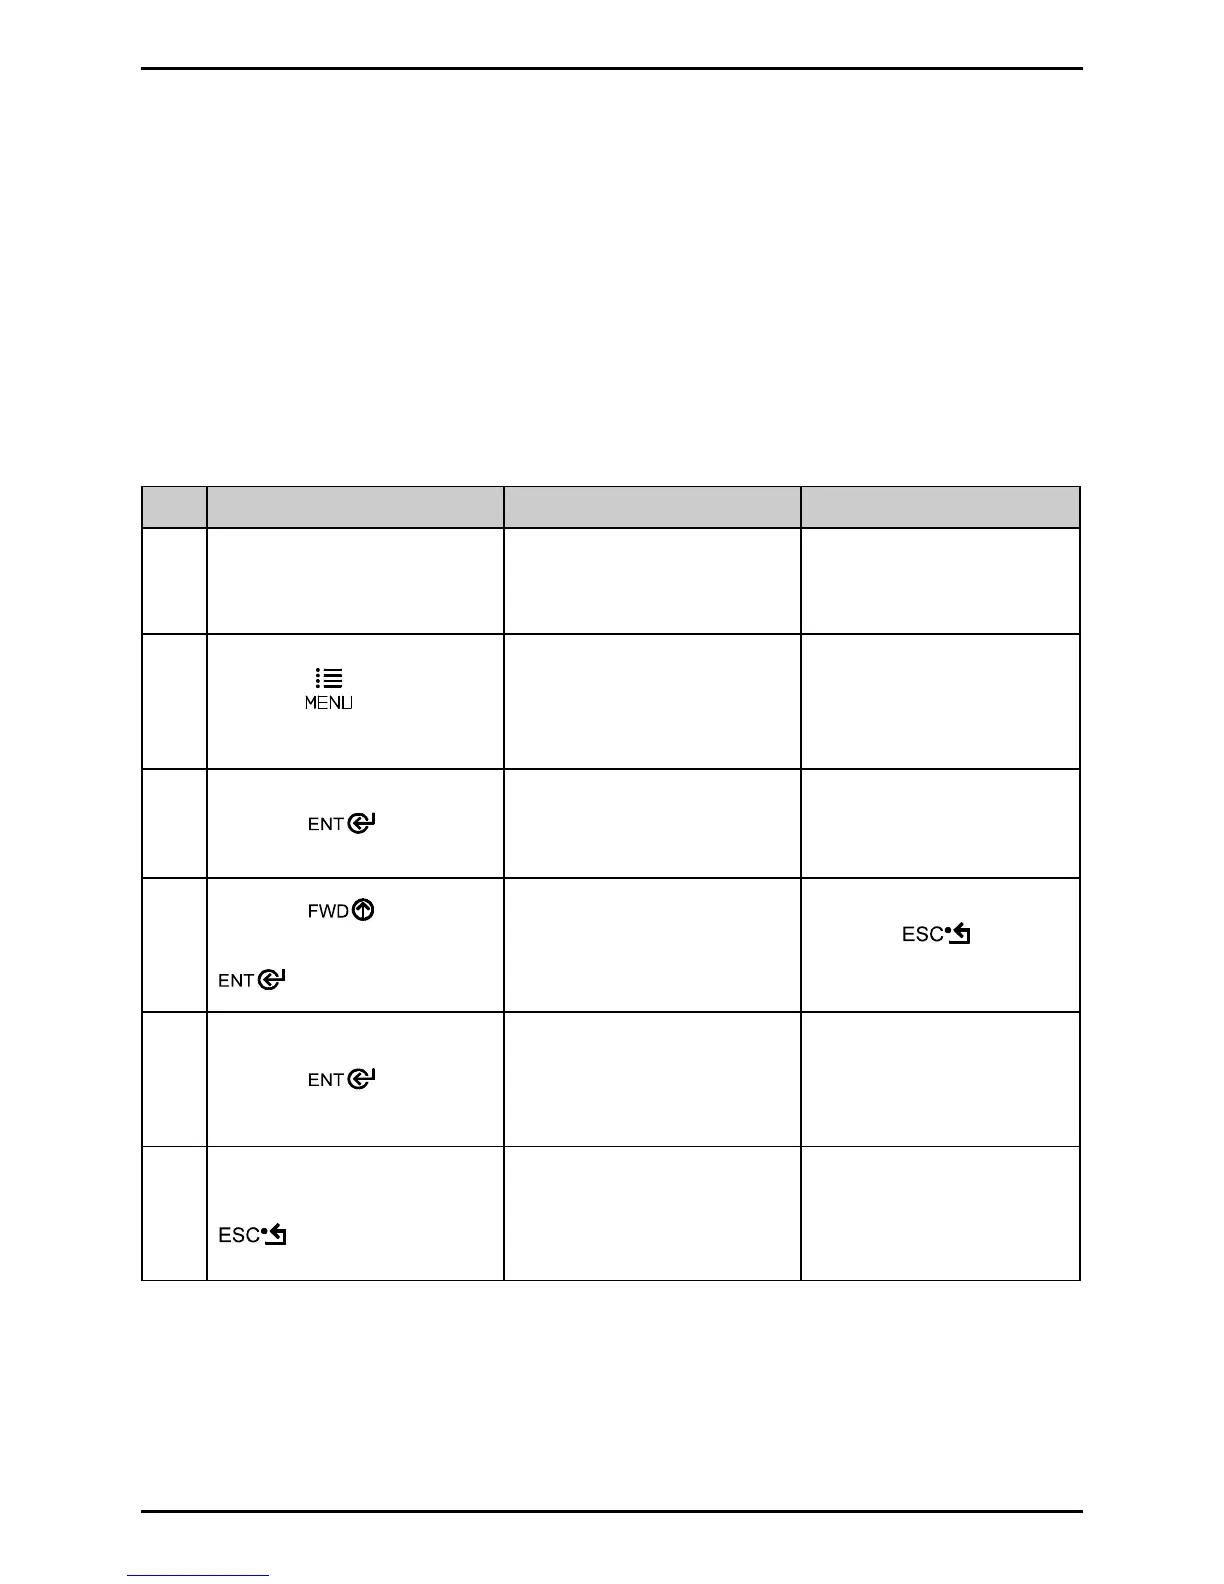
Step Action Displayed Message Comment
1 Turn ON the printer.
UNCALIBRATED
Wait briefly, about six
seconds, for the printer to
initialize.
2
Press the Key, and then
raise the printhead assembly.
MENU MODE
MEDIA SETTINGS
You are in MENU MODE.
3
Press the Key.
MEDIA SETTINGS
MEDIA TYPE
You are in MEDIA
SETTINGS.
4
Press the Key then
scroll to SENSOR
CALIBRATION and press the
Key.
MEDIA SETTINGS
SENSOR CALIBRATION
Press the Key to
cancel this procedure.
5
Press the
Key.
SENSOR CALIBRATION
PERFORM CALIBRATION
You are beginning the
procedure.
6
After making sure no media is
in the sensor, press the
Key.
REMOVE LABEL STOCK
PRESS ESC KEY <yyy>
No media should be in the
sensor. This sets the Empty
value, where “yyy” is the
current sensor reading.
(continued)
 Loading...


