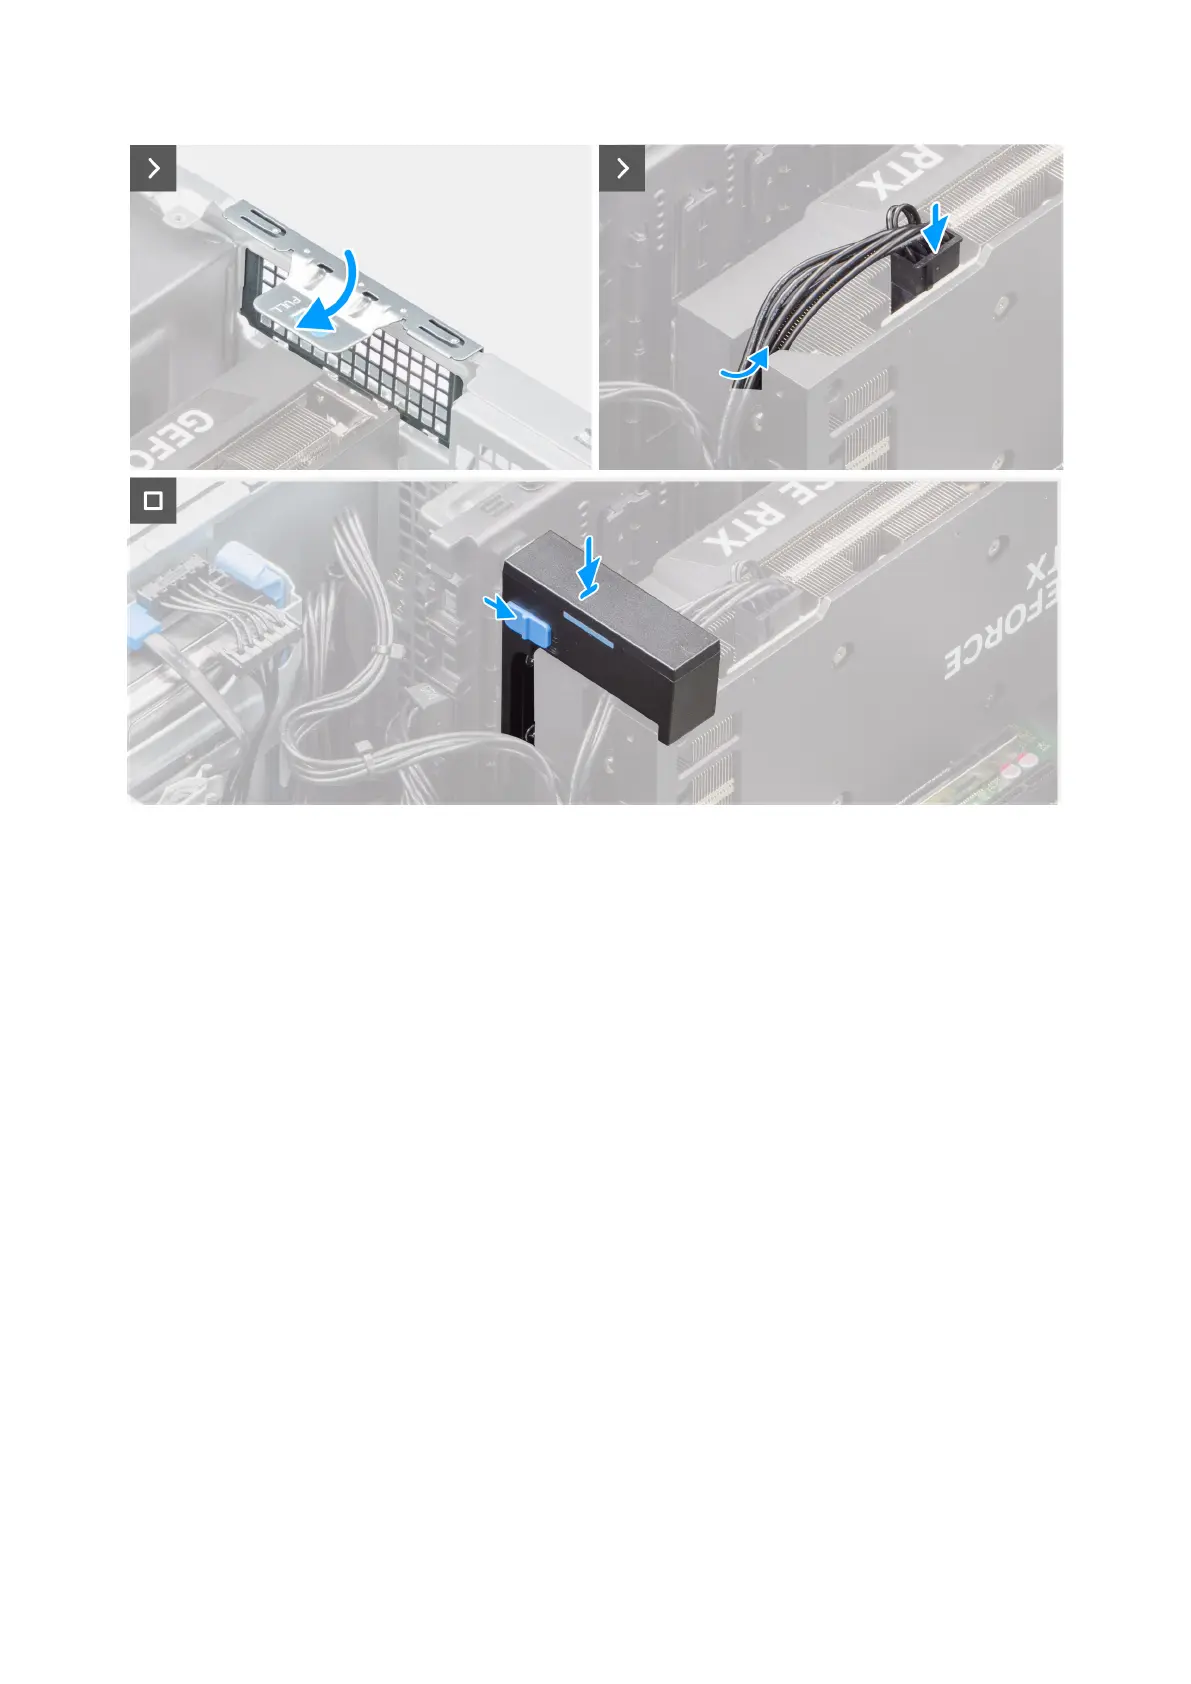
Figure 45. Installing the powered GPU
Steps
1. Lift the pull tab to open the PCIe door.
2. Remove the blank fillers.
3. Align the powered GPU with the PCI-Express card connector on the system board.
4. Using the alignment post, connect the powered GPU to the connector and press down firmly. Ensure that the powered GPU
is firmly seated.
5. Lift the pull tab to close the PCIe door.
6. Connect the two power cables to the connectors on the powered GPU and power supply unit.
7. Slide the release latch on the graphics card holder and insert it into the slot until it secures to its place.
Next steps
1. Install the GPU end holder.
2. Install the side cover.
3. Follow the procedure in after working inside your computer.
Power-supply unit
Removing the power-supply unit cover
Prerequisites
1. Follow the procedure in before working inside your computer.
2. Remove the side cover.
Removing and installing Customer Replaceable Units (CRUs)
73