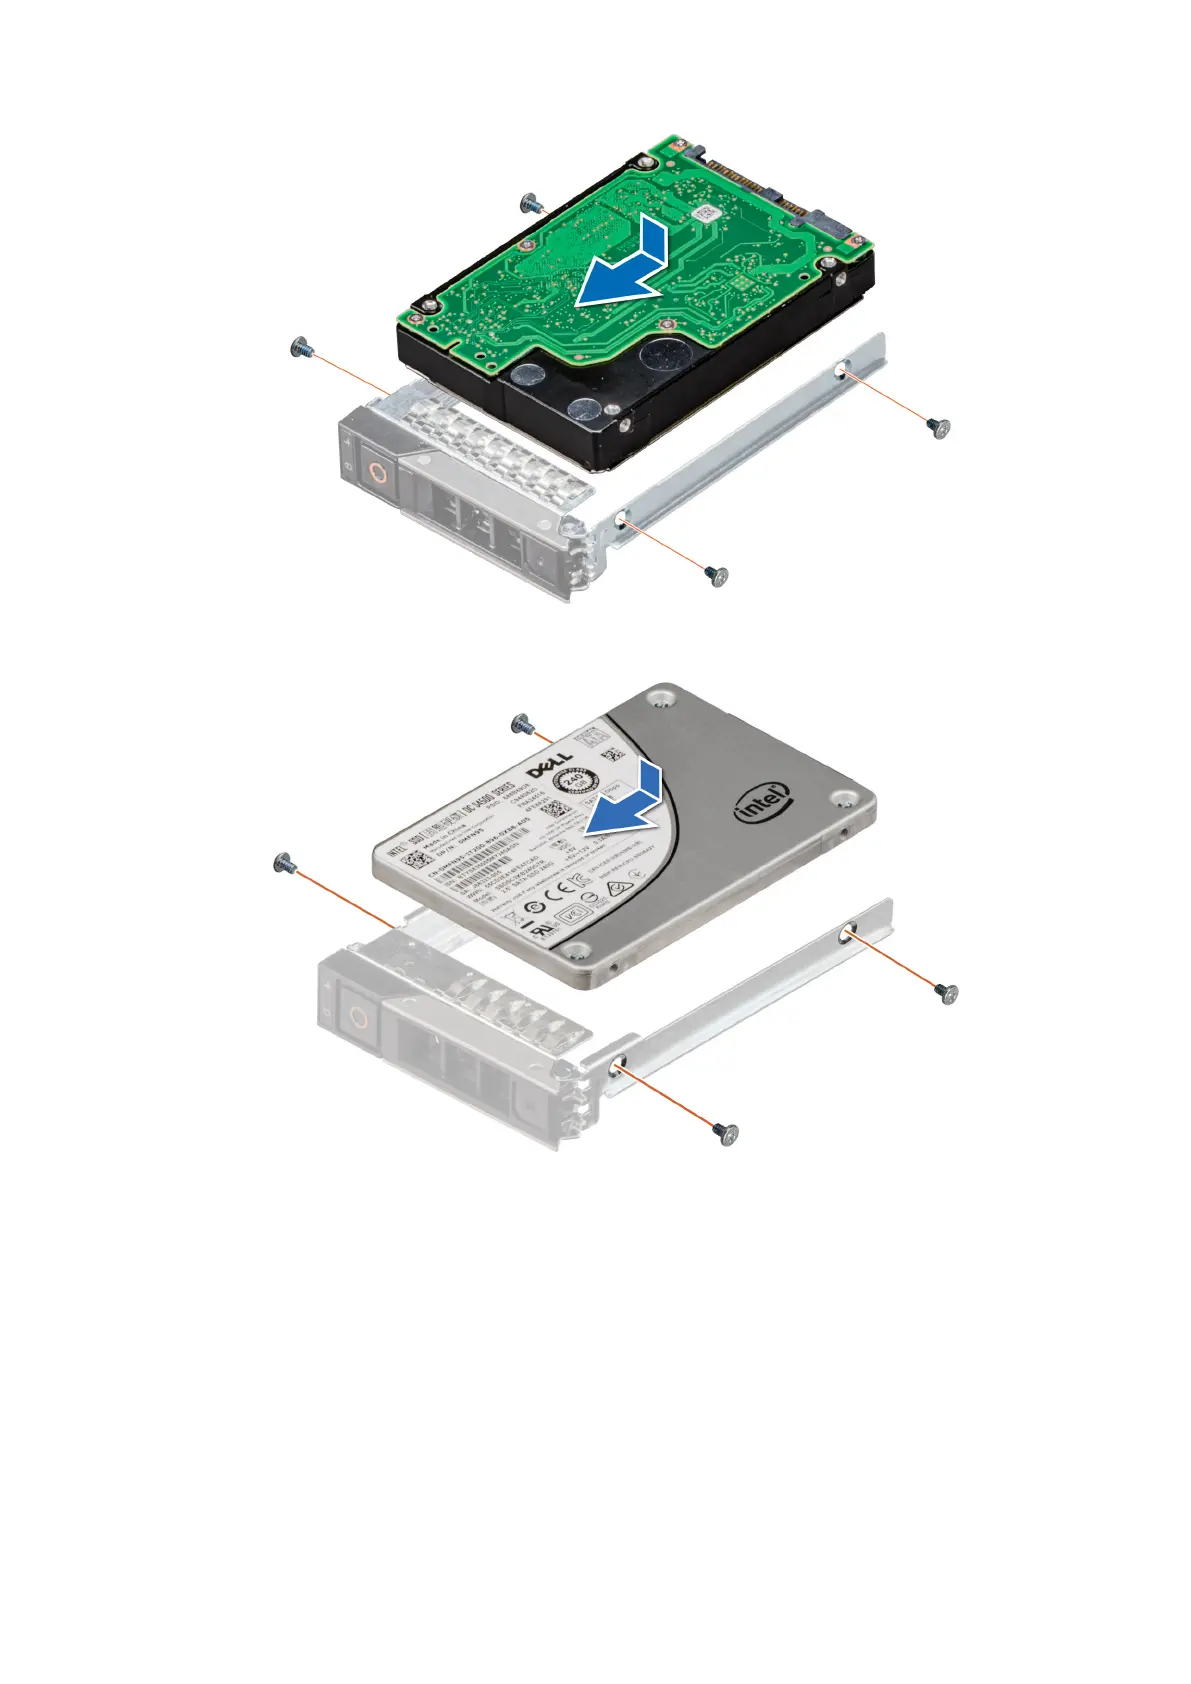
Figure 38. Installing a drive into drive carrier
Figure 39. Installing a SSD into drive carrier
Next steps
install the drive carrier.
Removing the E3.s drive from the drive carrier
Prerequisites
1. Follow the safety guidelines listed in the Safety instructions.
2. Using the management software, prepare the drive for removal.
74
Installing and removing system components