Digital Monitoring Products XR500 Series Canadian Programming Guide
4
INTRODUCTION
1.11 Entering Non-Alpha Characters
Toenteraspaceinanalphaentry,pressthe9digitkeyfollowedbythethirdSelectkey/area.Thethree
charactersonthe9digitkeyareY,Z,andspace.Youcanalsoenterthefollowingcharacters:–(dash),
.(period),*(asterisk),and#(poundsign)usingthe0(zero)keyandthefourSelectkeys/areasfromleft
toright.Forexample,toentera–(dash),pressthe0(zero)keyandthentheleftSelectkey/area.A
dash now appears in the keypad display. The table below shows the character locations for DMP keypads.
Key Number Select Key 1 Select Key 2 Select Key 3 Select Key 4
1 A B C (
2 D E F )
3 G H I !
4 J K L ?
5 M N O /
6 P
Q
R &
7 S T U @
8 V W X ,
9 Y Z space _
0 - . * #
1.12 Keypad Displays Current Programming
Each programming prompt displayed at the keypad shows the currently selected option in the panel
memory. These options are either shown as a number, a blank, or a NO or YES. To change a number or
blank to a new number, press any top row Select key or touch any Select Area. The current option is
replacedwithadash.Pressthenumber(s)onthekeypadyouwanttoenterasthenewnumberforthat
prompt.Itisnotnecessarytoenternumberswithleadingzeros.Thepanelautomaticallyrightjusties
the number when you press the COMMAND key.
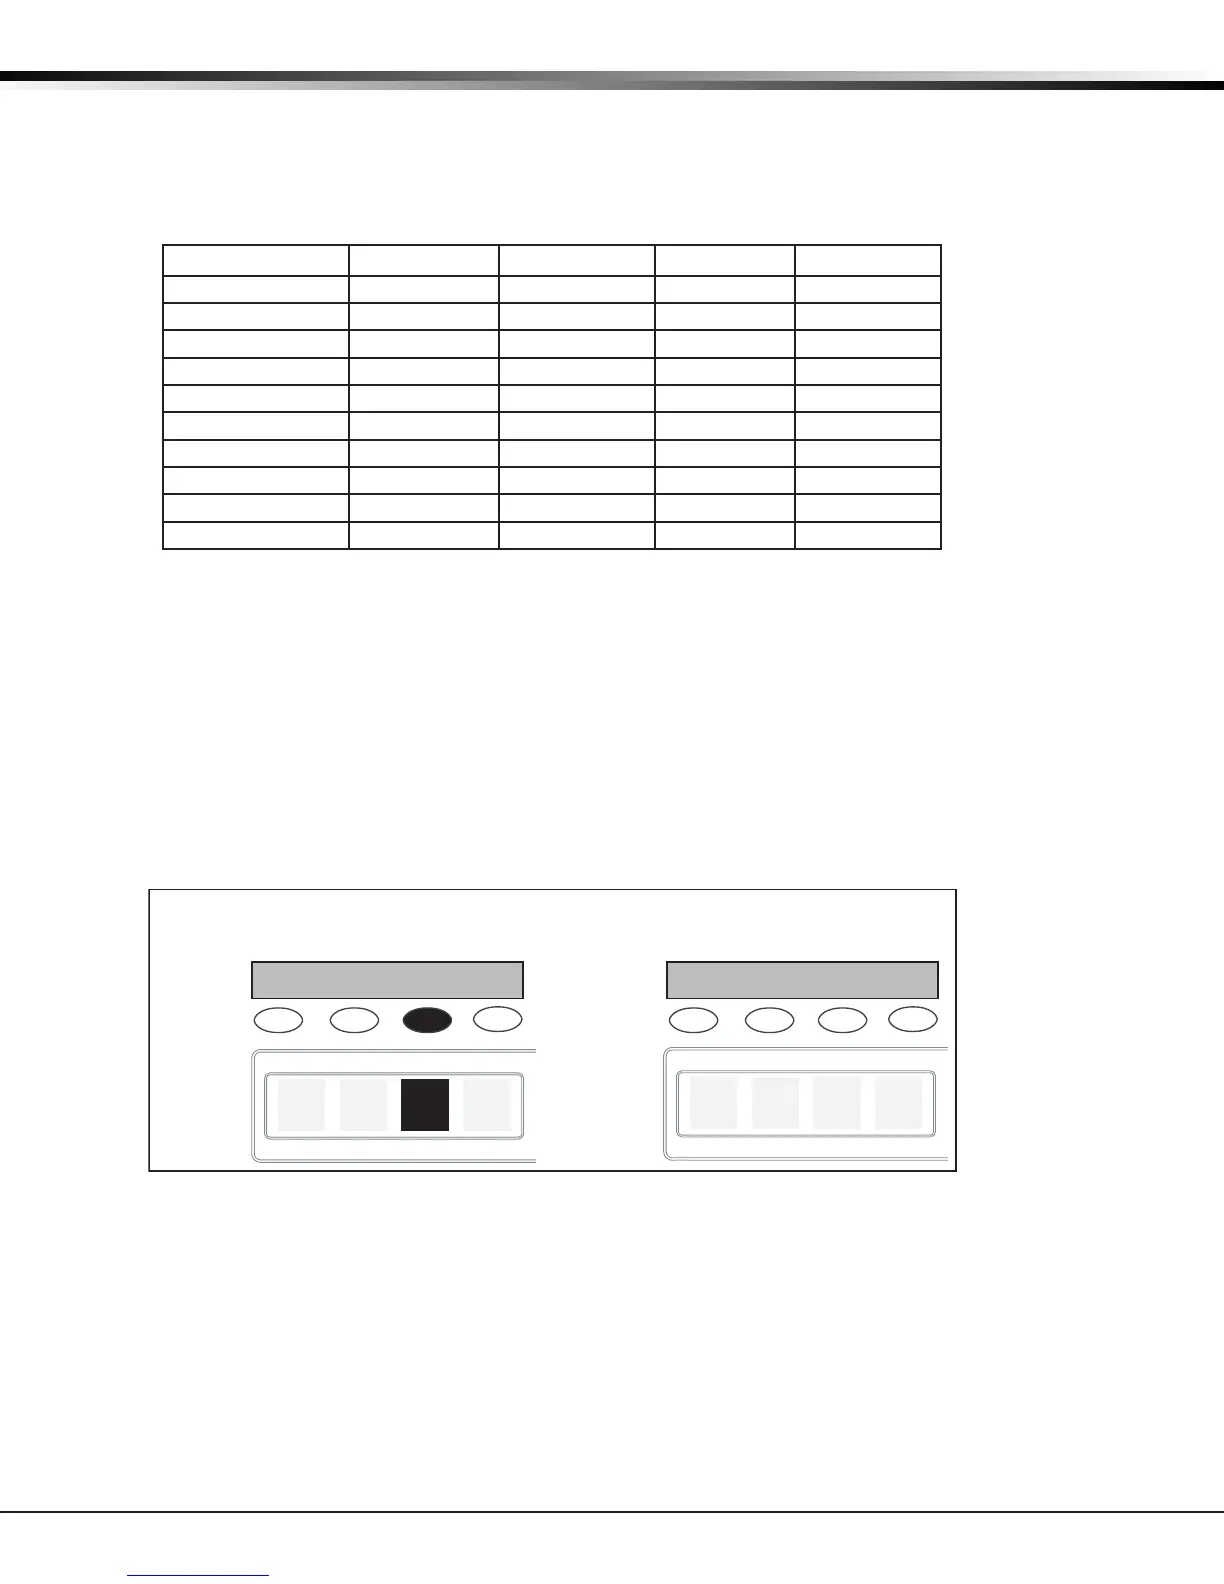
To change a programming prompt that requires a NO or YES response, press the Select key or touch the
Select Area for the response not selected. See Figure 5
For example, if the current prompt is selected as YES and you want to change it to NO, on Security
Command, Thinline, or Aqualite keypads press the third top row Select key. The display changes to NO.
Press the COMMAND key to display the next prompt.
Figure 5: Changing the Current Programming Option
1.13 Multiple Displays
For many programming and user options, such as Area selections, Menu Displays, and Status Lists, there
are several displays containing programming. For example, when programming Menu Displays, keypads 1
through16displayontwoseparatedisplays.First,keypads1through8display.PresstheCOMMANDkey
todisplaykeypads9through16.Thissameschemeisusedforareas1through32.
Note:Areasnotpre-programmedatinstallationtodisplayatthiskeypadcannotbeviewed.
THEN
Press the black colored top
row Select key/area.
The keypad displays the new
selection. Press CMD to advance.
YESBELL TST
NOBELL TST
YESBELL TST
NOBELL TST
Thinline
Aqualite
Wireless
Keypads
Clear
Touch
Keypads
 Loading...