199
Technical Publication Document NO: SYSTEM-007-ENG (Ver.1.1)
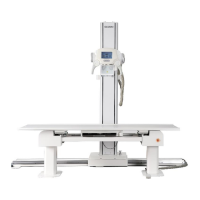
HF-525Plus Installation, Operation and Service Manual
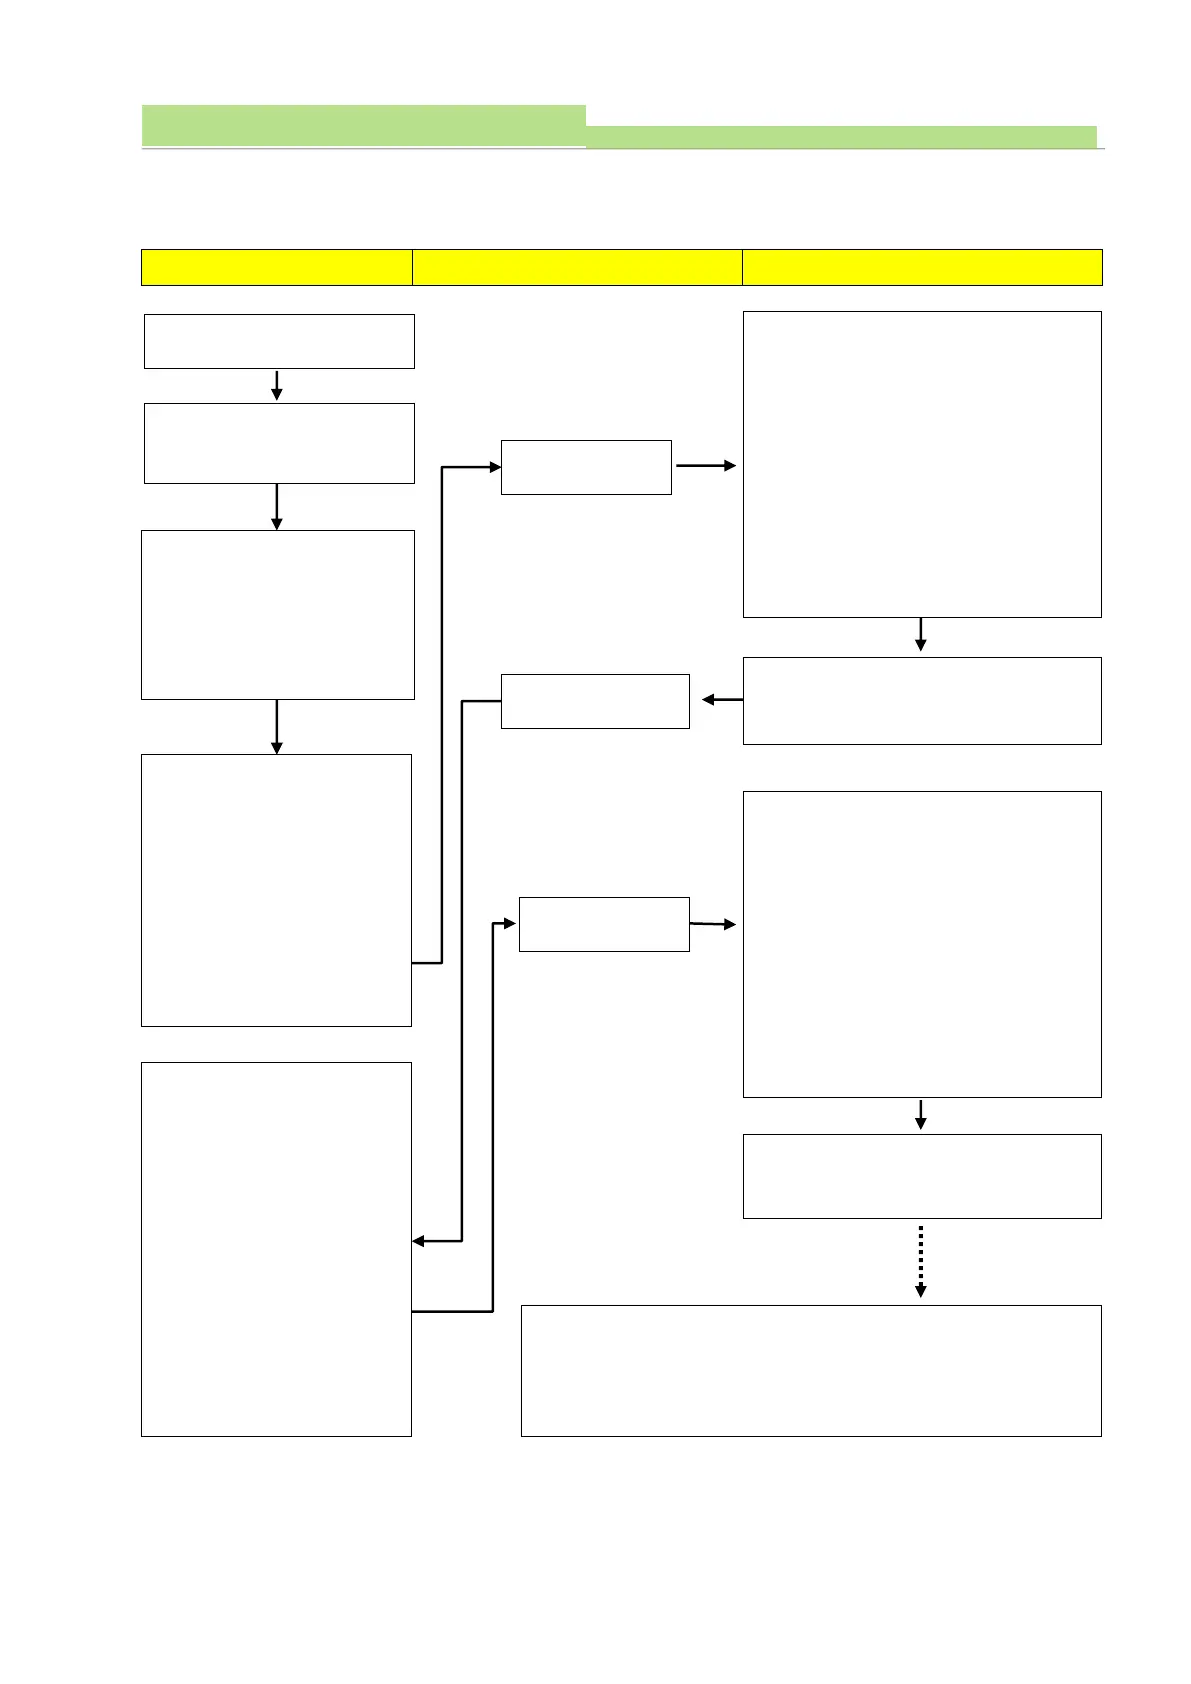
(4) Board Name: XR7-CnD
(5) Functions: This board controls charge/discharge of Main Condenser.
(6) Adjust frequency between Test point TP803 and TP802.
Check L.Volt (SW801), C.Volt
(SW802) of CnD board.
1. L.Volt (SW801): input
power frequency selector.
2. C.Volt (SW802): Charging
power frequency selector.
Check input power freq.
(Check it in pushing L.Volt
(SW801) condition)
1. Connect tester leads
TP803 (GND) with TP802
(75kHz)
2. Check frequency.
3. Normal: 75kHz
(76 ~ 78kHz in using PSU)
Check charging power freq.
(Check it in pushing C.Volt
(SW802) condition)
1. Connect tester leads
TP803 (GND) with TP802
(75kHz)
2. Check frequency.
3. Normal: 75kHz
(76 ~ 78kHz in using PSU)
In order to readjust input power freq.
1. Check it in pushing L.Volt (SW801)
condition.
2. Connect tester leads TP803 (GND)
with TP802 (75kHz)
3. Check frequency.
4. Fix frequency to 75kHz with VR801
(L.Volt) (Tolerance: 75kHz ±0.5kHz)
5. With PSU: 76~78kHz.
(Tolerance: ±1kHz )
Readjust input power frequency and
then check charging power frequency.
In order to adjust charging power freq..
1. Check it in pushing C.Volt (SW802)
condition.
2. Connect tester leads TP803 (GND)
with TP802 (75kHz)
3. Check frequency.
4. Fix frequency to 75kHz with VR802
(C.Volt) (Tolerance: 75kHz ±0.5kHz)
5. With PSU: 76~78kHz.
(Tolerance: ±1kHz )
Readjust input power frequency and
then check charging power frequency.
1. Readjust charging power frequency and then check input power
and charging frequency.
2. Power off with console and check frequency after power ON
with console.