Serinus 44 User Manual 3.0
Note: In Figure 14 all the IP addresses are taken as an example. The WAN IP addresses are normally
provided by your ISP. Whereas, the LAN IP addresses can be set manually to any range which is
within the subnet of the Modem/Router/switch.
Use a cross-over LAN cable to connect the instrument directly to a computer, or a standard LAN
cable for connection to a Modem/Router/Switch as shown in Figure 14. The computer could be
connected to the Modem/Router using either CAT5 cable or a wireless connection, but the
instrument must be connected using CAT5/6 cable.
4.3.1 Network Setup
Below is an example of how to setup the network.
6. Open - Main Menu Communications Menu Network Menu.
7. Select - Protocol Advanced - Accept.
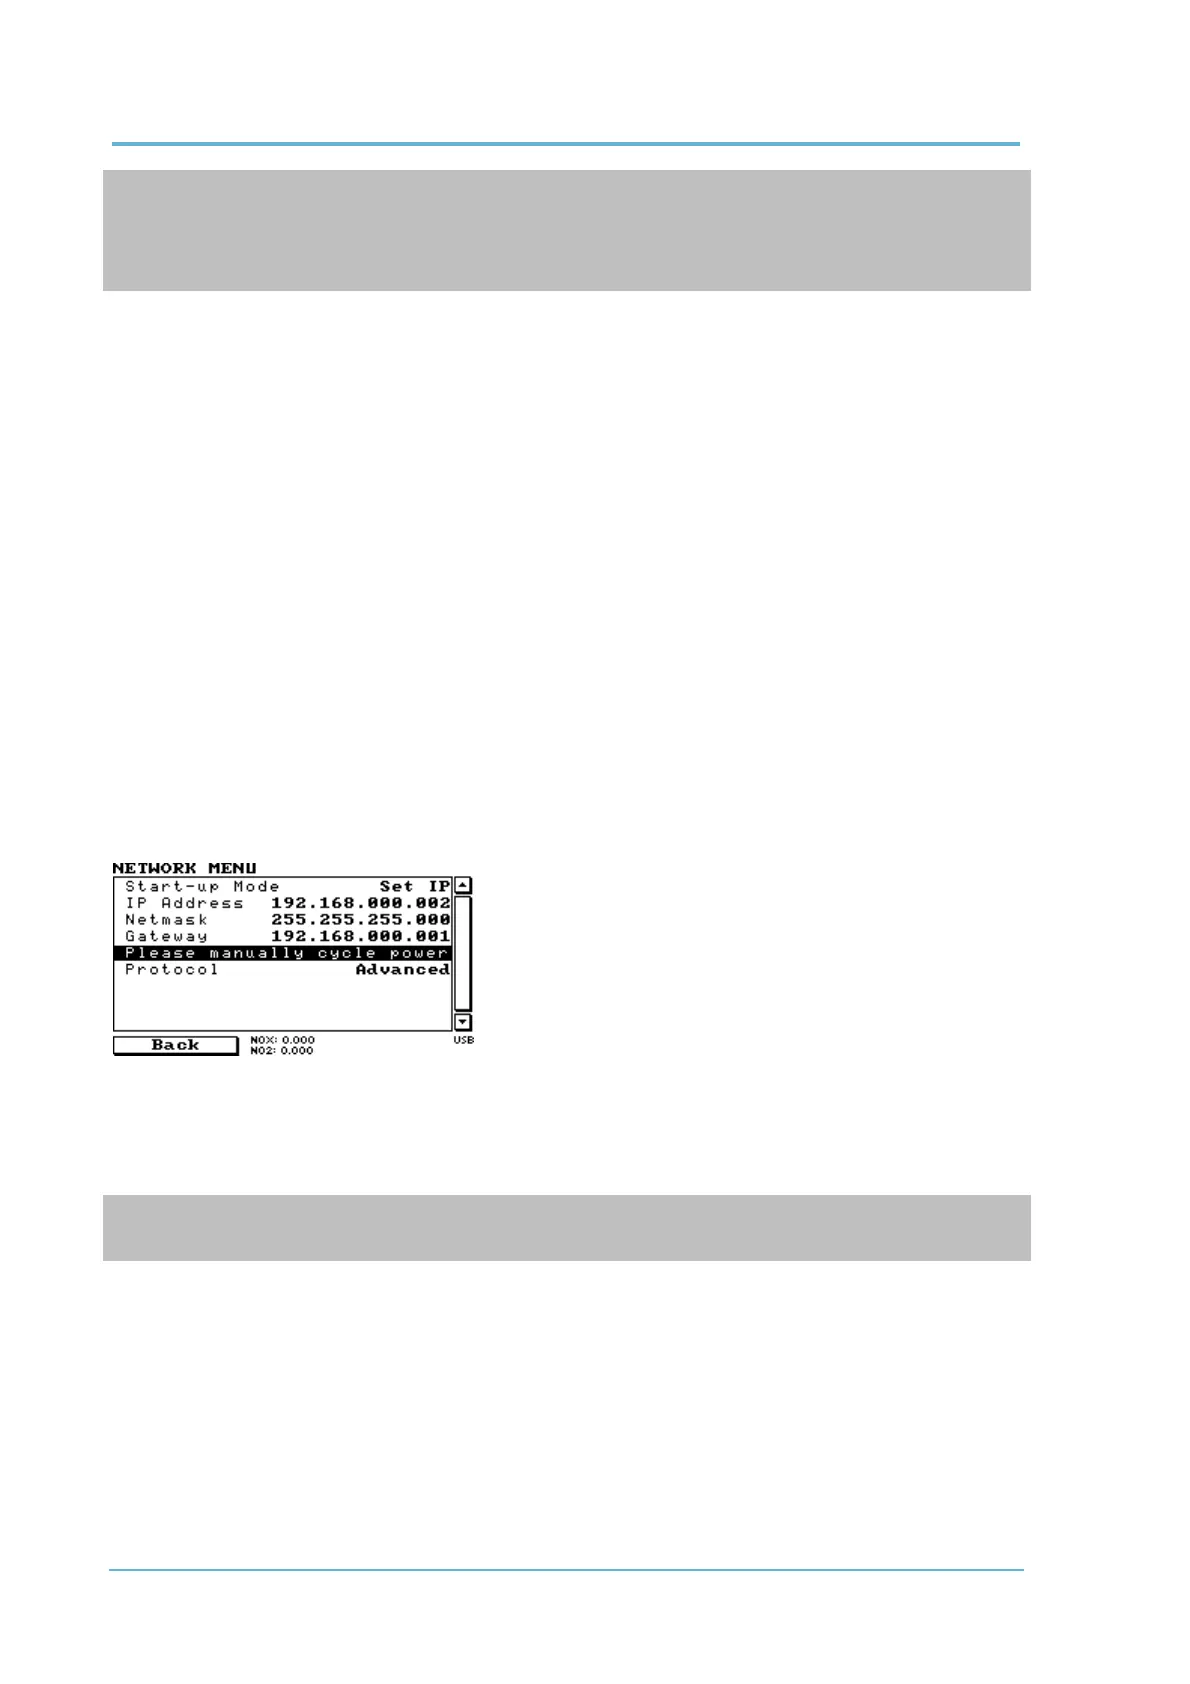
8. Select - Start-up Mode Set IP - Accept.
9. Edit - IP Address - (Change the IP address to the address you wish to use within the
Modem/Router/switch subnent).
10. Edit - Netmask - (Change the Netmask to the setup specified by the Modem/Router).
11. Edit - Gateway - (Change the Gateway to the setup specified by the Modem/Router).
Figure 15 – Example of Network Menu Setup
12. Once completed, use the power switch on the rear of the instrument to turn the power Off.
Please leave the instrument off for 10 seconds before turning the power back ON.
Note: Manually perform a hardware power cycle every time the IP address is changed for it to take
affect.
4.3.2 Port Forwarding on Remote Modem/Router Setup
When using the network port to connect to the router / modem with NAT enabled, you will need to
add IP mapping to ensure that data is forwarded through to the desired port. This is known as port
forwarding. To set-up the port for the instrument, you will need to go into the modem/router
configuration. Normally, you will see the port forwarding setup under Port Forwarding, NAT or Port
Mapping menu. Below is an example port forwarding setup.