Rev. A Disassembly, Assembly, and Adjustment 5-43
TM-U200 Series (Type A/AM) Technical Manual
Confidential
Main Assembly 7 (Case Unit)
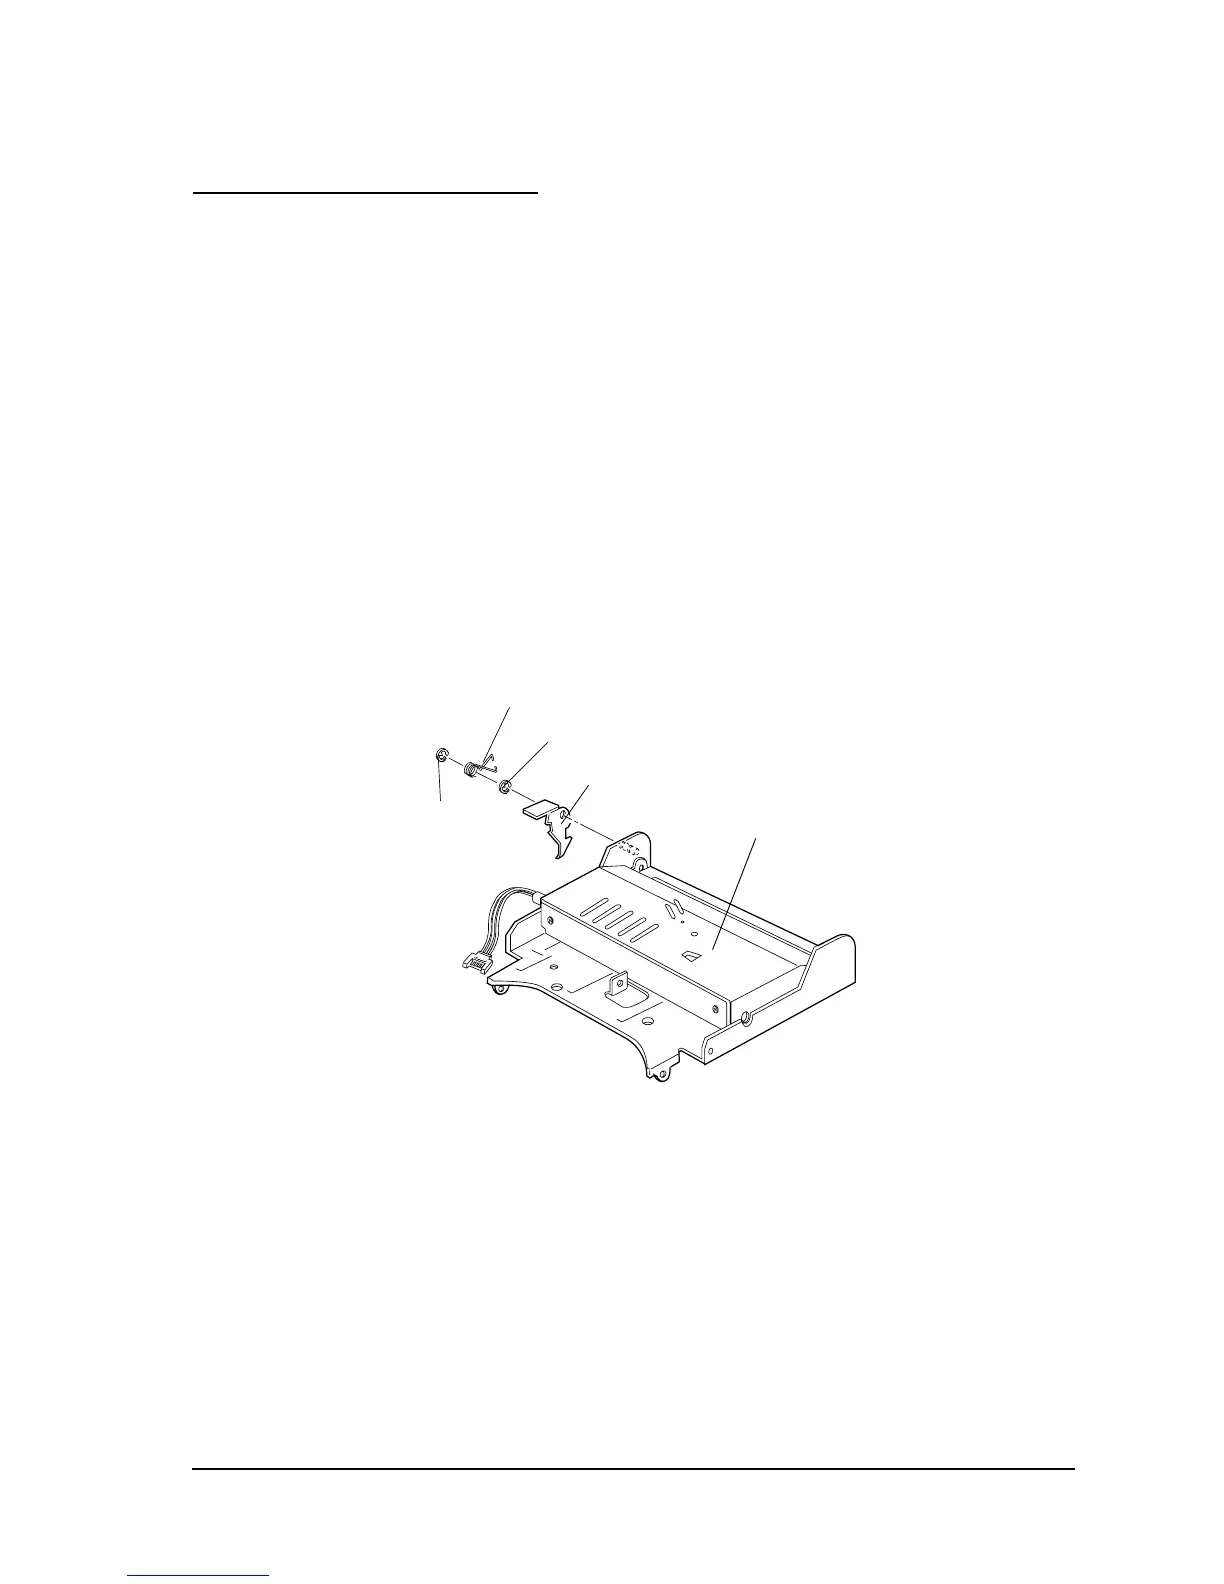
Auto-cutter assembly
1. To attach the auto-cutter assembly to the auto-cutter plate assembly, fit the auto-cutter
assembly onto the left dowel of the auto-cutter plate assembly first, and then fit the right
side onto the right to match the right dowel.
2. Attach the auto-cutter lock lever with the R.E (2.3).
3. Install the auto cutter lock lever to the auto cutter lock lever shaft.
4. Fit the R. E (2.3) to the auto cutter lock lever shaft.
5. Install the auto cutter lock lever spring to the auto cutter lock lever shaft.
6. Fit the R. E (2.3) to the auto cutter lock lever shaft.
7. Hang the auto cutter lock lever spring to the cutter plate assembly and auto cutter lock lever.
Auto-cutter assembly
Auto cutter lock lever
R.E (2.3)
Auto cutter lock lever spring
R.E (2.3)

 Loading...


