Printing
Basic Operation from the Control Panel
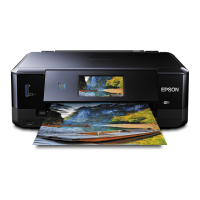
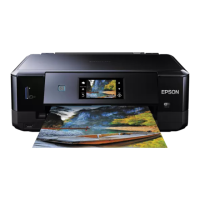
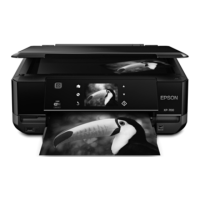
Printing photos (XP-710 Series/XP-810 Series)
A
Load photo paper in the paper cassette.
& “Into the paper cassette” on page 27
B
Insert a memory card.
& “Inserting a Memory Card” on page 38
Note:
You can also print photos from an external USB device.
C
Enter Print Photos mode from the Home menu.
D
Select a photo and press + or - to set the number of copies.
Note:
❏ You can crop and enlarge your photo. Press Edit and Crop/Zoom, and then make the settings.
❏ To select more photos, press y and repeat step 4.
❏ If you want to correct your images, press Edit and Photo Adjustments, and then make the settings. Scroll down
if necessary.
❏ If the screen display (for example, "-","+", or menus) disappears, touch the LCD screen.
❏ If you have more than 999 images on your memory card, images are automatically divided into groups and the
group selection screen is displayed. Select the group that contains the image you want to print. Images are sorted
by the date they were taken.
❏ To select another group, select Print Photos on the Home menu. Next, select Options, Select Location, and then
Select Folder or Select Group.
E
Press Settings, and then make the print settings. Scroll down if necessary.
F
Press x to start printing.
Note
See the following sections for more information on other printing functions available from the control panel.
& “Print Photos Mode” on page 114
& “More Functions” on page 109
User’s Guide
Printing
48