Scanning from the Control Panel
Note:
To use this feature, make sure the following applications are installed on your computer.
❏ Epson Event Manager
❏ Epson Scan 2
See the following to check for installed applications.
Windows 10: Click on the start button, and then select Windows System-Control Panel-Programs-Programs and
Features.
Windows 8.1/Windows 8: Select Desktop-Settings-Control Panel-Programs-Programs and Features.
Windows 7: Click the start button, and then select Control Panel-Programs-Programs and Features
Mac OS: Select Go > Applications > Epson Soware.
1.
Place the originals.
“Placing Originals on the scanner glass” on page 51
2.
Select Scan on the control panel.
3.
Select Computer.
4.
Select a computer on which to save the scanned images.
❏ If the Select Computer screen is displayed, select the computer from the screen.
❏ If the Scan to Computer screen is displayed and the computer is already selected, make sure the selected
computer is correct. If you want to change the computer, select
, and then select another computer.
Note:
❏ When the printer is connected to a network, you can select the computer to which you want to save the scanned
image. You can display up to 20 computers on the printer's control panel. If you set Network Scan Name
(Alphanumeric) in Epson Event Manager, it is displayed on the control panel.
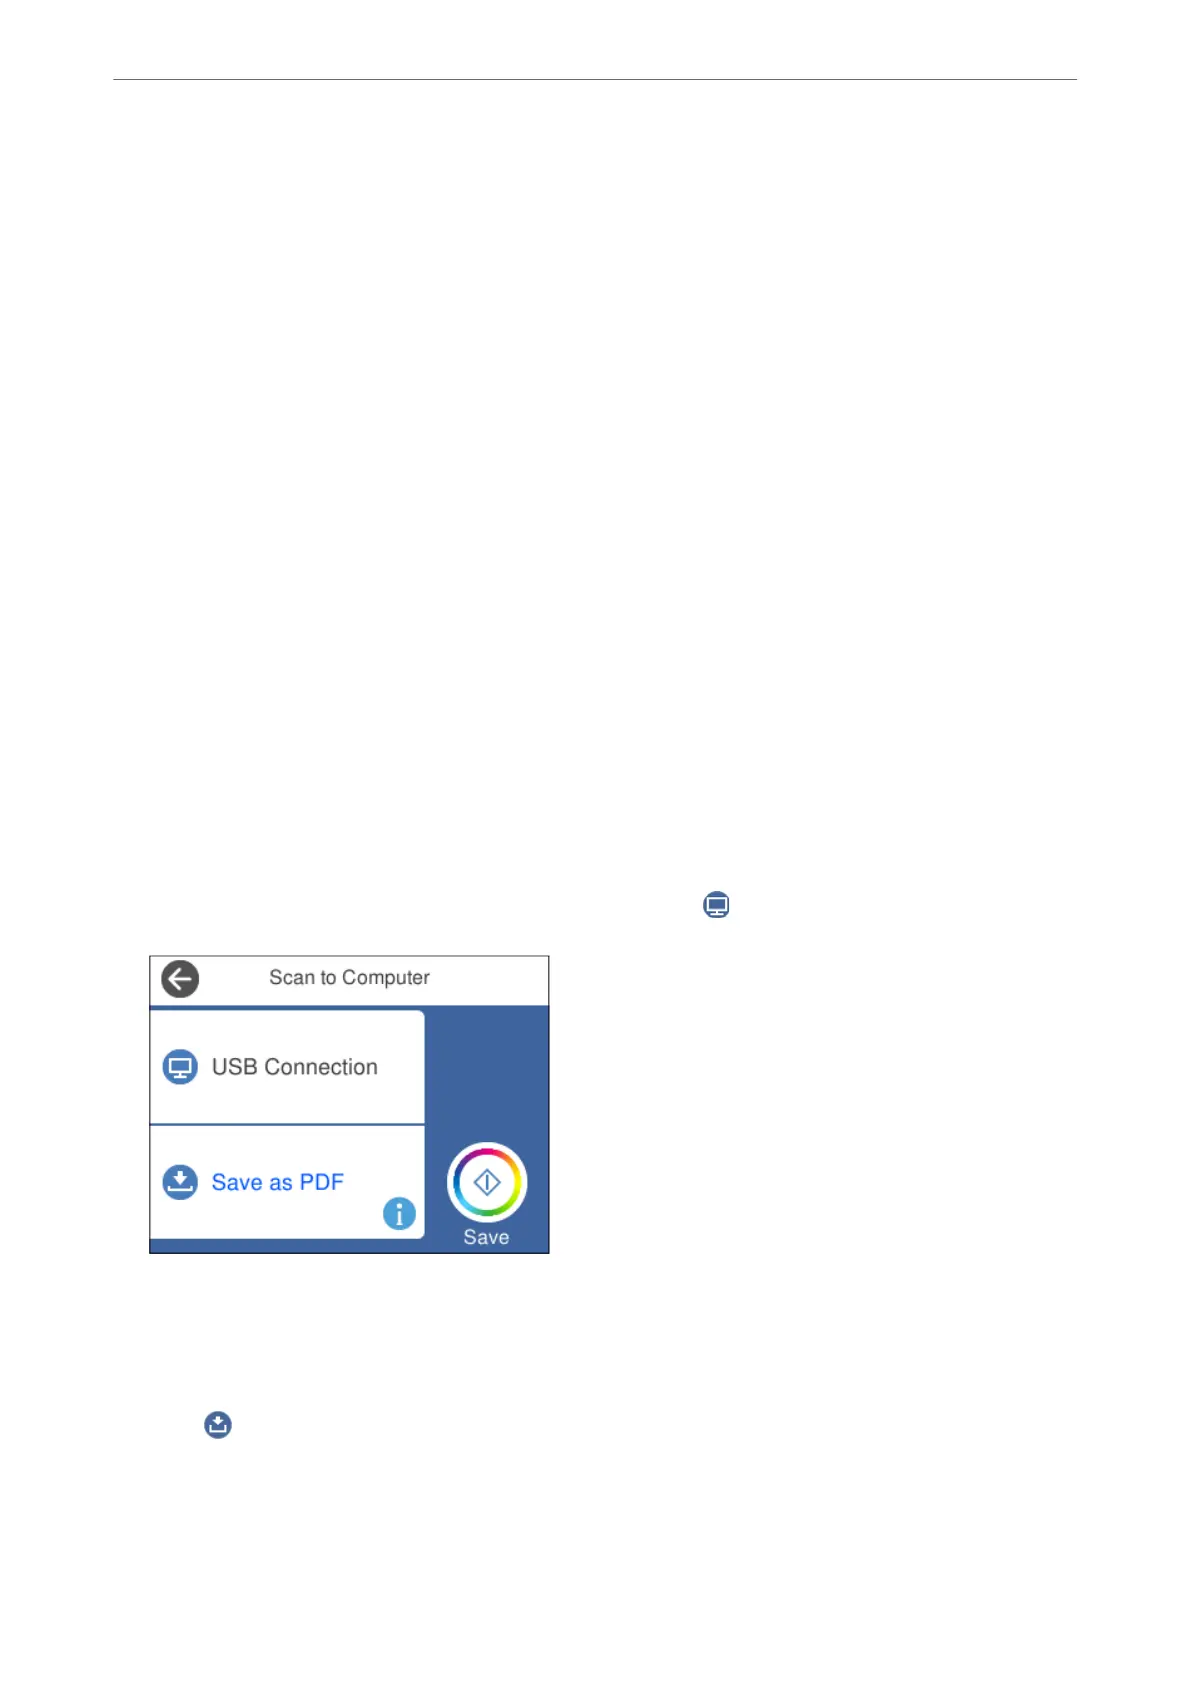
5.
Select
to select how to save the scanned image to a computer.
❏ Save as JPEG: Saves the scanned image in JPEG format.
❏ Save as PDF: Saves the scanned image in PDF format.
❏ Attach to e-mail: Starts the email client on your computer, and then automatically attaches it to an email.
Scanning
>
Scanning Originals to a Computer
>
Scanning from the Control Panel
143