1.
Load paper in the printer .
“Loading Paper in the Paper Cassette 1” on page 33
“Loading Paper in the Paper Cassette 2” on page 36
“Loading Paper in the Rear Paper Feed Slot” on page 39
2.
Open the le you want to print.
3.
Select Print or Print Setup from the File menu.
4.
Select your printer.
5.
Select Preferences or Properties to access the printer driver window.
6.
Select Job Arranger Lite on the Main tab, and then click OK.
“Main Tab” on page 78
7.
Click Print.
When you start printing, the Job Arranger Lite window is displayed.
8.
With the Job Arranger Lite window opened, open the le that you want to combine with the current le, and
then repeat the above steps.
9.
When you select a print job added to Print Project Lite in the Job Arranger Lite window, you can edit the page
layout.
10.
Click Print from the File menu to start printing.
Note:
If you close the Job Arranger Lite window before adding all the print data to the Print Project, the print job you are
currently working on is canceled. Click Save from the File menu to save the current job. e extension of the saved les
is "ecl".
To open a Print Project, click Job Arranger Lite on the printer driver's Maintenance tab to open the Job Arranger Lite
window. Next, select Open from the File menu to select the le.
Related Information
& “Printing Using Easy Settings” on page 76
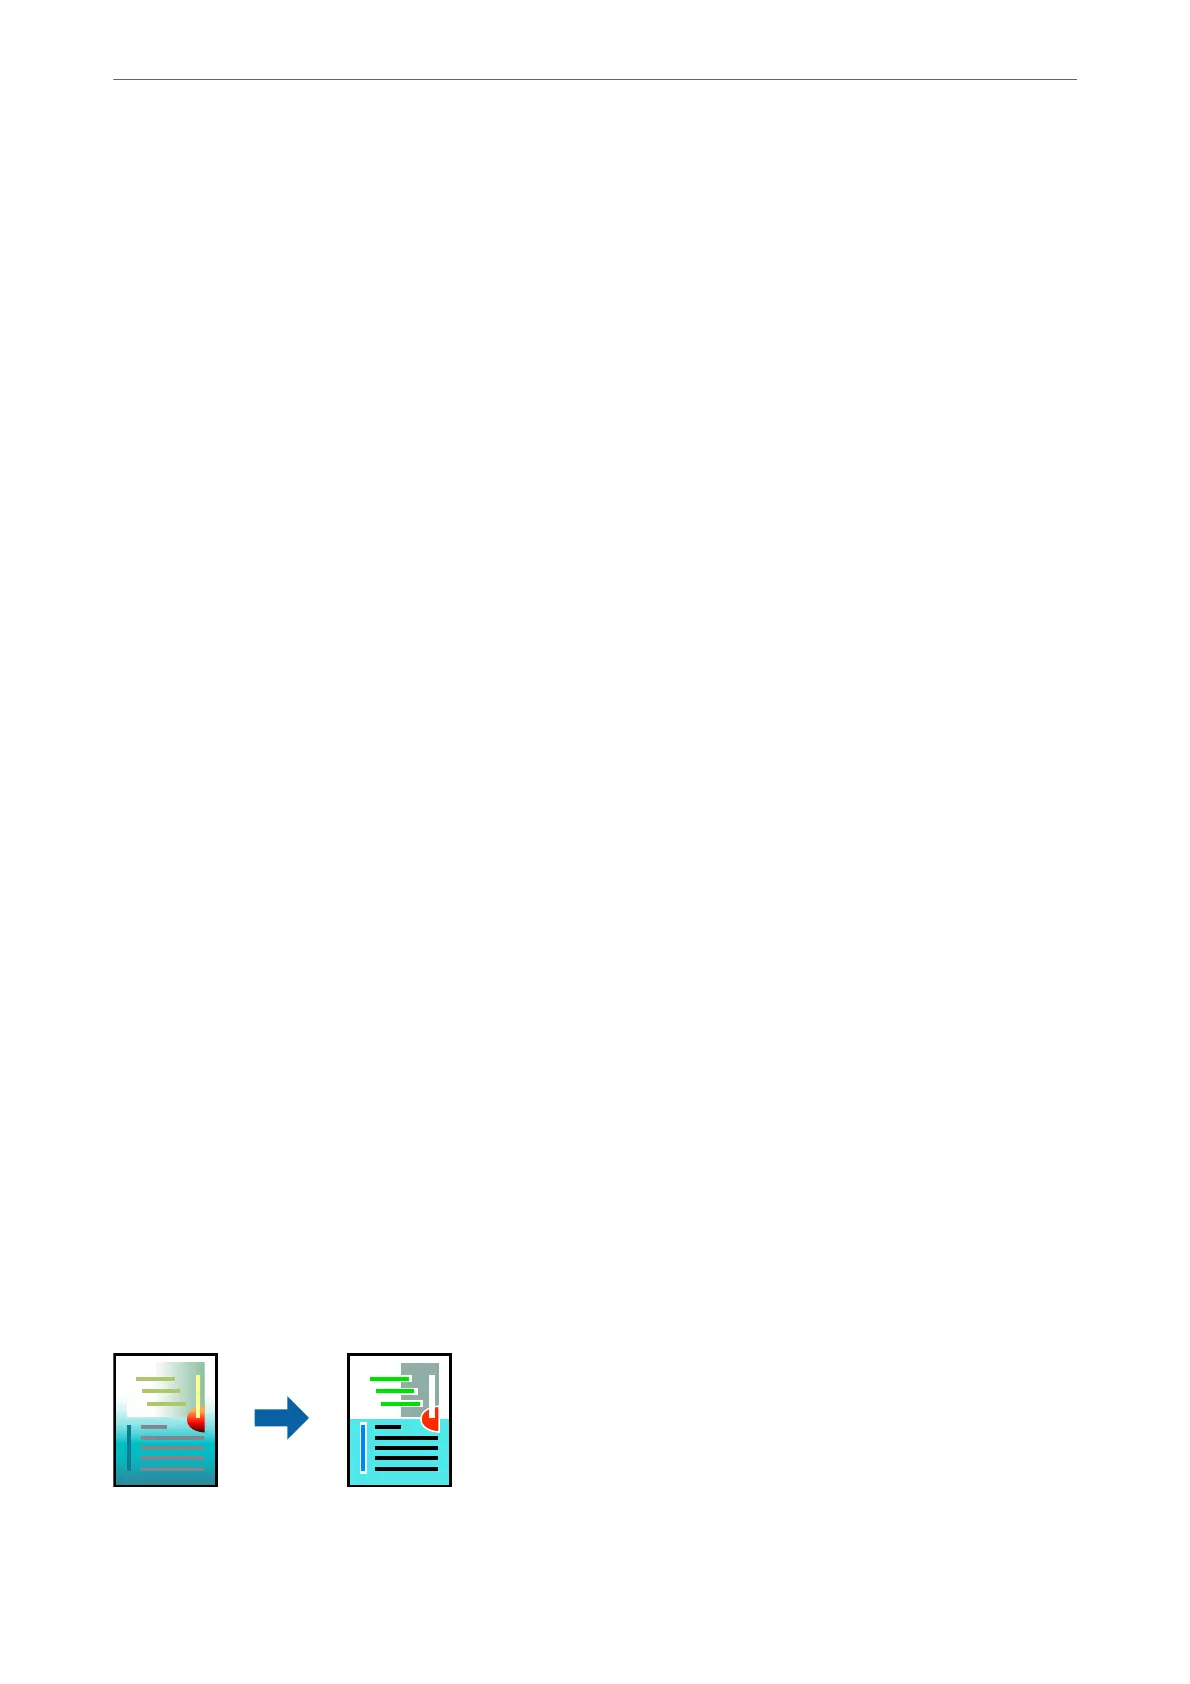
Adjusting the Print Color
You can adjust the colors used in the print job. ese adjustments are not applied to the original data.
PhotoEnhance produces sharper images and more vivid colors by automatically adjusting the contrast, saturation,
and brightness of the original image data.
Printing
>
Printing Documents
>
Printing from a Computer - Windows
96
 Loading...